successful dual mod, Gumm? I demand…er…respectfully request pics!
yeah its tested working. It will have a physical switch to switch between 360 and ps3. Uses one lithium ion cell for both controllers. will have a usb cord for ps3 syncing and to recharge the battery. I hooked up the battery to the switch too so only one board is powered at a time.
There are interesting effects because of this switch setup. First off, the battery will only recharge if the switch is set to ps3 mode. Second, there is only one scenario where both controllers can be on at the same time, which can be a bad thing but also a fun thing? To do so, the usb cord needs to be plugged and the switch set to ps3 and hit the guide/home button. Then I switch it to xbox and hit the guide/home button again. After doing this, both controllers are turned on (xbox is running off battery and ps3 is running off the usb power). If the usb cord is unplugged at this time, then the ps3 controller will lose power and turn off.
An alternate set up would be just to have a switch for the guide button and add a small button that allows quick disconnect of the battery for emergency shut off. This would allow the battery to recharge without having the switch set to ps3 mode. This setup would make it easier to get both controllers turn on at the same time wireless though I don’t know if that’s a good thing or bad thing.
Edit: i guess I can take a pic tonight, but the state of it right now is pretty much just its guts hanging out all over the place with the joystick and buttons removed. I do have a spare sanwa stick, but my spare sanwa buttons I have are 6 green, 2 white, and one blue one pink for start/back. So the outside look isnt going to be pretty to the eyes.
how did you deal with clearance and stick height issues?
i haven’t replaced the buttons and joystick yet. Didn’t want to use my dremmel at 1 am to cut off the metel tabs in the button holes or to do any other cutting on the joystick/casing.
Would it be feasible to not mess with wiring from scratch and just re-solder new sanwa buttons on to the PCB?
I’m not confident enough in my daisy chaining-wiring abilities after completely ruining an Axisdapter I’d purchased.
Also, could one use a metal file instead of a dremel? I can’t seem to find a decent one below $50 and I’ve already spent quite a bit getting soldering irons and such together.
i dont think the holes are big enough for the pins on sanwa buttons to fit through.
Could one use a metal file instead of a dremel? I can’t seem to find a decent one below $50 and I’ve already spent quite a bit getting soldering irons and such together.
i dont see why not
The prototype leo board is really big so I’m just going to wait until my leo pcbs arrive from manufacturing to finish jamming everything inside. I also need to go to my friends house to get the other 4 sanwa buttons I left there to put in this. Although its not all tucked in and put together, I was able to successfully get it to work on both 360 and ps3.

Swapped out the stock joystick with a sanwa stick. Even though I didn’t read through the guide in the other thread on doing this and doing it on my own, I pretty much 99% ended up doing the exact same thing in the guide.
I wonder what this 4 pin socket is for? Anyways, I’ll be putting the switch inside this battery compartment to keep it out of view.
Could someone who has modified the PS3 version please take a clear screenshot of the inside of the fully wired version? I get that you need to cut off the PCB tabs but am really unclear which wires to cut since the wireless module is a part of the PCB.
I’d appreciate this as well.
wheres your sense of adventure, you two? Crack open one and discover its mysteries before everyone else! There’s fun to be had!
sometimes both sticks will work on one dongle at the same time. it happened at the activegamersLA t6 tournament running ps3s. really lame.
Well we knew wireless sticks couldn’t be used at tourneys anyway. Two working with one dongle is interesting though.
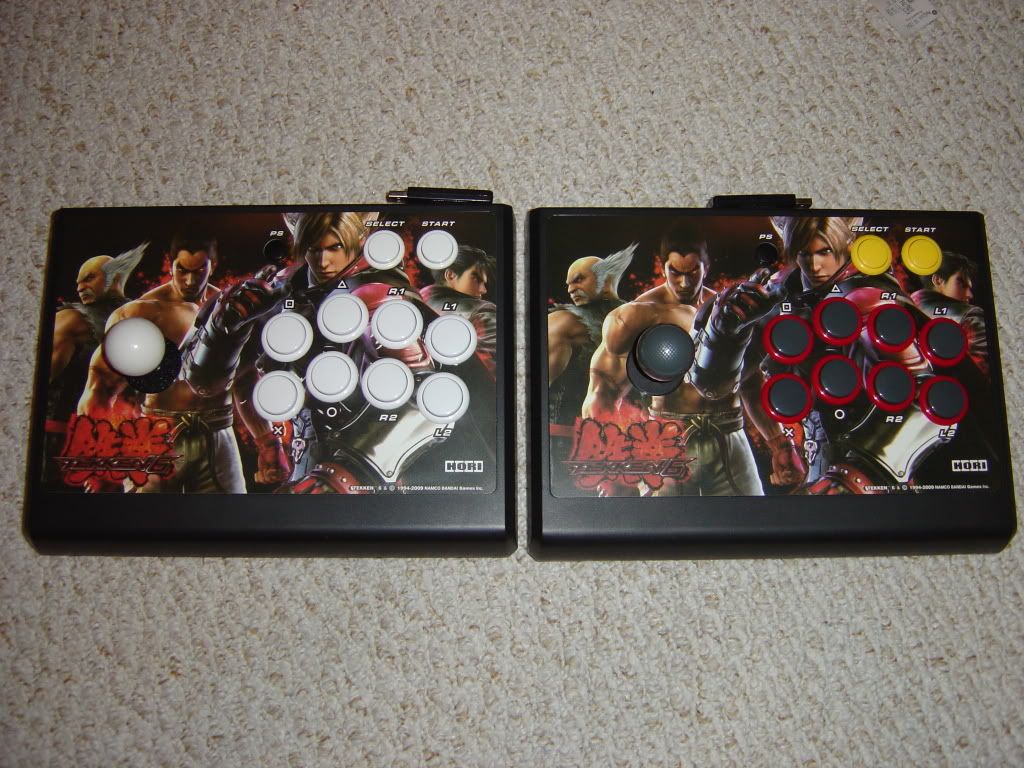
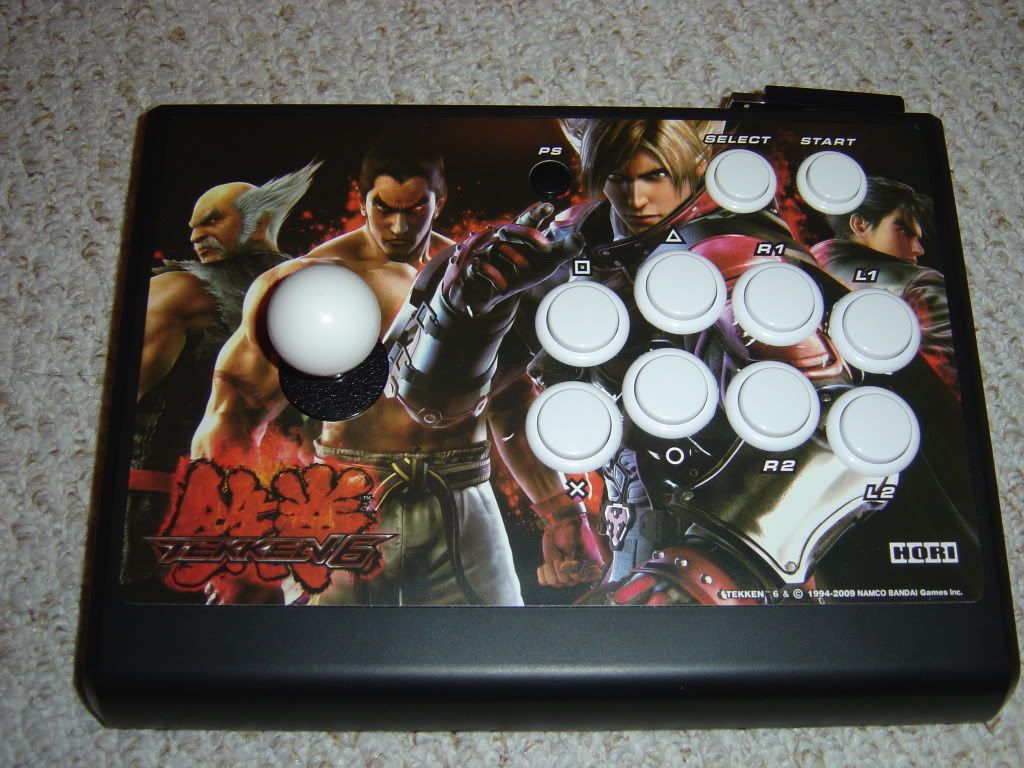
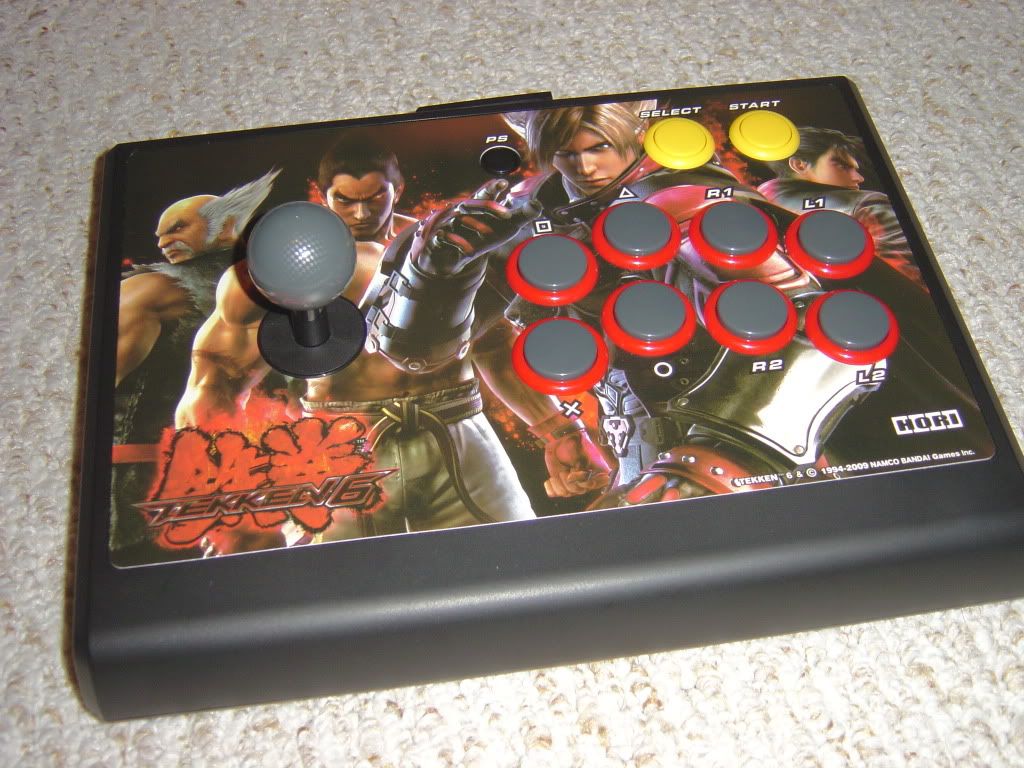
Basic Mod
I basically did a basic mod for my friends Tekken 06 joystick. Nothing special at all. New buttons and Octagon gate.
just finished my mod on the xbox stick. i couldn’t avoid cutting a hole in the bottom for stick clearance however so im planning on maybe throwing all the components in the TE casing and having a sweet Wireless TE stick.
very tempting.
I’ve got it opened and the buttons are in place (FILING was a pain) I just have no idea where to attach the button wires since you can’t simply discard the PS3 PCB…the wireless card is directly embedded on to it.
Have you cut off the pcb tabs that the stock buttons were soldered at, yet?
As for wiring up the buttons to the pcb, follow the traces to were the stock buttons original were. Follow them until you find a place you can solder wires to.
See I’m not sure what you mean by following the traces…I’m a complete soldering - wiring noob.
Do you mean that area kind of toward the top of the PCB where there are copper colored pins with the numbers 1 -8 listed in white?