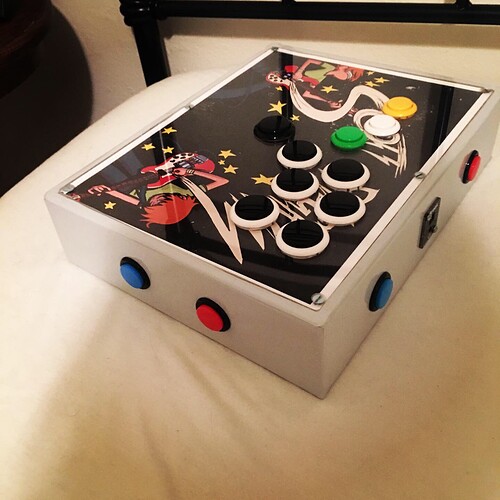
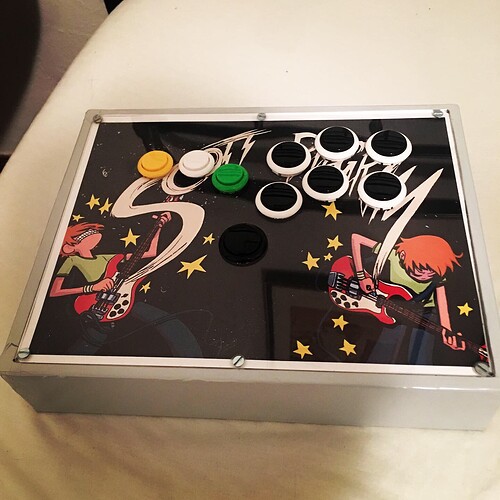
@805Nash amazing work as usual. Have much more respect for American fightstick cases u make. After building my daughter a barcade setup i realized how much work it takes to make something beautiful with T molding.
C L E A N
Love it
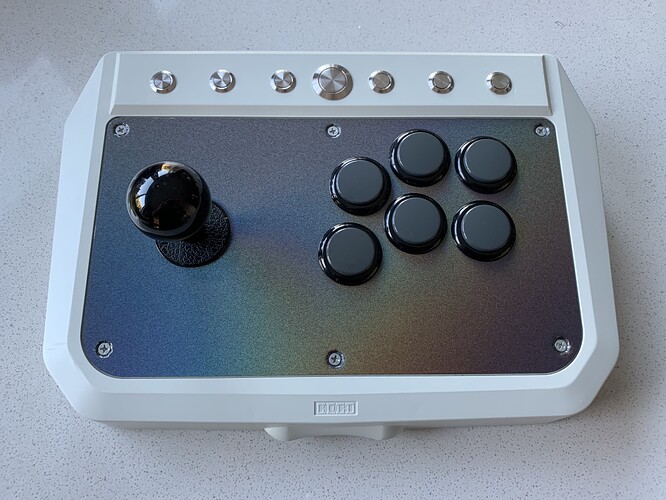
Got my instruction space repro in. Seimitsu buttons and Retroboards on the way. (UFBs in hand)
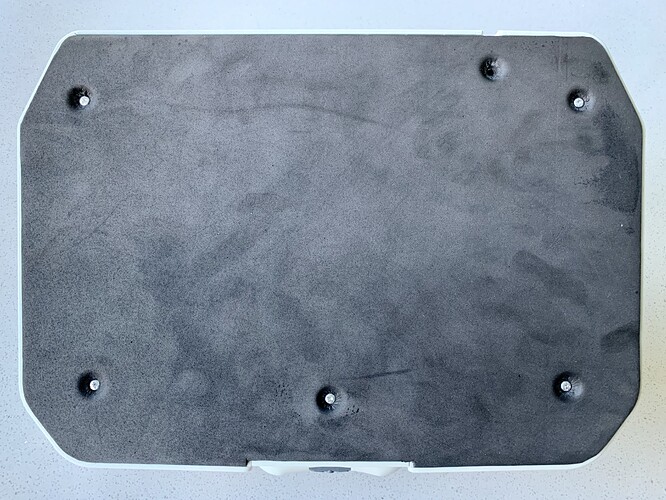
Still deciding on whether I drill for Neutrik, Home and Select (or not). Might project box it all from wire bundle feeds, skip the drill, and save the original guts in the box. What do you think?
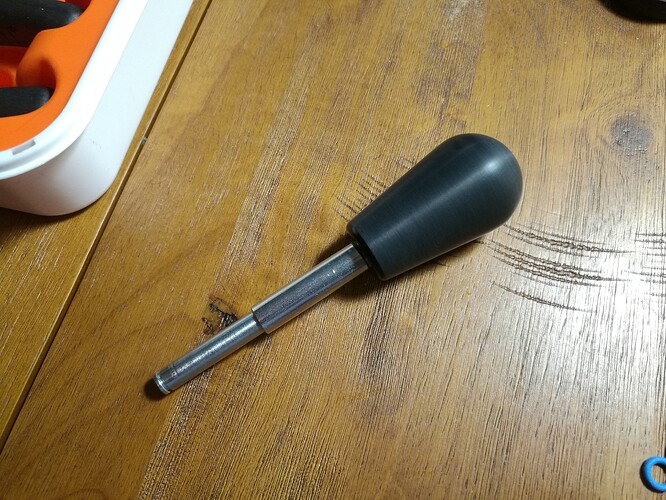
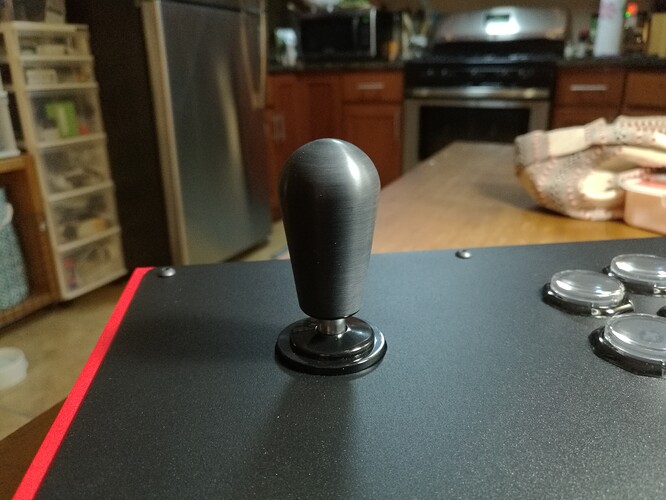
Wet sanded the Myoungshin Fanta stock shaft/bat. It’s got a satin/brushed metal finish now. Feels so smooth!
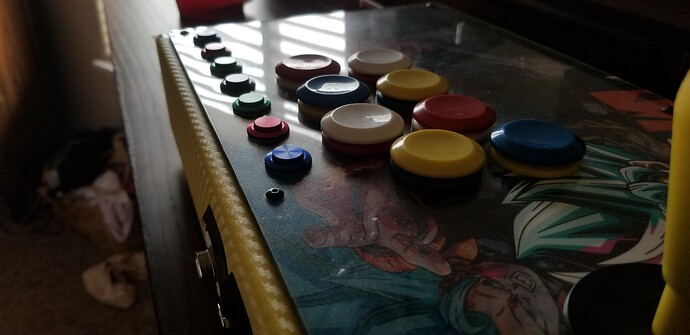
Where’d you get those navigation buttons?
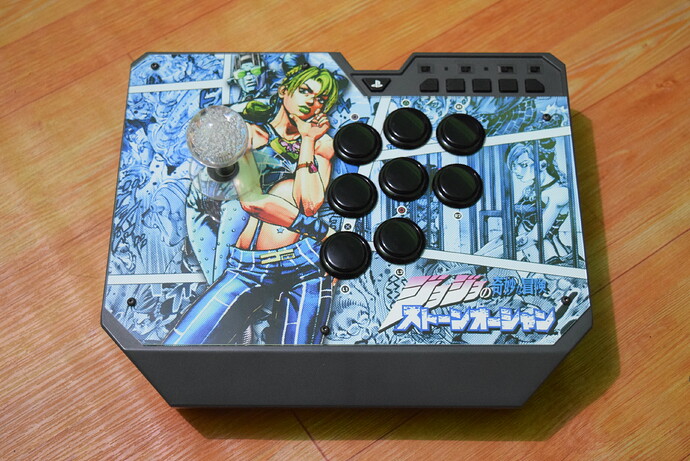
Still jealous of people with HSS-0130s; still one of my “retail-to-get” sticks… eventually.
Until then, I’ll just use my custom Sega Panel sticks.
Where would you pull the wire bundles to go to the project box? Is the wire feed from the casing wide enough for what you need?
Alpinetech Anti-vandal buttons
19mm
12mm
I use the anti vandle buttons in my build ad well. I had the flat ones at first but i dident like the depression of the hole at full press. I went with raised anti vandles switches and there much better i.m o
Ha! I went the other way. Didn’t care for how the edge of the raised top buttons felt against my fingers. Swapped for flush tops. There are dome topped, but not in 12mm.
Thats why i love this stuff. Its all prefrence.
Where did you get coloured ones from? ![]()
Without the stress relief from the original cables, I’ve got more than half a centimeter when I eyeballed it last. Perhaps if I go with very thin gauge I could swing it with some durable sleeving.
The thought of a drill bit skipping and marring the case makes my skin crawl… might be unavoidable though (the drilling part). ![]()
If you have to go that way drill it a bit smaller and get a sanding bit (like for a dremel) to get it to the right size.
I had to use a sanding bit to expand the holes on my SF15th Anniversary stick to 30mm since they were only about 28-29.
The result was quite clean and smooth
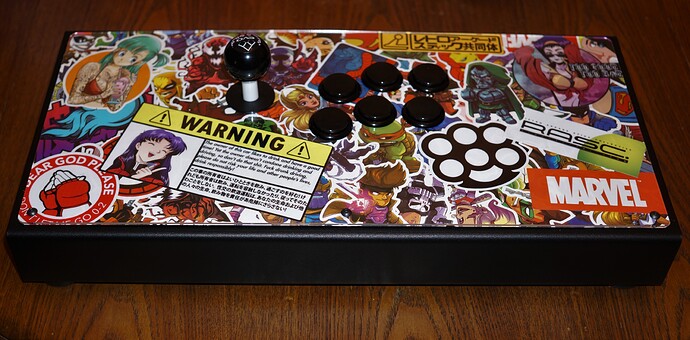
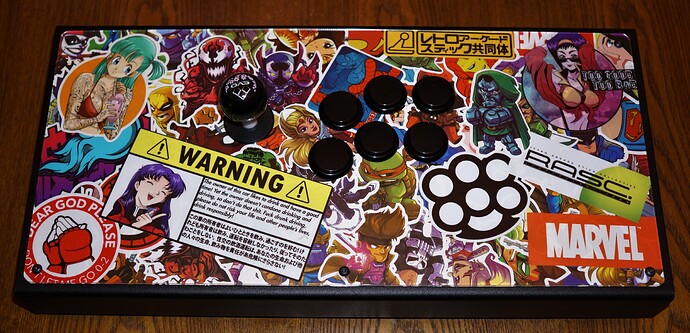
I guess, I am finally done. I keep saying that, but I think it’s true this time.
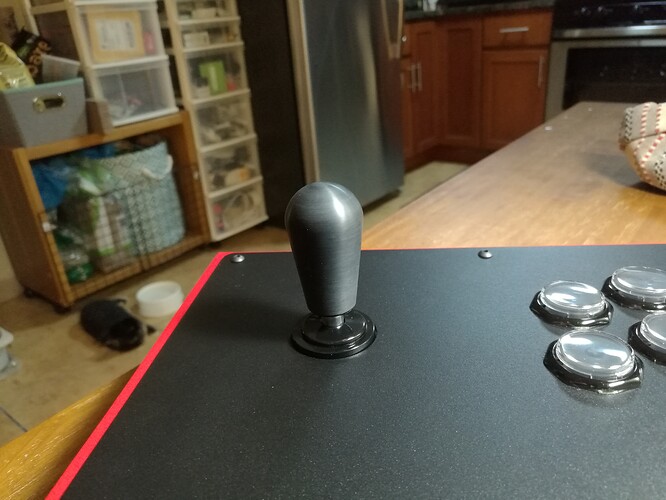
This is my sticker-bombed 18" AFS (I wanted a Sega 2p, but a sale is a sale). Sanwa OBSFs w/ Mx Blue switches, JLF w/ a 2.5lb spring, and Evo Balltop. MC Cthulhu w/ RJ45 for most platforms.
Almost done, love that line. I feel like almost any stick I have had has always been a t that stage. Once I think my stick is perfect some new product will come out or I’ll change my mind about art work or something in that nature. My main 18" afs tall (american) went through 3 transformations. The last one cost me close to 500$ and that was for 8 happ perfect 360 spillproof buttons and a perfect 360 optical joystick. Even now in going to upgrade again ditching my ps360 pcb for a brooks retro board. In conclusion I feel “at least for me” a fightstick is never 100% and if it is it only stays that way for about 6 months before I have to do something different to it lol.
I like the sticker bomb art and I’m glade to see u didn’t go with the mainstream traditional sticker bomb decals u see on all the old hydrodipped controllers.
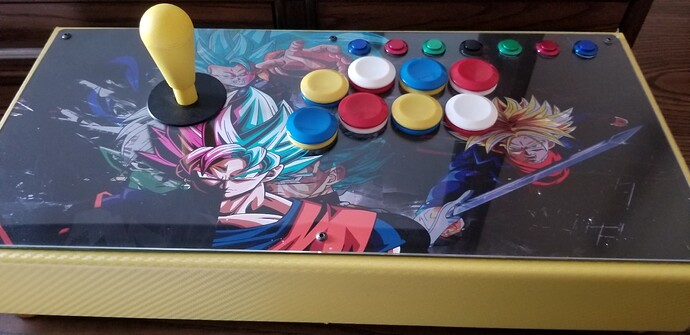
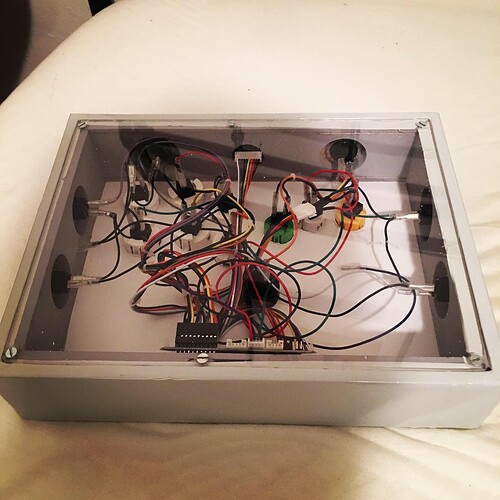
This somehow counts as an arcade stick.
Awesome dad!
Hi, I am unable to pm you, was hoping to contact you to talk about prices for a design similar to this one whenever’s most convenient for you.

