Legs and retaining piece have been varnished. Not completely happy with the finish on the latter so I’m thinking about redoing it at some point - will be fitting the t-molding next.
Legs and retaining piece have been varnished. Not completely happy with the finish on the latter so I’m thinking about redoing it at some point - will be fitting the t-molding next.
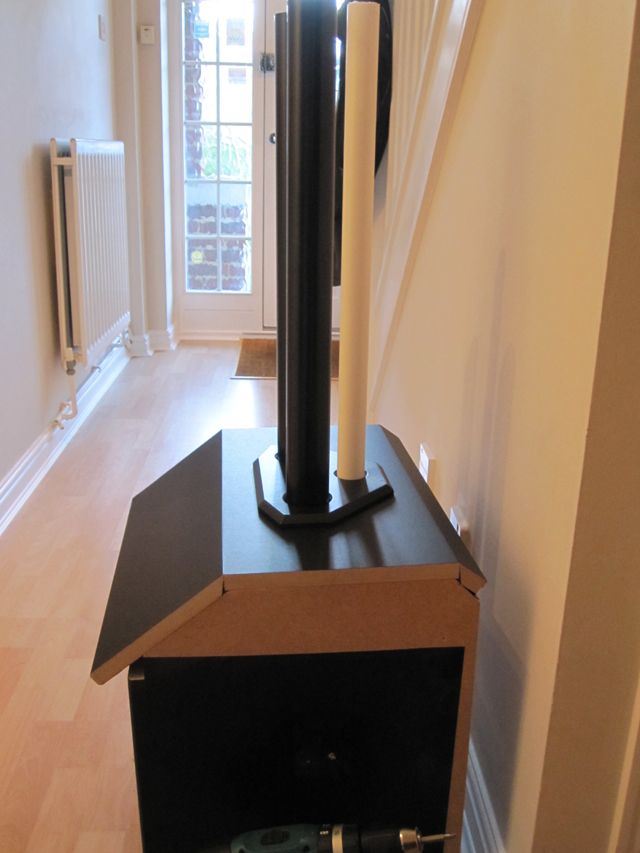
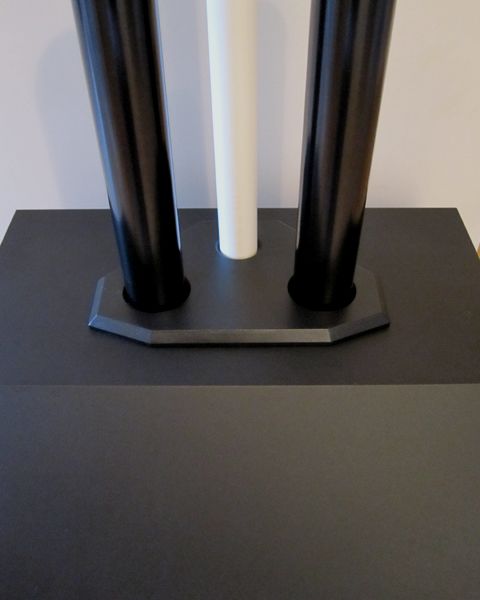
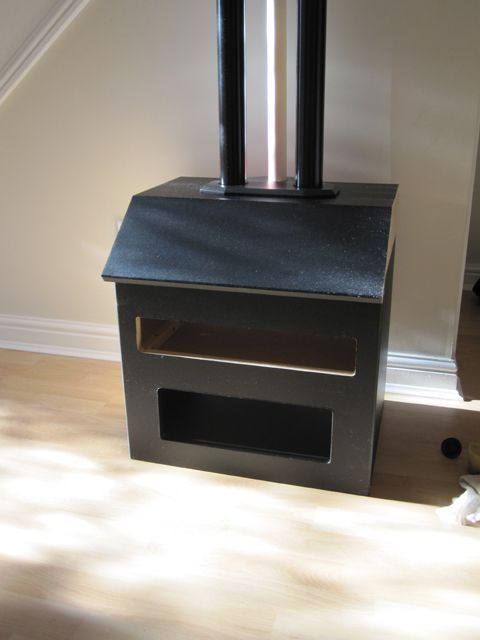
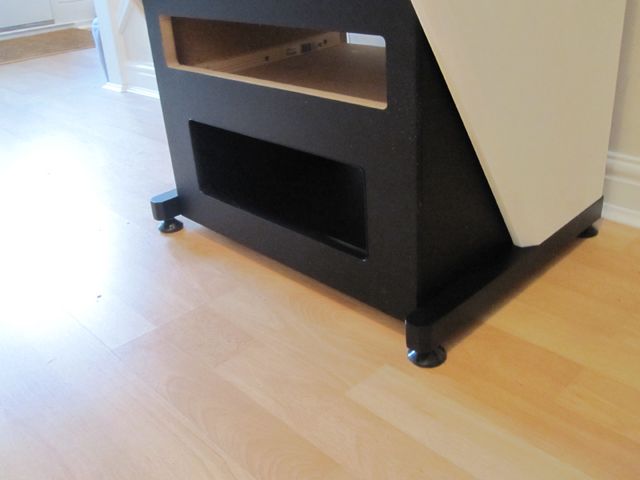
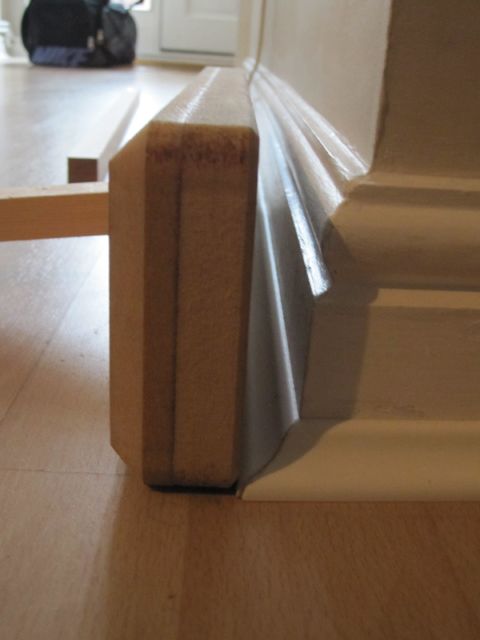
Completed cutting the slots for the T-molding and have fitted it. I was a couple of mm short where the T-molding joins at the top but never mind, you can’t really see it. Both apertures will be covered by doors with a mesh grill anyway. It looks a little gloomy at the moment but will look a lot better once I fit the legs/adjustable feet and get the white side pieces in place.
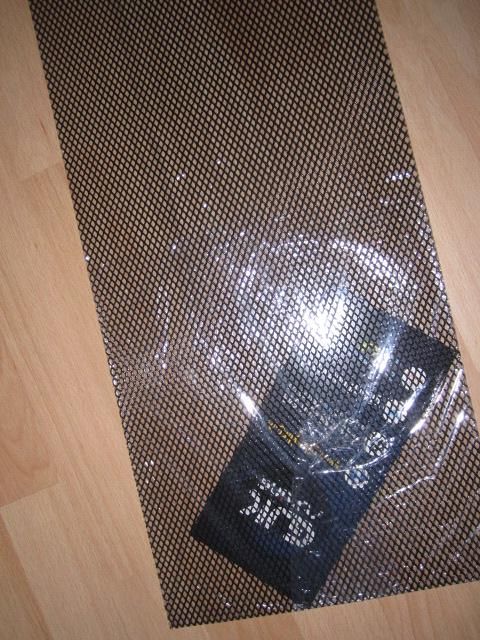
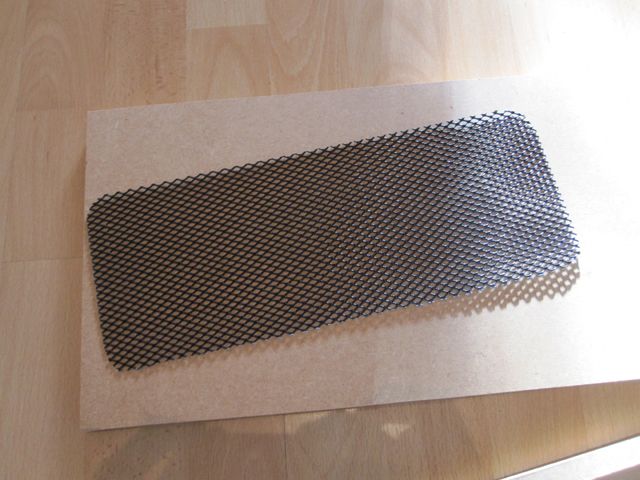
Mesh for the doors:
Coming along slowly but surely…
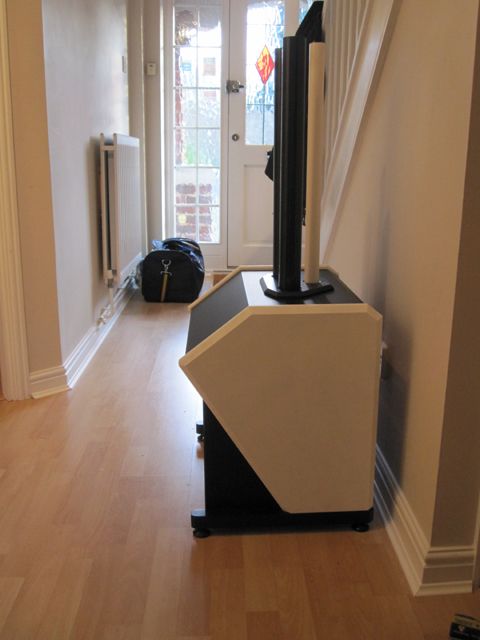
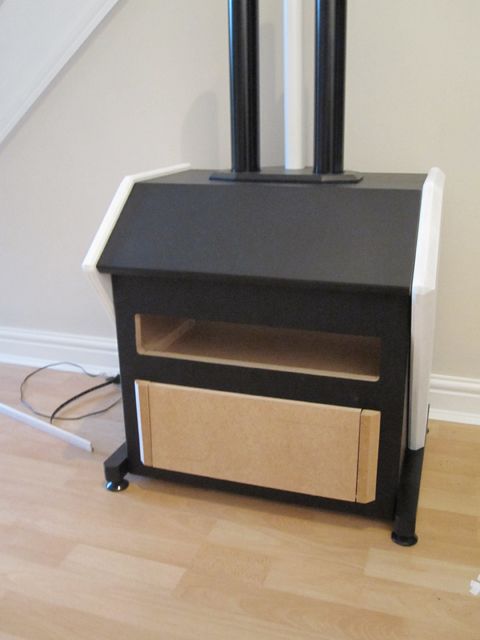
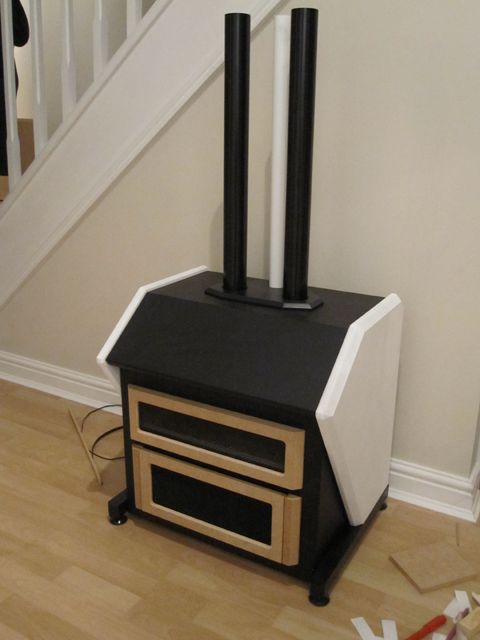
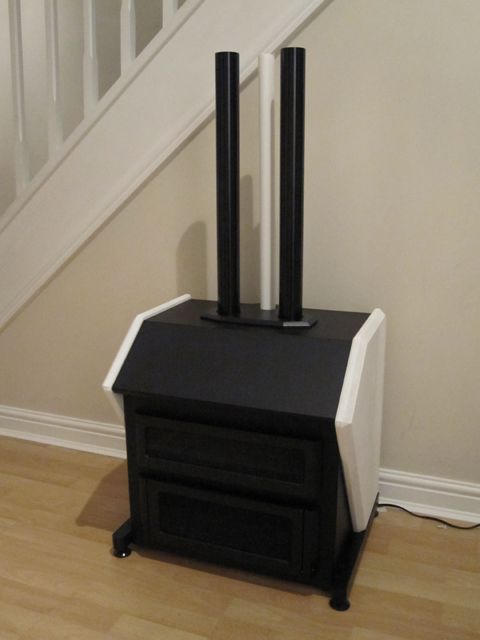
More pics. It’s definitely starting to look more the part now I have the legs on the Raptor. The sides are just primed at the moment and will need to be sprayed and some side art applied.
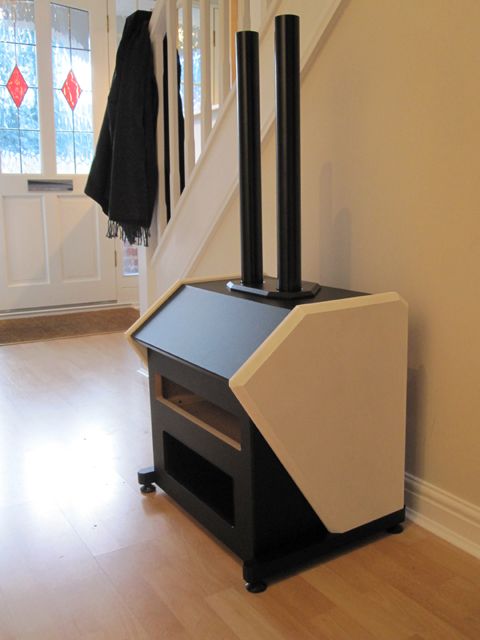
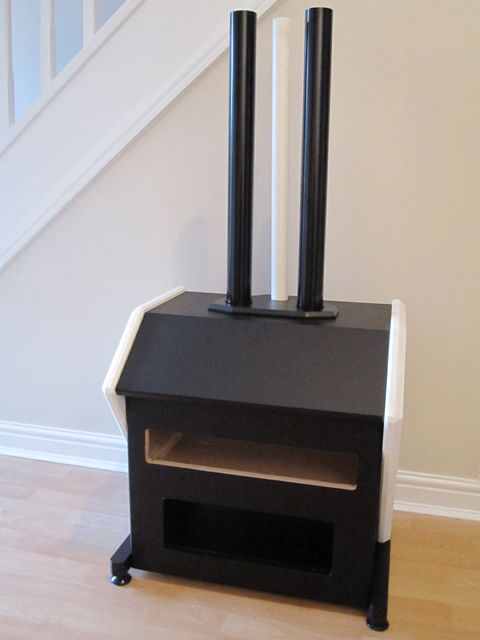
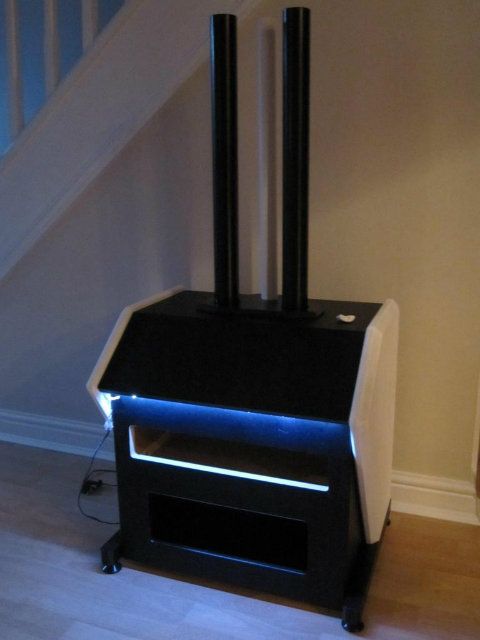
I’d been wanting to see what lighting would look like on the cab so I just had a quick go at assembling something. Held together by blu-tac ;D
The light is white rather than the blue hue seen in the picture.
I’ll be stopping until next week now. I will consider the design of the rear shroud, marquee and, most importantly, the control panel in the meantime.
Yes it was going around of edges with less than an inch of width are involved. I checked back at my package and saw that it was the peel and stick variant, where it’s light enough to be removed and repositioned. So the adhesive isn’t that “permanent”. I’ll probably try to get some from sign suppliers.
It is great to see a bit more detail than the other tread I’ve seen on this project. I think I’m going to have to give the chalkboard vinyl a try and keep my eyes open for that fat router bit.
Looks great!
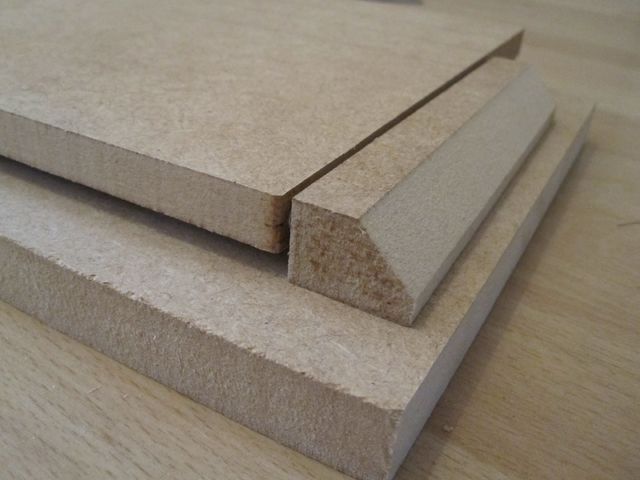
Thanks sharpfork. The router bit used is this one:
It’s 19mm deep so will create a full-depth beveled edge on standard 18mm / 3/4 inch mdf sheet. The results are quite impressive.
I agree that the results are impressive! I bet you have some serious cleanup after taking out that much material. The 1/2" shank is an issue with my current tool setup. I guess I have another Craigslist tool search to add to my list.
Yup, dust gets everywhere 
Now comes the fiddly part, making the doors for the cabinet apertures…
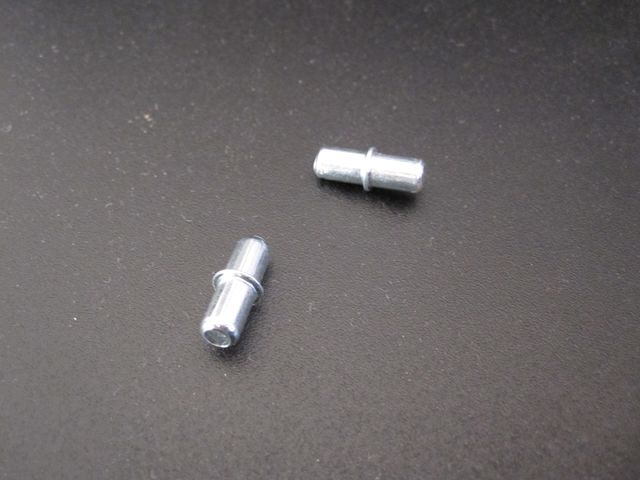
I didn’t want to use pin hinges so I had to figure out another method. I had an idea to use some Ikea shelf support pins and use these as a ‘swivel hinge’ … that’s my term, there’s probably a real one.
I’m testing this out at the moment with a mock-up so here’s the design.
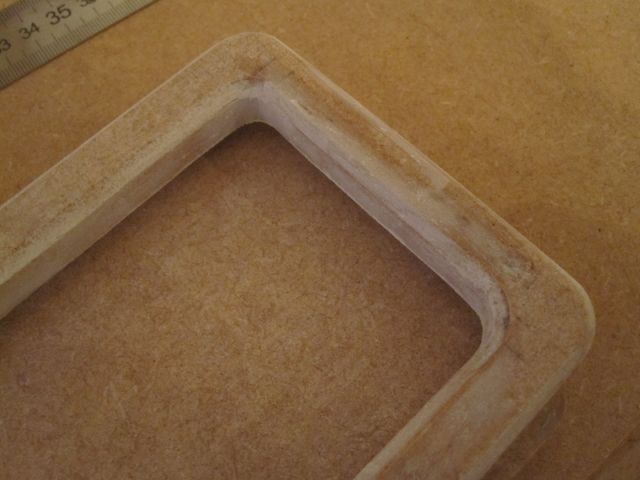
The door/flap will be made of 12mm MDF. The side pieces 18mm. This will allow the flap to rotate relative to the side piece whilst providing clearance. Hopefully the pictures will make more sense …
Ikea pins:
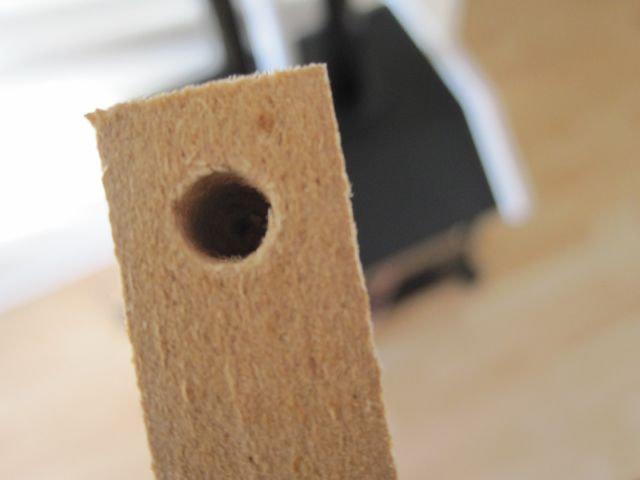
Hole drilled into the side of the flap:
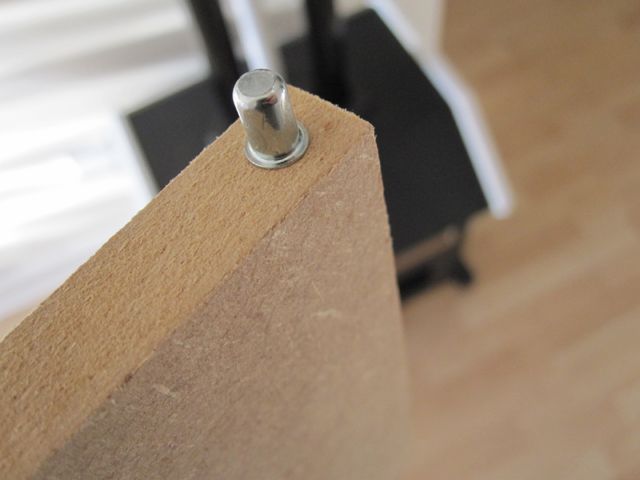
Pin inserted into the hole:
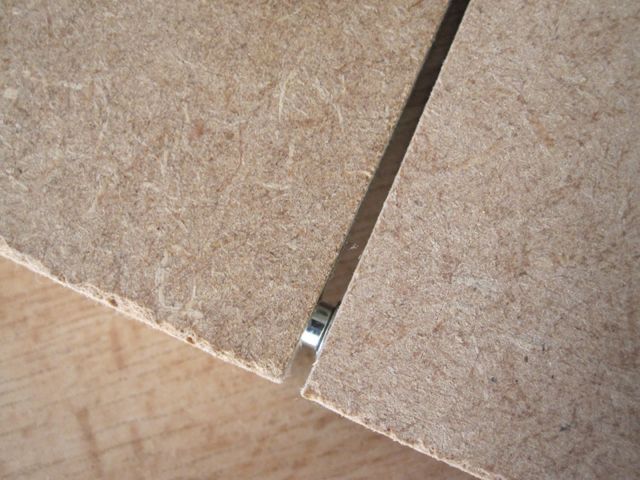
Hinge in place (depth of hole in the side piece is slightly shallower to allow the flap to clear the side piece when opening/ closing):
This will need to be done accurately to ensure a decent fit.
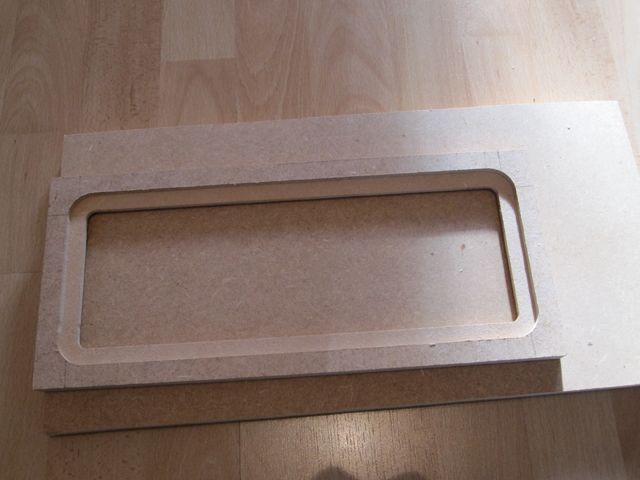
The door/flap will have magnetic strip at the top to attract to another strip on the cabinet to ensure that it remains shut. The door/flap will have a cutout with embedded wire mesh. I’ll post more pics as I go …
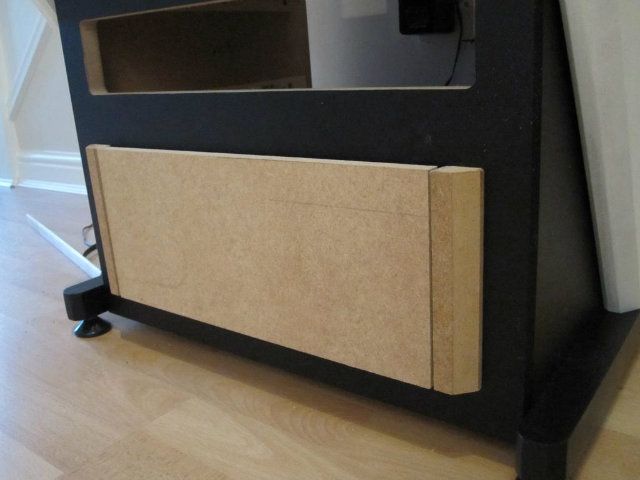
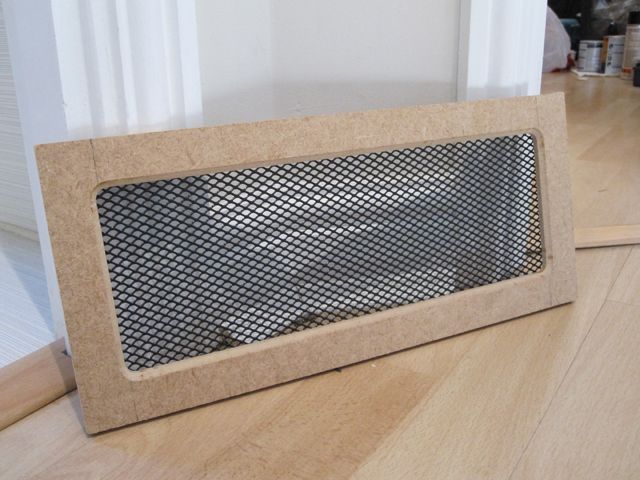
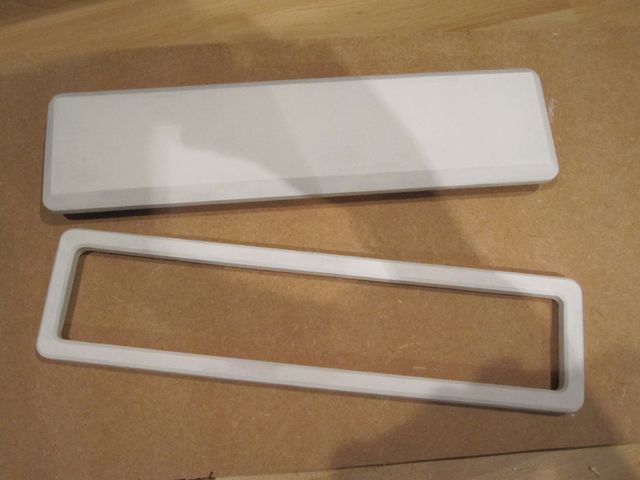
The lower door/flap and the side pieces have been cut. A window will need to be cut into the door/flap to insert some mesh.
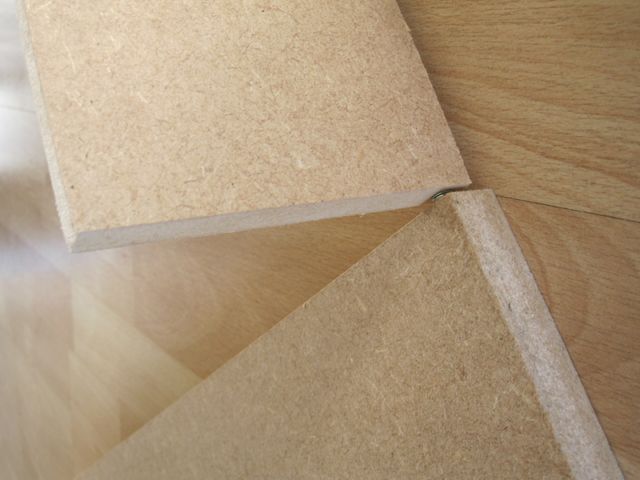
The side pieces are stuck to a piece of scrap with double sided tape to check it works and that everything is flush. It looks ok.
Making sure it opens!
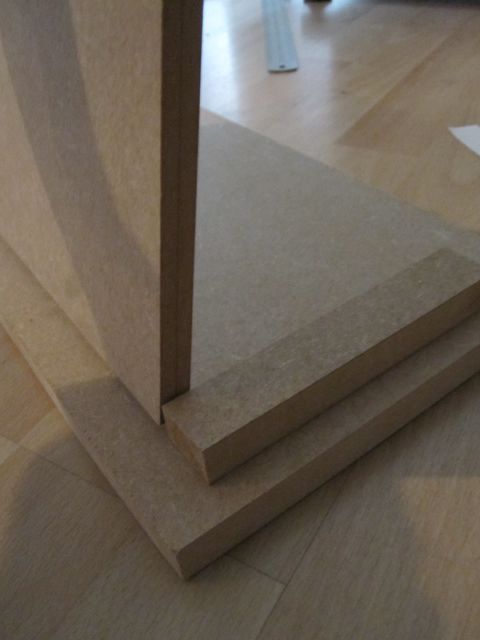
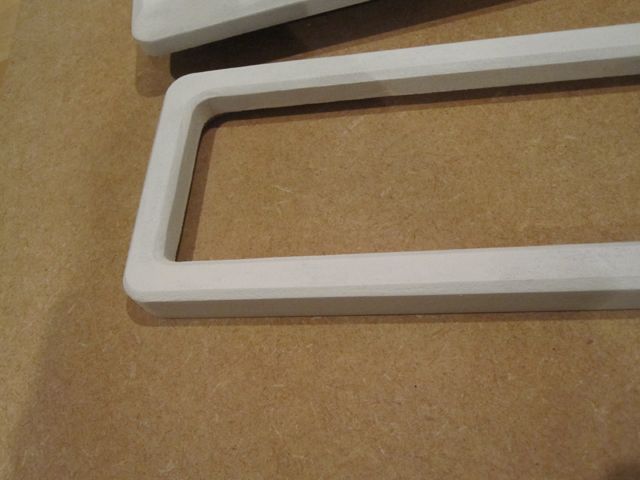
Side pieces beveled:
Fit looks ok:
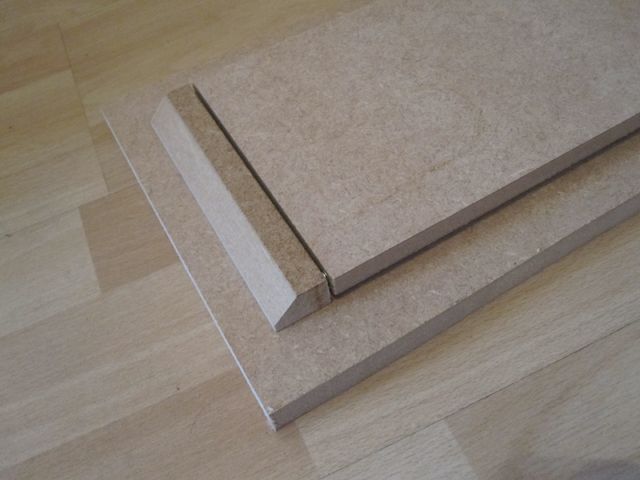
This side pieces will be screwed onto the left and right sides of the lower aperture.
Itching to start making the the control panel soon …
Edit:
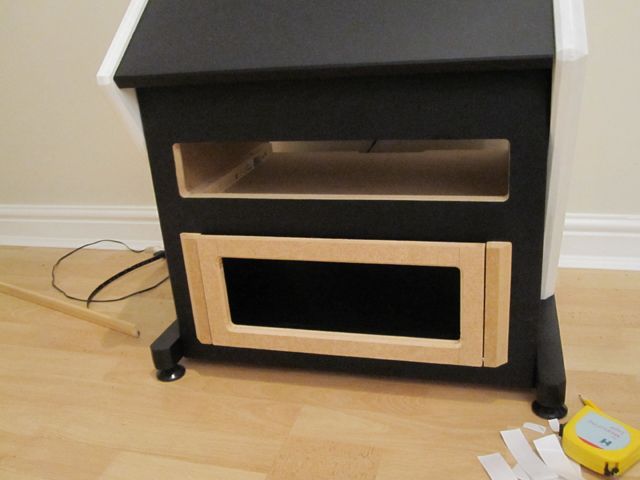
Temporarily attached to the front:
Probably the last pics and progress for today. Will concentrate on the mesh insert tomorrow.

Very fiddly to do with my meager skills.
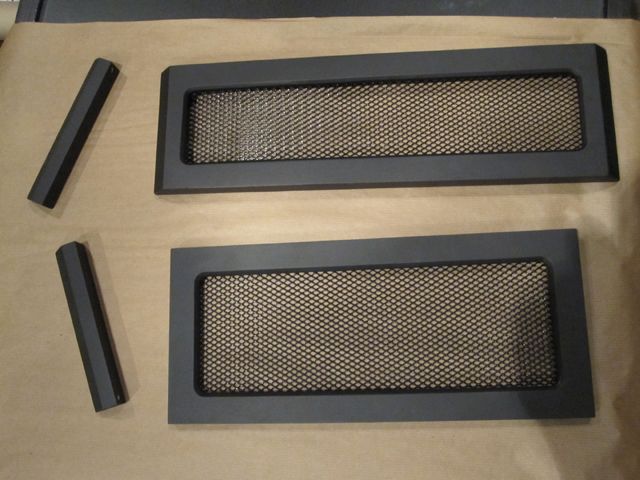
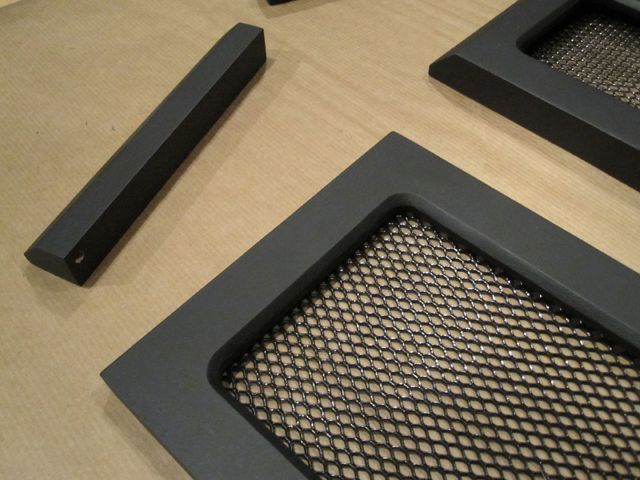
Managed to get the wire mesh and the inset for the door sorted.
Completed the cover for the top section (double sided tape holding it in place atm):

Filling, sanding and priming next weekend.
Cabinet doors have been filled, primed and sanded and the base coat applied. Will be varnishing these tomorrow.
Looking forward to starting on the control panel soon.
Complete the finish and fitted them to the front of the cab. The mesh is held in with hot glue. I need to tidy up the inside of the lower door a little. The photos are a bit rubbish unfortunately.
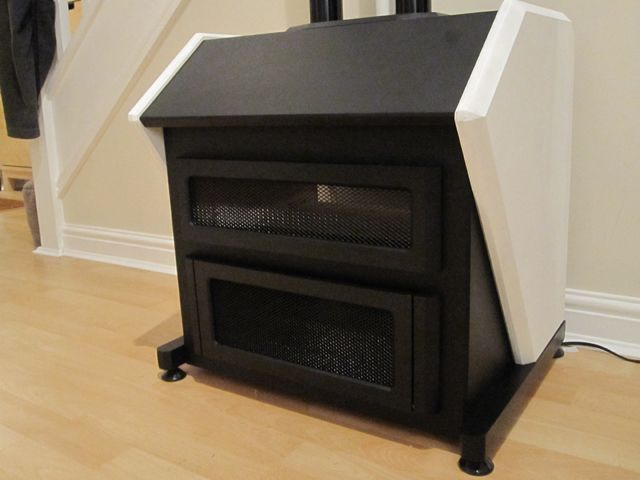
The next job will be to fit the magnetic strip I ordered to the top of the door and the cab.
Edit:
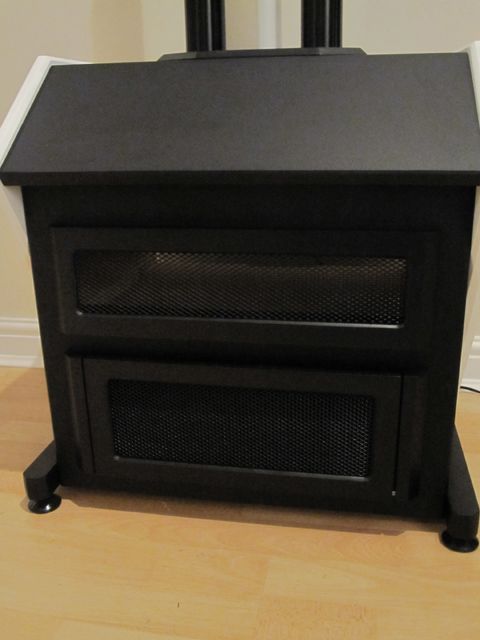
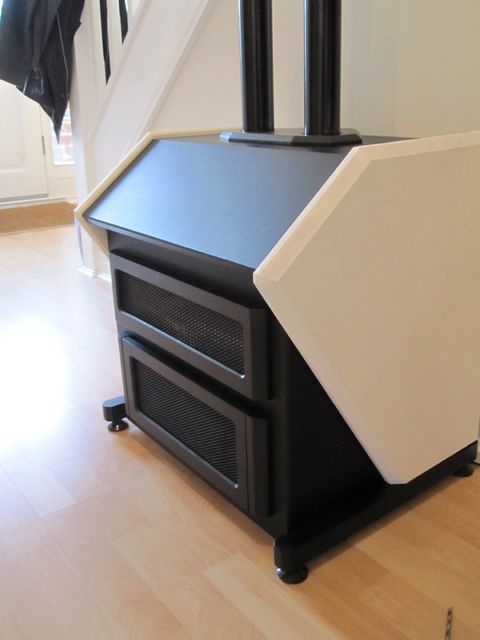
A couple of better pics now there’s some daylight around.

Started on the marquee. I wanted something similar to the Golden Tee machine but a bit sleeker (less height) and chunkier (more shape) at the back - I’m going to be paying particular attention to the profile of the machine due to the place it will be located (visible sideways through an open door). The width of the marquee is 40cm and the height 10cm.
The Golden Tee has something a little too big I think.

I think the marquee will give a better balance to the cabinet and make it feel much more like a real machine.
I had a little mishap with the front frame of the marquee - the MDF split (just a thin ‘slice’ at the top - didn’t go through) and messed up the cuts. Nothing a bit of car body filler can’t rectify though. You can see it on the right of the picture.
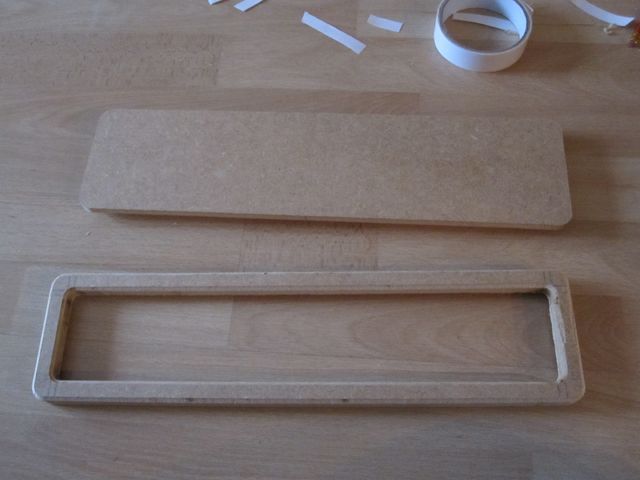
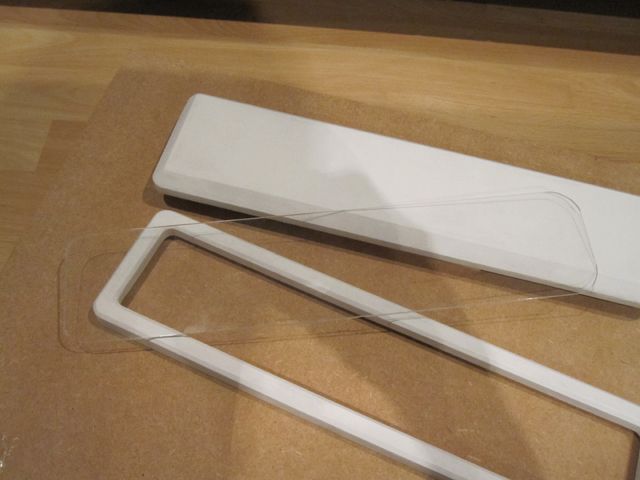
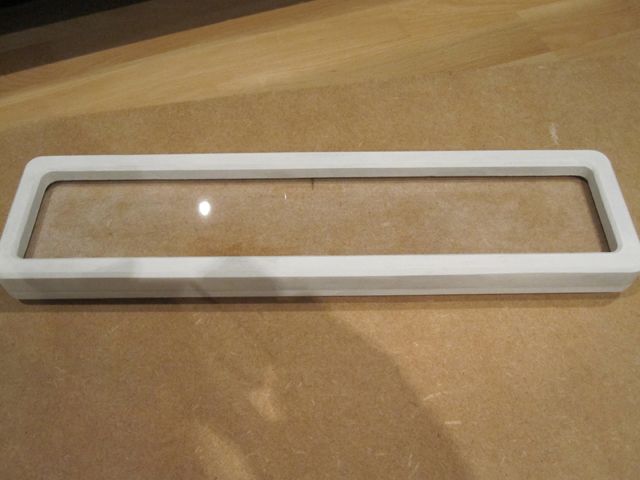
The marquee comes in 2 parts - the front frame and the back. The front will be finished in white and the back in black.
The back of the frame - recessed to allow for some acrylic and artwork:
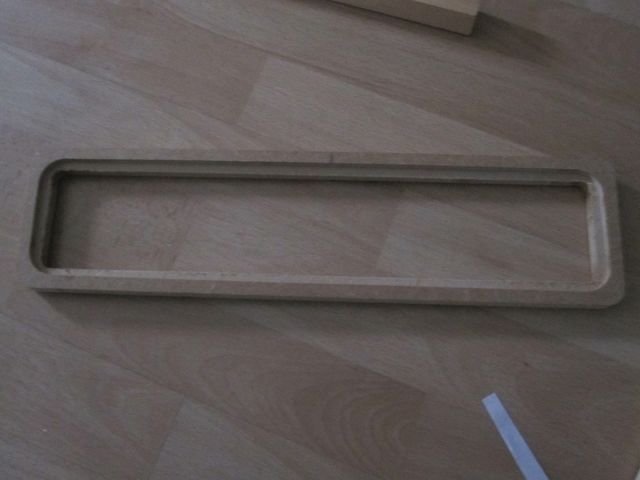
Basic shape:
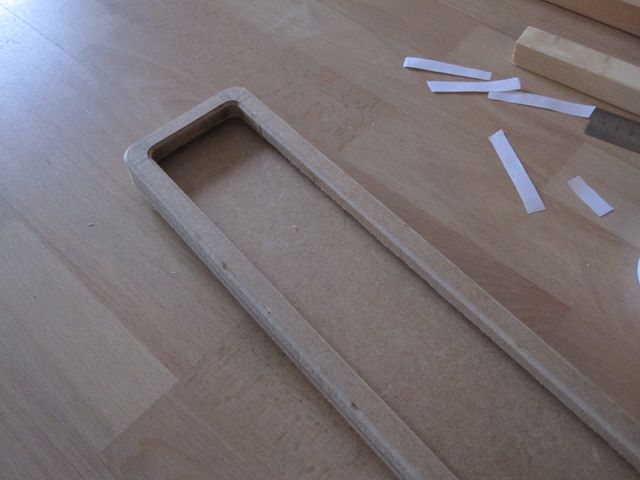
Profile:
Now back to filling the mistake and prepping it for painting …
The display is ordered and should arrive next Monday …
More progress on the marquee.
Rectified the mistake with some car body filler and applied some to the rough, routed edges:
2 coats of primer on the front and back pieces:
Cut the acrylic:
And designed the artwork (may tweak this a little):

I will be spraying the front piece white and the back black.
lol that made me chuckle 
The sad thing is though, that’s exactly what I’m doing …
Hope to make more progress on this over the New Year. Display arrives on Monday.
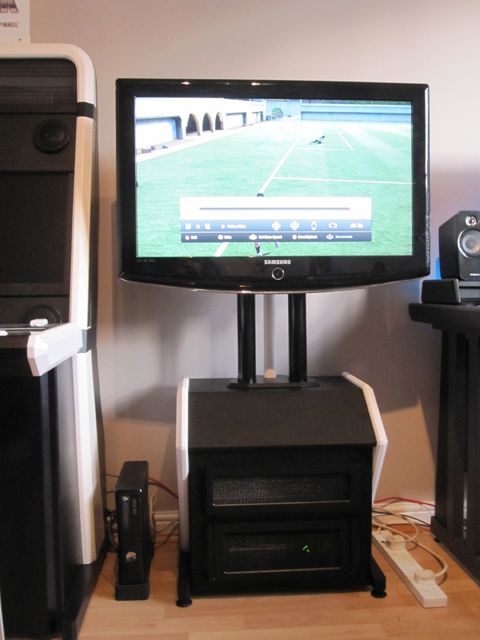
New display has arrived
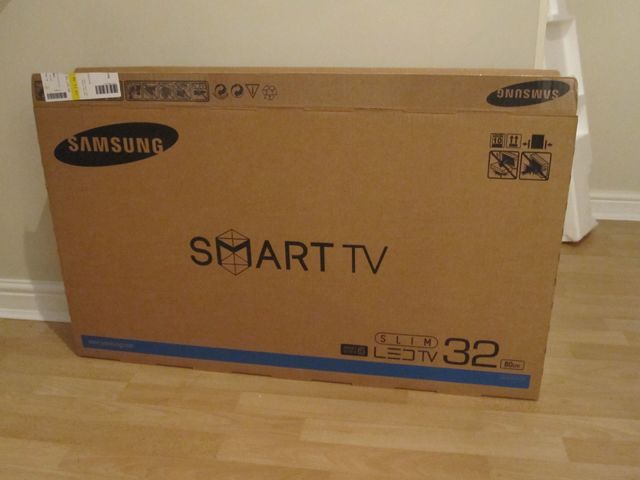
Light and very slim with a nice thin bezel:
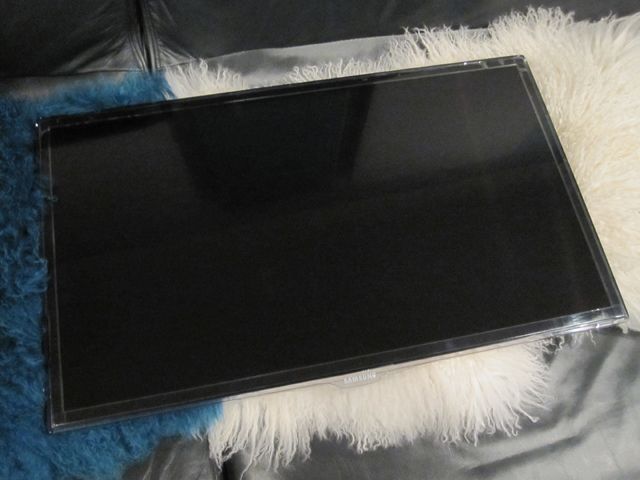
… compared to the current one (will be moving this to a different location with more room):
Connections on the back:
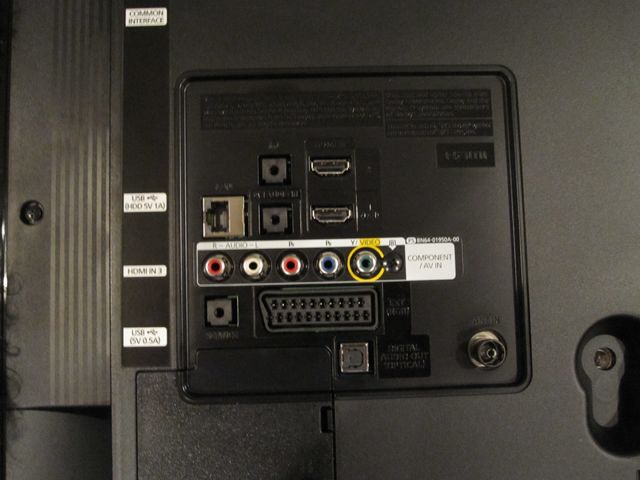
Just have to wait until everyone’s awake before I get the router out and start to make a mount for the thing.