If I use 18mm MDF, I will generally look for a screw that’s about 5mm or so ‘short’. So if the wood strips are 20mm and the MDF 18mm, I would go for a 30mm screw due to the screw head embedding into the wood strip by a couple of mm or so when it’s really tightened. Hope that made sense.
Wow, can’t believe I haven’t been following this thread. Good work ericleroi.
Wouldn’t that design make it a little bit top-heavy with the TV on? Any plans on making a metal base to add a little weight and a lower center of gravity? Or maybe a wider base?
Thanks Gorilla White 
The unit is actually pretty stable x24. I had an abortive attempt at a previous one which was a good deal taller and that had stayed planted for over a year even without any legs and leveling feet on the base. There’s still a fair amount of MDF to add to the sides (30mm panels) which will add to the overall mass. Completely understand why you might think that though.
Few things progressed.
Legs cut (will require additional finishing and hardening with adjustable feet fitted)
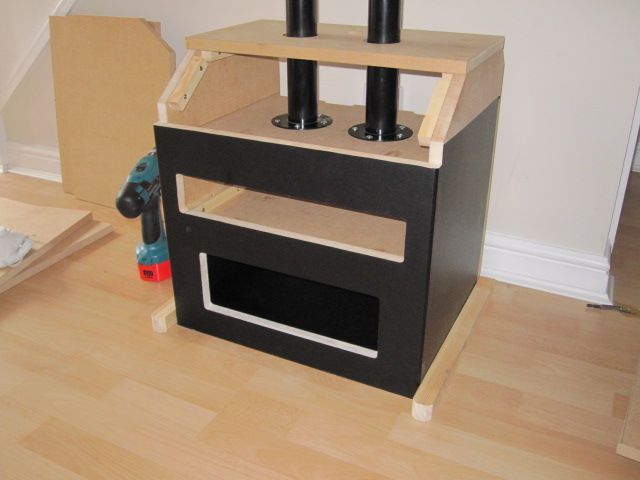
Second of the three top pieces fitted and glued. Will wait for that to dry and screw it in. The usual body filler and sanding will then be done.
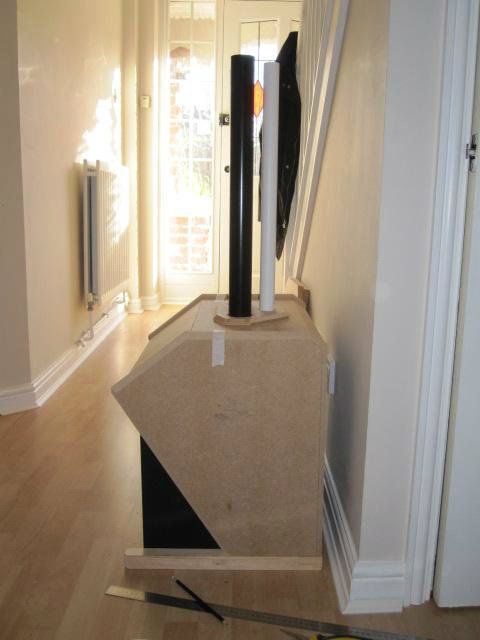
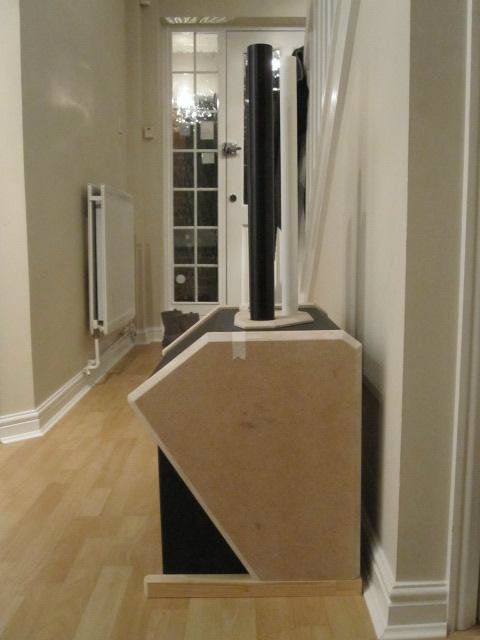
Side view:

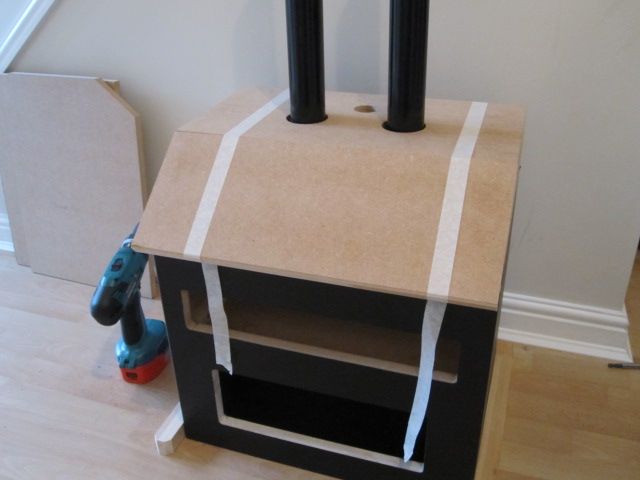
Next will be to complete the third top piece. After that, I’ll start on the shaped side panels.
It looks like it’s shaping up to plan at the moment.
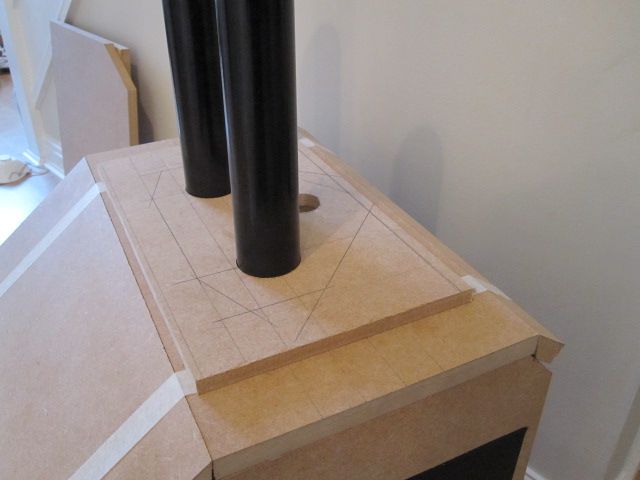
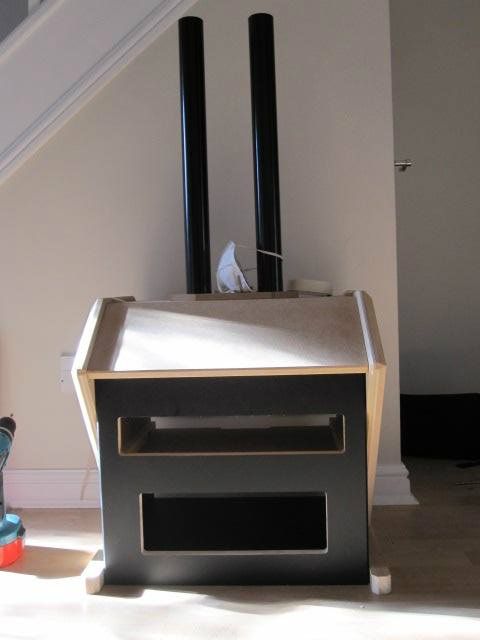
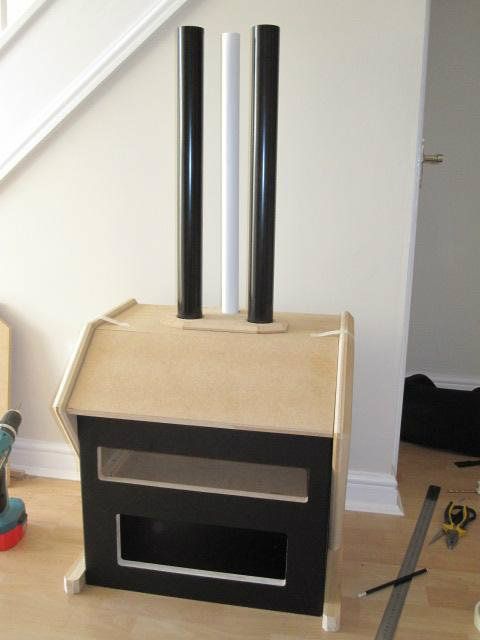
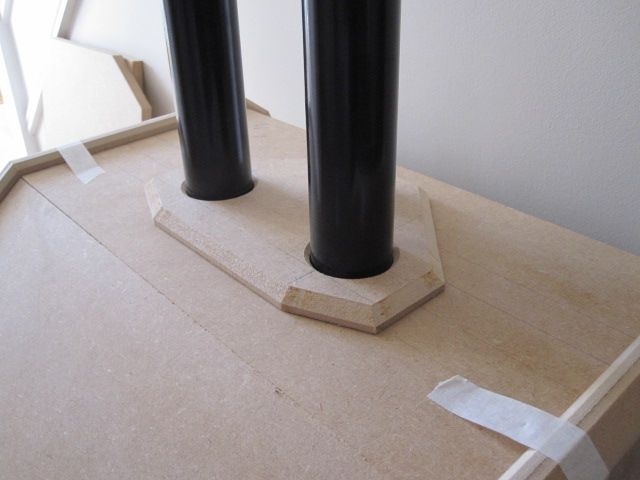
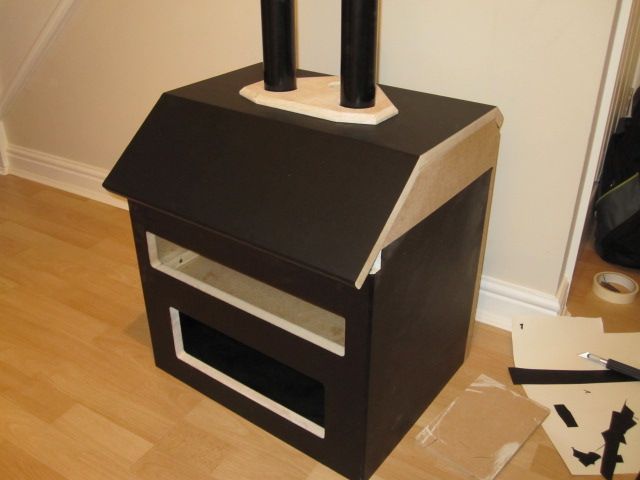
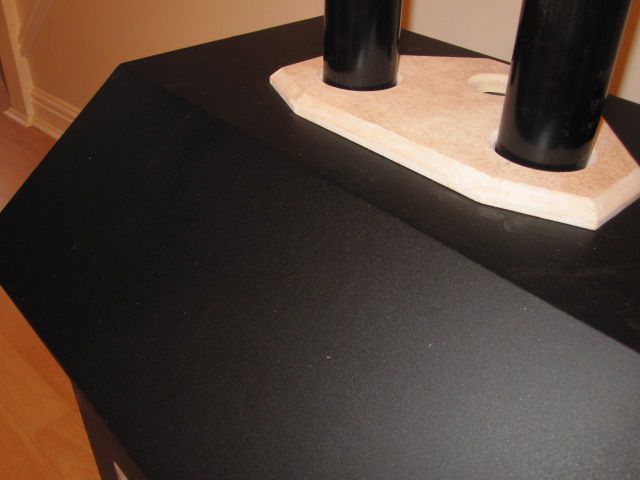
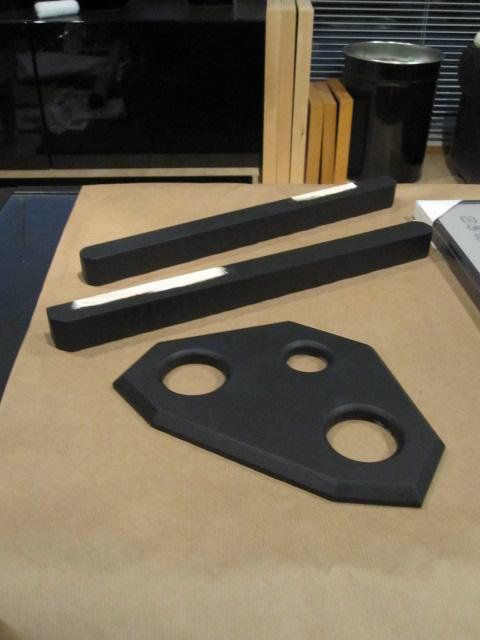
Completed the third top piece and have started to shape a retaining panel which will be placed on top of the the centre top piece as you can see in the picture.
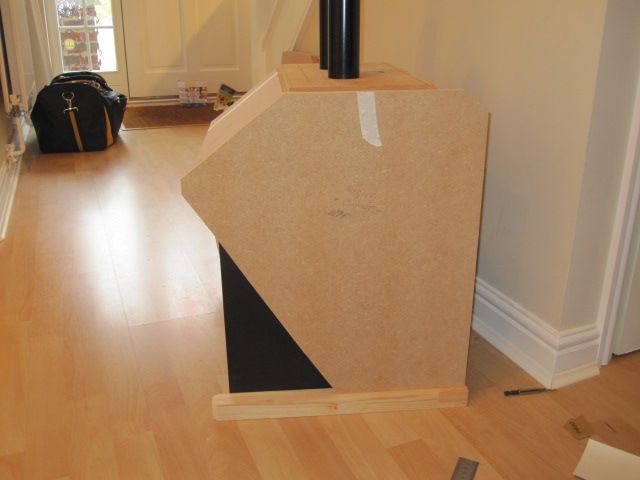
Rough cut a side piece to check out the angles. This still needs to be trimmed back and then cloned and bevelled.
Basic shape for the top retaining piece has been cut. This requires some additional router work before it is complete.
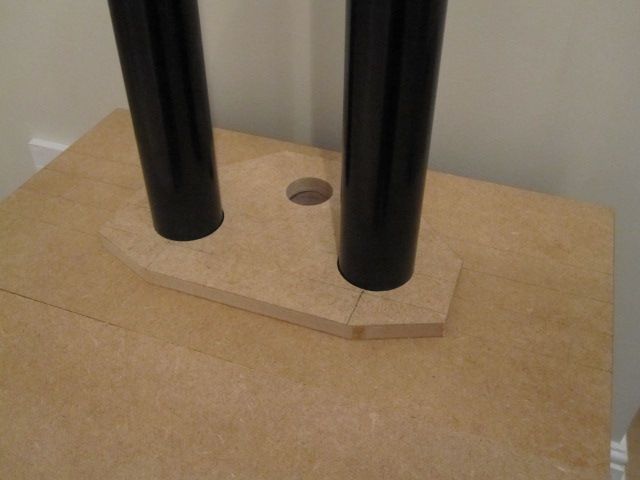
The third hole is where a pipe will sit to hide the cables. This will be white.
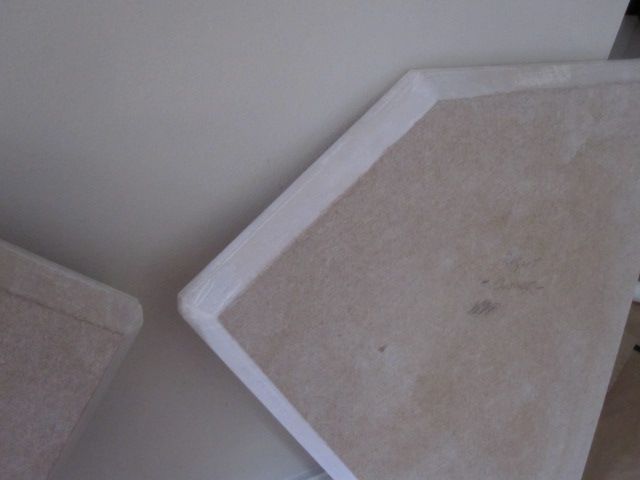
Side panels have been cloned but still require a bit of trimming with a flush bit.
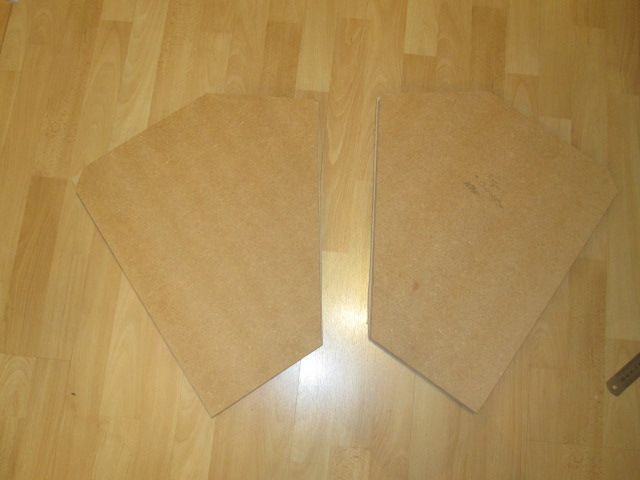
The side panels will be white.
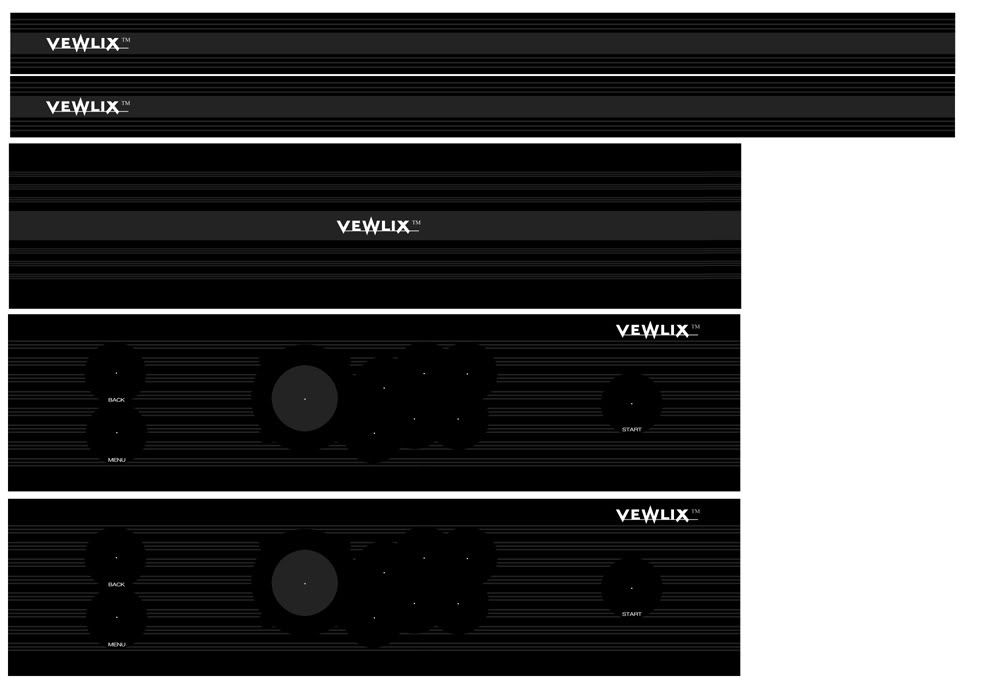
I would appreciate some input from folks on what to do artwork-wise on the side panels. I want to have it in keeping with the general style on my Vewlix cab. Basically, I feel that this should have white accents rather than a large surface which is plain white. Open to offers!
This is what I put together for the Vewlix cab.
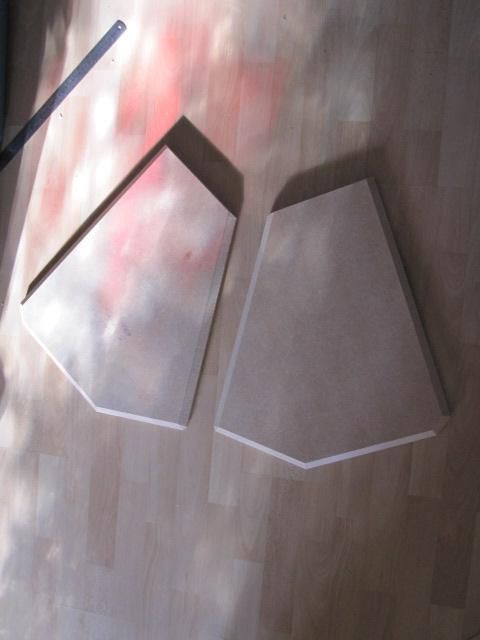
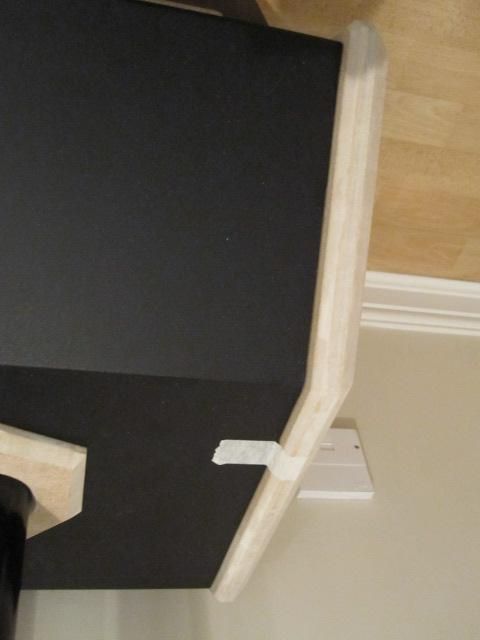
Sides trimmed and bevelled.

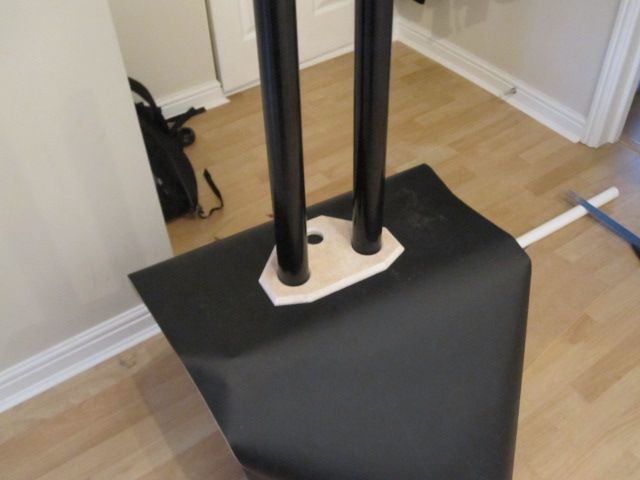
Shaped the retaining piece and cut the access tube. I actually think this 3rd leg will give it a better view in profile. With the location I have planned for it, it will be directly visible from the side through an open door so the look of the profile is important.
This is the TV I’m thinking of getting when funds allow (provided the input lag isn’t a problem):

Nicely done
Thanks speedster
Now on to the bits which take the time - preparation of the wood surfaces which need to be pained/sprayed. Pass 1 of filling/smoothing the MDF edges with car body filler. I’ll now check for imperfections, mark them out, fill and sand back again.
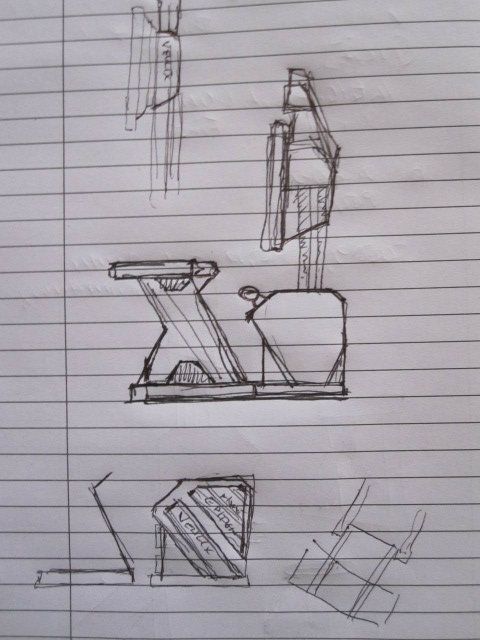
Initial doodle for the control panel section.
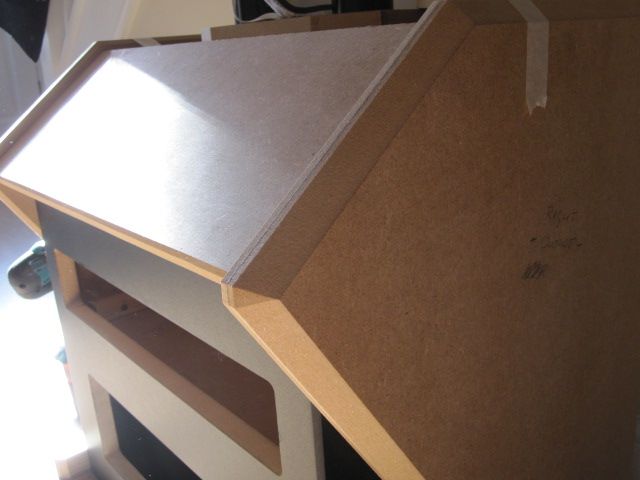
A few pics of the skinning process for the ‘roof’ of my ‘house cab’ as my daughter has started to call it. This bit was pretty tricky but it still beats painting…

Edit:
Sides have been filled and sanded back ready for priming tomorrow.

Dood this looks Excelllennt!!!
Thanks DarkOceanUniverse.
Not sure what’s happened to the quality of the pictures I’m taking at the moment - seem to have deteriorated badly. Oh well.
A couple of pics with the TV in place. A bit of work has to be done with getting this all fitted out correctly but you get the idea.
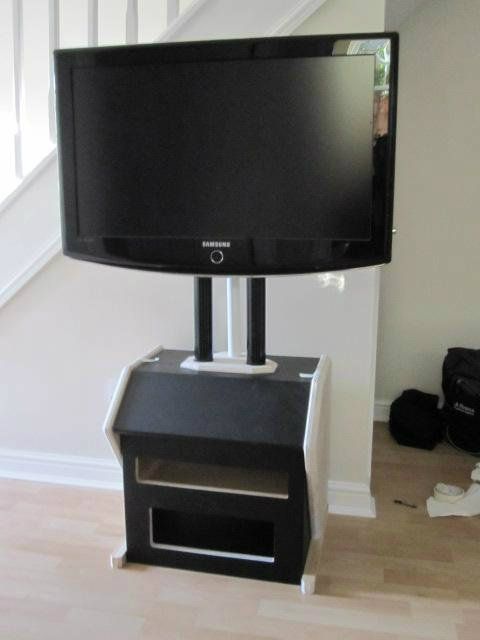
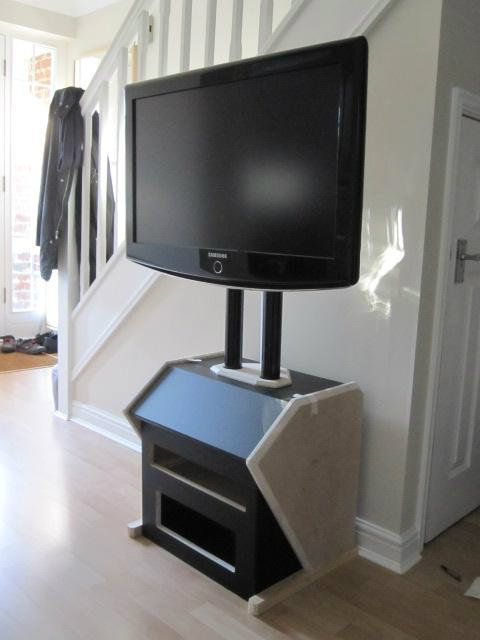
A thinner bezel on the TV will improve the aesthetics, I think.
Can you adopt me and make me one? Good stuff right there. Can’t wait to see it finished.
Thanks again GW. Actually, if my kids don’t start behaving. I’ll be putting them up for adoption …
My next challenge will be how to fit this new machine with the control panel into my games room.
Sides, retaining piece and legs primed. Legs and retaining piece will be painted black.
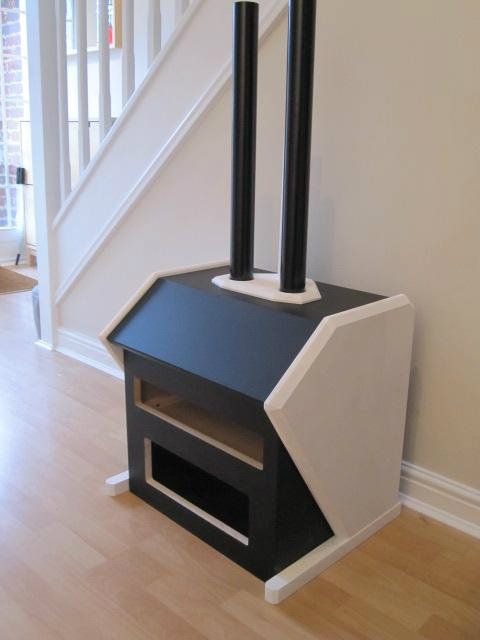
Making very slow progress due to a nasty cold and cough I picked up but have managed to complete the black base coat (blackboard paint) for the retaining piece and the cabinet legs. I’ll be using some matt polyurethane varnish once this has dried thoroughly. I’ve used this combination before and it generally comes out pretty well and nice and even.

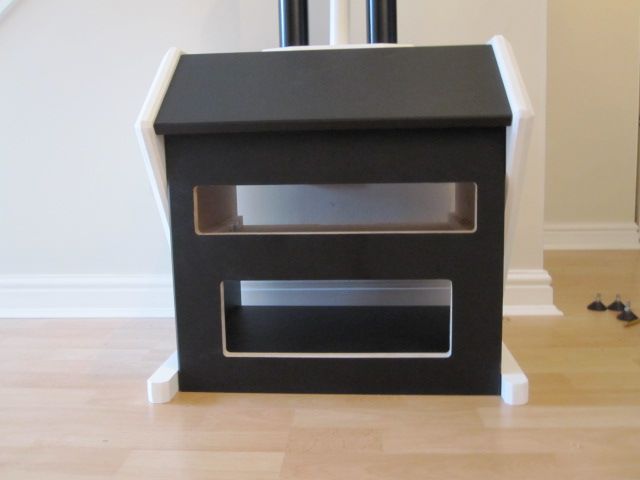
I also ordered a slot cutter and some T-molding to fit to the lower opening in the base module. I figured that it would look much better with T-molding in place.
Just in the process of designing the door panels for the front of the cab and also the artwork for the sides. I’ll also be adding a shroud at the back of the display and also a marquee.
I decided to call this the Raptor - I think it’ll look quite mean sat on its haunches.
Are you using some kind of industrial grade blackboard vinyl? The one i used won’t stay on probably due to a weak adhesive backing. Have you tried putting it on painted surfaces?
Sorry to hear you’re having problems x24. Yes, I’ve tried both painted and bare MDF (plus other surfaces) and haven’t had any issues at all with the adhesive; it really does stay down firmly. It can only be down to the quality of the adhesive or dust on the surface I guess. Is it the application to a flat surface or when you’re wrapping it around edges that causes the issue?