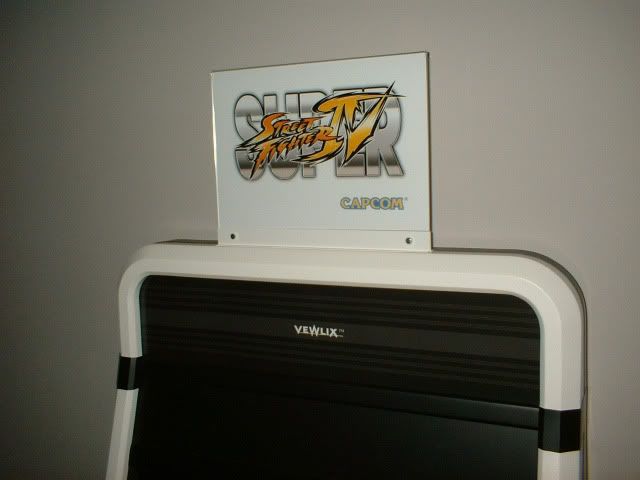
Don’t quite know what took me so long but I’ve added my artwork to the top of the cab. Wasn’t sure whether to go with the black background or the white … May resize it to be slightly larger. Looks better in real life than in the pics.
Don’t quite know what took me so long but I’ve added my artwork to the top of the cab. Wasn’t sure whether to go with the black background or the white … May resize it to be slightly larger. Looks better in real life than in the pics.
Good work man, its looking pretty slick.
Awesome!
AWESOME WORK!!!
I would like to build my own one.
One little question:
How many hours or days it took to you finish it?
Thanks
The main build took about 8 weeks to get it to the point where it didn’t have the sideart or black ‘cladding’. Took most of my spare time during this period to do it.
I’m speaking with someone who lives local to me with a view to us both doing a full 32 inch version at the same time (double control panel on this one). I’ll make sure I decase the TV so I can make it look as similiar to the original as possible.
W a t c h … t h i s … (or likely another) s p a c e …
WHOOP ! - Excitement !
They say an arcade cabinet is never done … so it’s time to resurrect this old thread.
Now I have some time on my hands again, I decided to make my Vewlix more Vewlix like. I’ll be reskinning the CP and the front of the machine. I found some really excellent vinyl which looks the business and is really durable (I pimped out my computer desk in the stuff). Hopefully you’ll be able to see the texture of it in this pic. It gives a really excellent and more professional looking finish imho.
http://i218.photobucket.com/albums/cc26/SpaceHedgehog/Skin.jpg
I’ll also be making some adjustments to the front panel to centre the monitor and add some more fitting speaker grills (now I’ve managed to fine some decent ones).
http://i218.photobucket.com/albums/cc26/SpaceHedgehog/Speaker3.jpg
It’ll look something like this when attached (just balanced in the picture at the moment):
http://i218.photobucket.com/albums/cc26/SpaceHedgehog/Speaker1.jpg
I also have located my ‘missing’ vinyl artwork for the marquee and cp. That will replace the paper prints currently in place; the print is darker and sharper.
Also thinking about making some of those strange looking boxes at the back of the cp and maybe a coin slot now that I’ve located a place that sells them.
http://i218.photobucket.com/albums/cc26/SpaceHedgehog/VewlixCPPanels.jpg
Will post some more pics as stuff gets done.
Where did you get these speaker grills and what’s the diameter on these? As for that vinyl, I’ve been looking for that type of surface for a long time, I just didn’t know where to start looking. Is that something that’s easily acquired, meaning no special contacts needed?
The speaker grills are: Monacor SG-75 Decorative Speaker Grills 3" (actual total grill diameter is 10cm approx). The vinyl is blackboard/chalkboard vinyl:
http://www.mdpsupplies.co.uk/productcat.asp?parentcatname=Blackboard%20Vinyl&parentcat=50
You can spend ages looking for the right stuff 
i was hoping the grills were 4". As for the vinyl, my dad does signs on the side, i wonder if his suppliers have this type. Thanks.
http://i847.photobucket.com/albums/ab36/superarankstrider/gill-resurrection.gif
So glad to see this thread RESURRECTED!
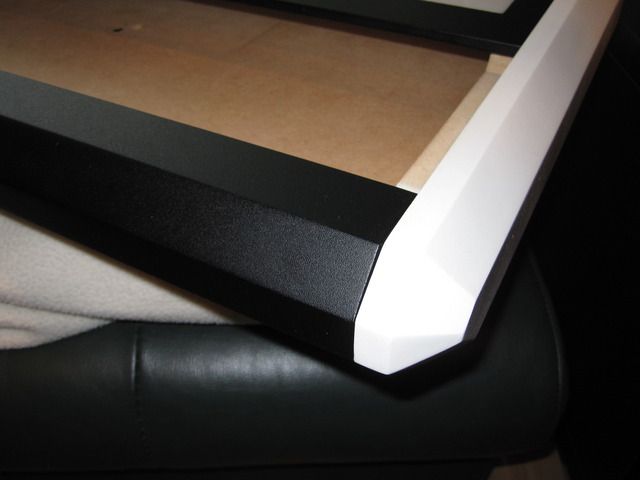
Slow progress … finished recovering the first of the 3 monitor bars
http://i218.photobucket.com/albums/cc26/SpaceHedgehog/IMG_0764.jpg
and checked out my vinyl cp print …
http://i218.photobucket.com/albums/cc26/SpaceHedgehog/IMG_0766.jpg
looks a little bumpy … hope it sits flat under the acrylic. If not, I’ll just keep the original
This is great! I will follow your work from now on, I hope to make one of this someday, but will not be soon…
Hey, I’ve been looking around for that template you have… do you mind to share the psd file or tell me where can I find it so I can use it in my next fight stick?
Keep the great work going.
My megaupload pdf has unfortunately passed away Fearless. The prints I was going to use aren’t up to scratch so I’m sticking with the originals … for now. If I can find the time, I’ll do them again and share them.
The control paned is now re-skinned.
Next up will be to take my Logitech speakers apart … right now, I’m off to get wood 
This vinyl seems like a grand idea; I’m assuming it holds up well against vigorously sweaty man hands during sessions? (compared to prolonged exposure of sweat, etc on a painted finish)
It does hold up well to that kind of thing and also the fingernail test (the harder the surface it’s stuck to, the better).
Speakers have been de-cased:
http://i218.photobucket.com/albums/cc26/SpaceHedgehog/IMG_0773.jpg
Lower panel has been cut:
http://i218.photobucket.com/albums/cc26/SpaceHedgehog/IMG_0774.jpg
I can’t wait to see this finish, so much patience and dedication.
Done … for now, at least.
http://i218.photobucket.com/albums/cc26/SpaceHedgehog/IMG_0777.jpg
http://i218.photobucket.com/albums/cc26/SpaceHedgehog/IMG_0779.jpg

Hey eric, what kind of sound set up did you used here? Stereo, 2.1, Quadraphonic…?
It’s a logitech z-5450 (5.1) - provides dual stereo output as well so all the speakers work
Does it look as great in person? Photos look great!