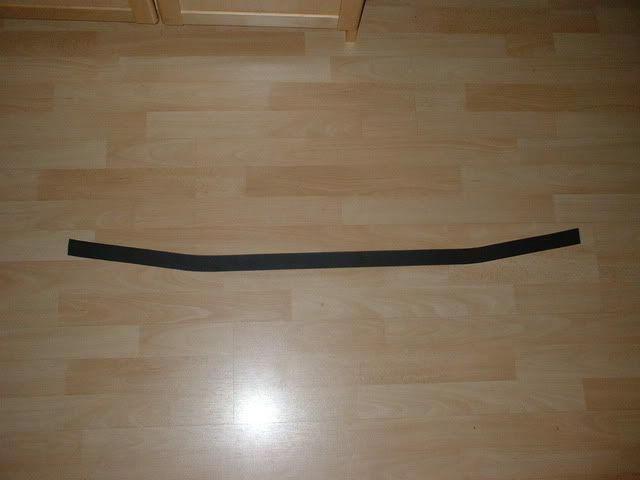
Here’s the bottom trim section cut. I’m going to paint between the joins so no white shows through although it’s exagerated as the pieces aren’t glued yet.
Came out as well as I could have hoped for.
Here’s the bottom trim section cut. I’m going to paint between the joins so no white shows through although it’s exagerated as the pieces aren’t glued yet.
Came out as well as I could have hoped for.
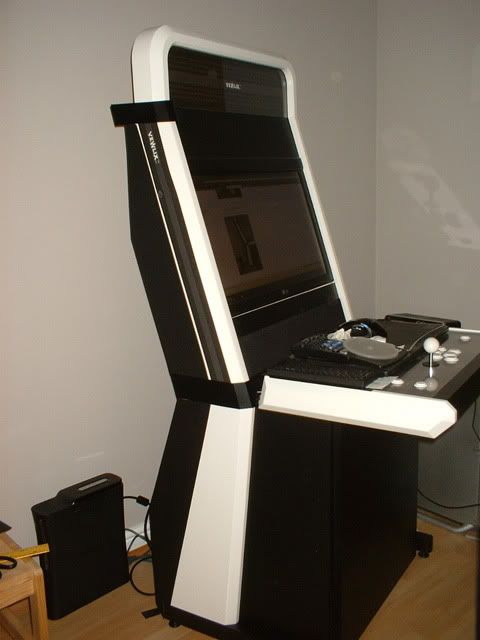
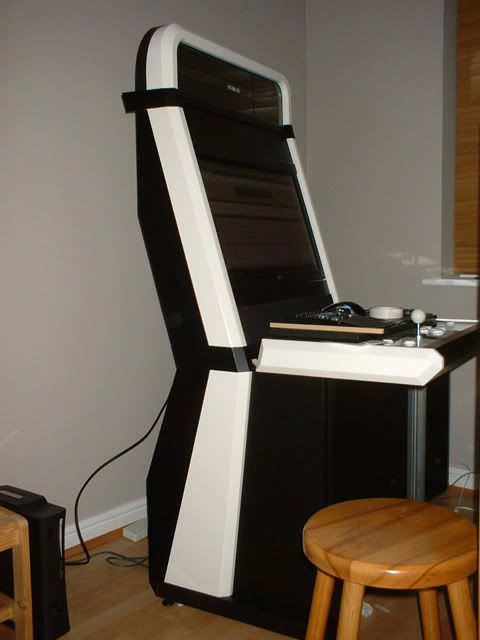
Tried it with the sideart. Not sure, waddaya think? With or without?
i think it looks awesome with the side art.
looking good ericleroi! a bit off topic but whats the clearance for your legs under the control panel (from front of the front of the base to the end of the cp)? the reason i ask is i thought i had mine (which is about 295mm) just right until i pulled the controller back towards my lap slightly and hung it off the end therefore creating a slight pitch for the controller surface, i found this super comfortable and now im gonna have to rethink the whole design, i think i will slightly point them away from each other also to give more elbow room.
sides are looking great tho!.
@theBAYsics, thanks for the feedback. I think I’m going to go withthe artwork. It’s probably because I haven’t fitted the top trim that it looks a bit unbalanced.
Hi sponge, clearance is 255mm. I remember siting the panel a little further back than the original for the sake of stability. I don’t have a problem even though I’m 6’ 2"
Ah-mazing.
Side art for sure.
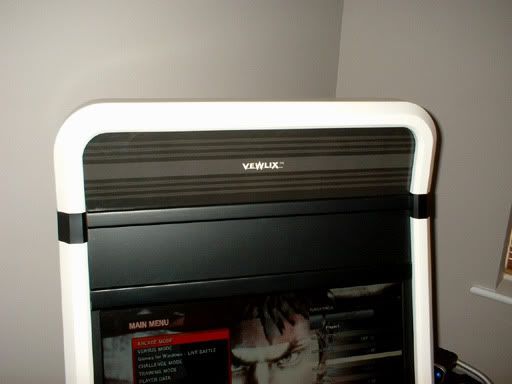
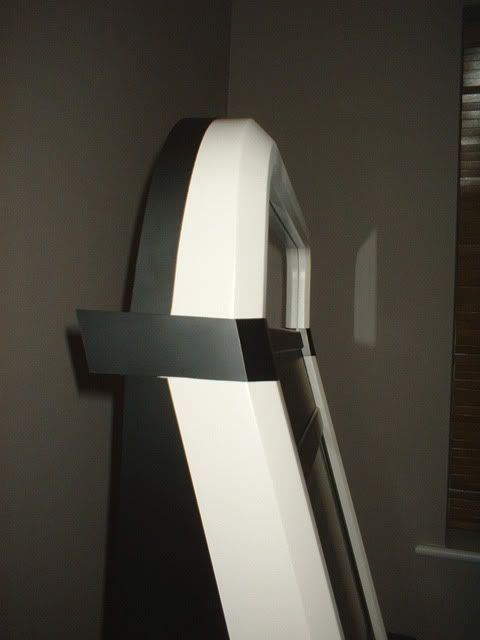
Thanks Donovan! Really glad I started on this. The left hand side pieces are complete and permanently in place. I’m working on the right hand side now. Here’s a picture of the two bands in place at the top:
Definitely with side art.
Side art or die!
Really pal, i tlooks very neat with the new modifications!
This was an amazing thread, Dude, I will pay you to build me one!!!
yes im feeling the black vinyl, im thinking maybe masking up and spraying those areas black…could turn in to an absolute disaster tho! and yes with sideart dude! off topic but did you go to devonshire primary?.
This really is the slickest custom built cabinet ever. Just everything about it makes me very envious of your skills.
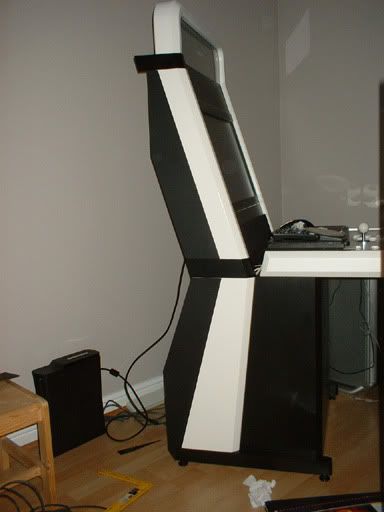
Thanks for the kind words everyone. It gave me a bit of a boost as I’m flagging a bit today. Anyway, all the trim with the exception of the top piece is complete and attached to the sides. The top bands need triming but I’ll wait until I finish the top strip. Here’s an idea what it will look like (temporary piece in place). It may be easy or difficult, let’s see how it goes:
The idea will be to angle the top slightly to reflect the original. This is the bit which may be difficult to get right.
The overall profile looks much better now.
Next will be the artwork holder on the top of the cab. I’ll need to get some acrylic first though …
Edit: Sponge, I didn’t go to Devonshire primary.
this thing is amazing.
i wish i had the tools, space, and funds to do something like this.
Extremly good work on that backside and artwork ! It looks excelent man. Keep it up 
Thanks antojoso and Jin_!
Not much to see here but I’ll post for the sake of completeness. This is the, wait for it … piece of plastic that will go on the top section. It took ages to figure out how to get the curves in the right place and the thickness of the trim correct. It needs to be covered in vinyl and stuck down. I’ll need to build the back out a little to attach it properly. Probably have to do this at the weekend.
Finally finished the strip work and built out the back so only have the back panels to do and the artwork (except a few other minor tweaks).
http://i218.photobucket.com/albums/cc26/SpaceHedgehog/VewlixSlimSideMinusArt.jpg
Very nice!! Question, what are the measuremnets of the extended back part of the panel? I’ve never seen anyone actually build beyond the side panels before, if you don’t know, then how can I get them?
ericleroi my man you must have the patience of a saint!, but seriously, looking great mate!.
WOW this is awesome. great job.