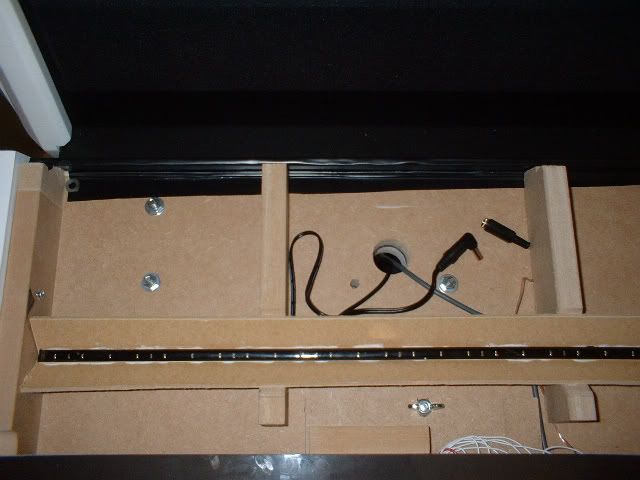
I cut ‘V’ shapes into the top panel supports, cut 2 strips of 3mm board and attached them to the sides. I then mounted the LED strip to a piece of wood and glued it to the bottom of the ‘V’:
To support the opal acrylic, I attached pieces of thin plastic card underneath the cutout on the panel and then cut thin strips of white craft foam and stuck this to the top of the plastic card:
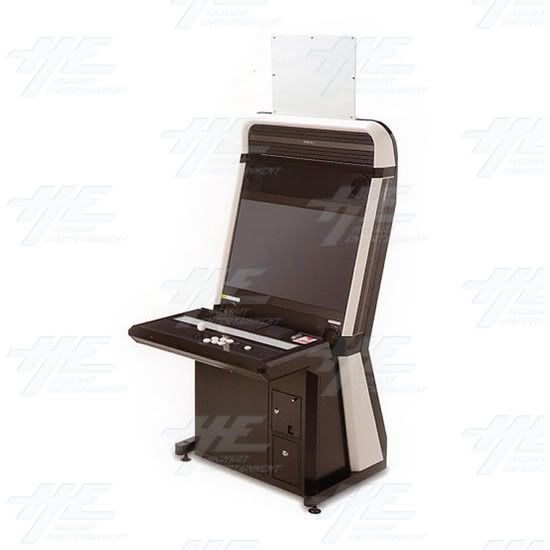
It just rests on these supports. I still have to find some thin silver strip to go around the edges to finish it off.
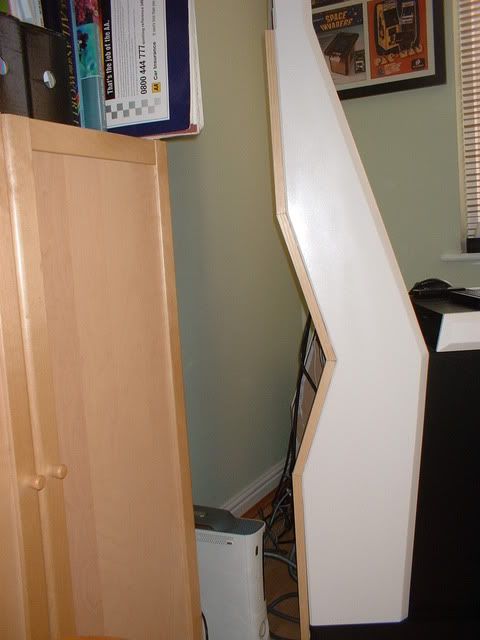
Still working on this in fits and starts as I want to finish off the back of the cab properly. I also want to to improve the aesthetics from the sides. The back will have an additional top piece made from MDF to make it wider by 18mm and will be painted black. I am running wood strip up the sides at the back as well which will also be painted black. The rear panels will fit between the wood strip.
Here’s a picture to give some idea of what I’m talking about. It will obviously be finished nice and smoothly and filled properly.
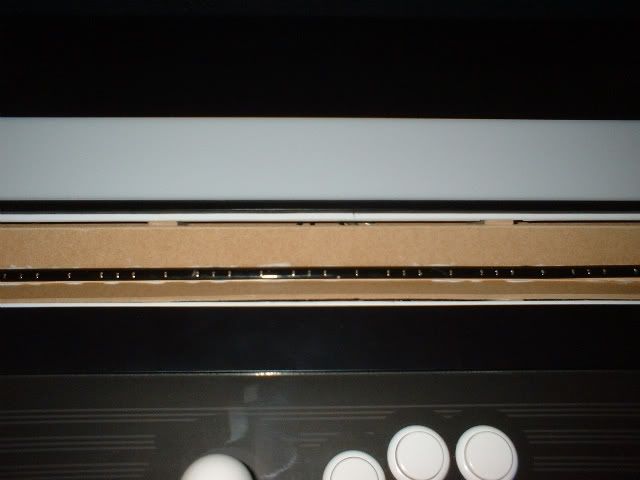
Because the sides are bevelled at the back, the strip is recessed slightly so should give a nicer looking finish.
I’m also considering making one of those acrylic artwork holders for the top to house some A4 sized artwork.
Nice. I was thinking of ways to finish the back, seems you have that covered. I’m starting to find Sketchup is a handy tool for generating ideas…keep us posted.
Hello mate, just wanted to congratulate you on your success. That’s one hell of a cabinet you put together.
I actually got a school project going on right now, and i’m supposed to build an arcade cabinet, and my plans this far was to build some sort of Naoimi cabinet, but your work just blew my mind man!
I would be great full, and honored if i was allowed to use your blueprints for my project?
I’m currently in my last year of School here in Sweden, and there is no such things as an arcade in this Sweden, unless in the capital, but there are NO vewlix cabinets in Sweden!
So i simply ask you this, will you please lend me your blueprints for your creation and thus bless Sweden with your magnificent Vewlix cabinet?
anyone have any idea for “sidearts” for the white part of the cabinet?? I am trying to make one too but mine will be lot different(taking obvious shortcuts)
I’m going for as close a match to the original as possible:
The art’s not too clear on that pic but I have it prepared. I also managed to get around to ordering some more materials today so expects some more updates at some point.
Very nice I have been following this build on BYOAC if I had the space I would so get on this project my latest build was the no name sub mini using an asus eee 901 for fellow BYOAC members.
Will post here when I have the required post count
All the links to the Vewlix manuals (part 1, part 2, control panel, jamma harness) are gone. I found part 2 and the control panel one, does anyone know of working links? I would like to host a site with the files, also I am working on producing CAD plans for full size and Vewlix Slim variants. I’m trying to get most of the cabinet to be built in a “flat pack” style that can be mass produced and shipped to location. Any info to get these babies as accurate as possible would be very helpful.
I’m also waiting for my Taito Type X2 and Battle Fantasia so i can test with a JVS i/o board i got that supports light guns and stuff. The board is a ‘Sega 837-13551’ JVS board
Here is all the stuff i’ve managed to collect on a DIY Vewlix cabinet. Mostly pictures and some diagrams, no exact measurements. If anyone else has something to share, please PM me so i can start work on the CAD for Vewlix Xlones