I like to construct things as sturdy as possible and also not have any screws showing (helps to reduce the preparation for the finish). The bars allow the panels to be screwed on from the inside, help in keeping everything square and also provide a larger surface area for glue contact.
I tend to use water based products as I don’t like cleaning up after oil based although they do give a better finish. They also require better ventilation. The water based MDF primer I used does raise the grain in wood/MDF and needed sanding down after it was applied. Having said that, I may use oil based primers in future and apply with a brush rather than a roller to reduce the cleanup. I’ve used 2 coats of primer, sanded, 3 coats of base paint, sanding after the first and 3rd and then 3 coats of polyurethane varnish. I’ve sanded everything by hand, mainly with a sanding block.
Edit: it’s also worth noting that I may apply more filler after priming and sanding back. This then needs to be sanded primed and sanded again.
I actually bought a cheap spray gun recently and tried it out on the base. Unfortunately it was a complete disaster so I stripped it down. I’ve obvioulsly got a lot to learn using the gun but for now I’m sticking with the roller. You would get better results I’m sure with a spray gun if used properly.
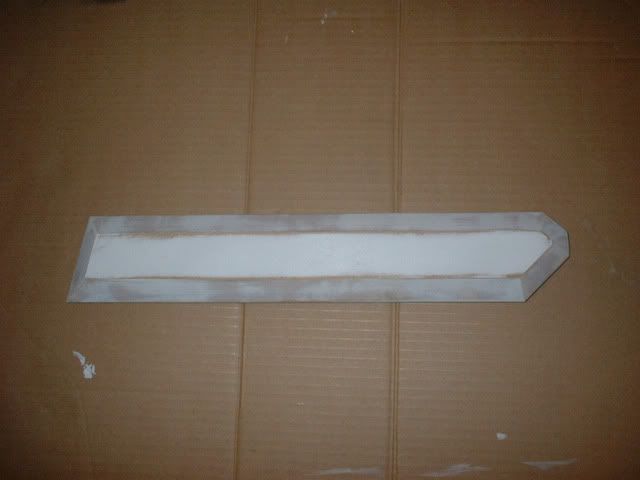
A picture which may be useful to someone. Here’s an unflattering view of the CP side panel after priming and sanding back. Even though the cuts from the router were sharp, the MDF needed a lot of filler to get it smooth. I had to do the sanding quite aggressively. I’ll reprime again and lightly sand before painting.
Edit: most of what you can see on the sides is filler.
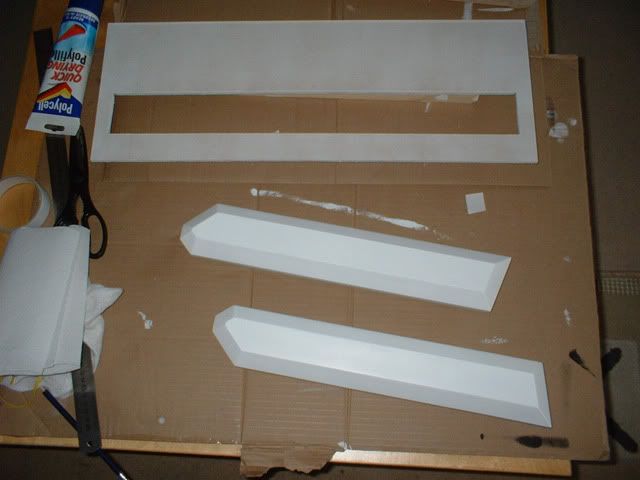
Still going as fast as I can to get this complete. This is the current state of the CP. It has a cutout for the opal acrylic moves list inlay and has been trimmed to size. I’ll need to prime the lid and then apply the vinyl to the lid and the main section. The sides of the CP are progressing nicely.
I heard the movelist inlay on a real vewlix is backlit with coloured LEDs (blue maybe). If you can, add this to your project, it will hardly break the bank and it will add to the “droolness factor”.
Thanks! I may get some side stickers printed to match the original. The CP graphics and marquee will based on the original too.
I’m also still working on the top section as I wasn’t completely happy with it. I’m wet sanding the paint with progressively finer paper to get a really smooth finish.
I have Monday off but my daughter has an important exam to sit today so won’t be making that much progress. Tbh, most of the main work now involves painting, waiting and sanding. I should be able to apply the vinyl to the CP. Mind you, I’ve already done some more painting today.
I need to get cracking on the artwork which I haven’t started yet so I can get it printed and then drill the CP.
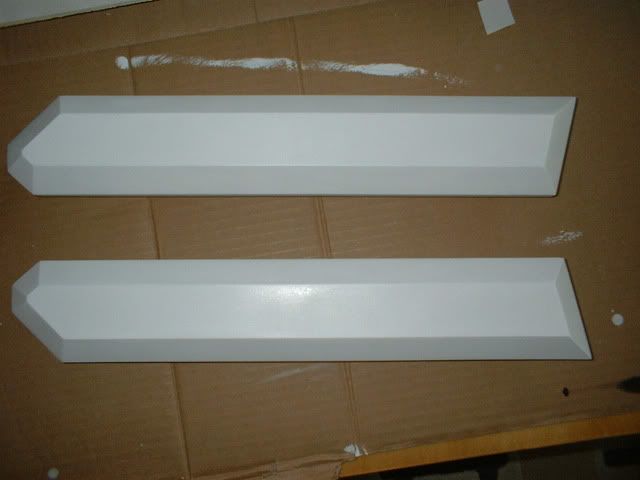
Trying to take my mind of my daughter who is currently in the middle of her entrance exam … Some more pictures of the painting progress for the CP. After 2 coats of primer on the lid, It will now need to be sanded back to get it smooth again followed maybe by another coat of primer and some more sanding before the vinyl. I hope to get this done today. The side pieces have 2 coats of paint and willl need to be wetsanded. I may add some enamel like I did with the top piece and wet sand for a smooth hard finish.
Sorry the progress seems to be slow but the purpose of the log is to show as many of the steps as possible.
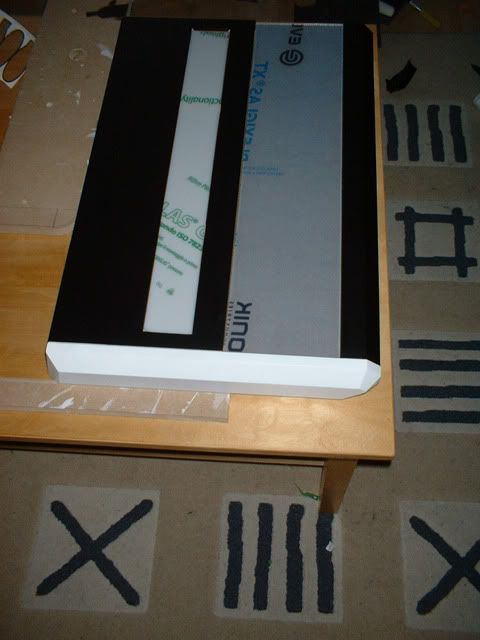
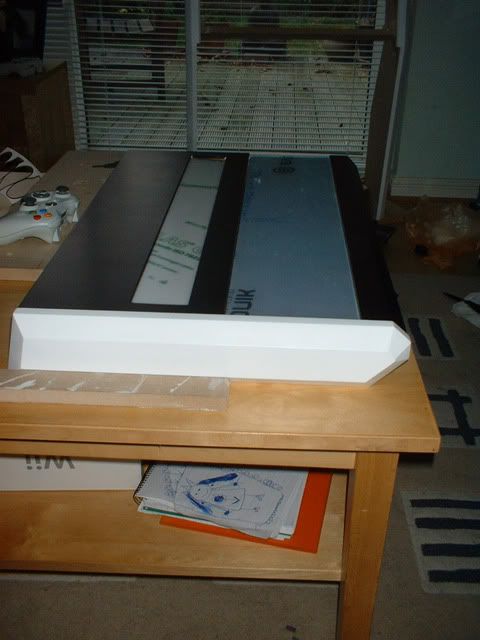
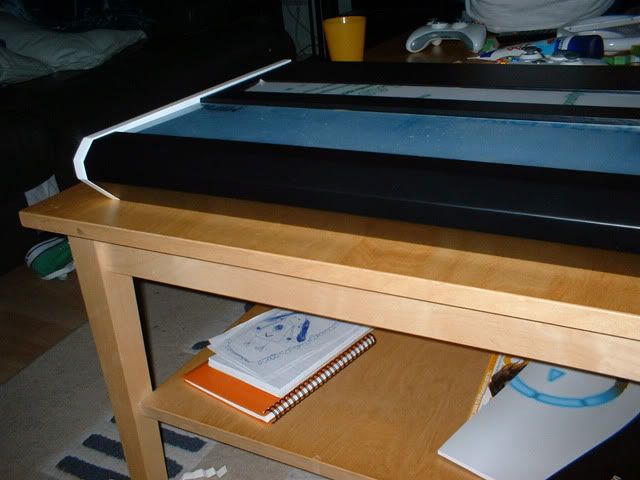
I’ve got the vinyl on the CP. The lower bevel on the front of the CP is not as smooth as I’d like it but it would be a lot of work to remove it and prepare everything again. You can’t really see it so nevermind. The acrylic for the joystick section will be raised by another 3mm to keep it flush (or about 1mm below) the rest of the panel.
dang man that is so sick!..where do you get vinyl and how much does it cost? is it easy to work with (cut to be exact)…i have been priming sanding priming sanding to create the best finish posssible but if i can just slap a piece of vinyl on that control panel like you…i might consider doing it. Please let me know how much it cost, is it easy to work with, how you cut it, and any other information i need to know. geez man…that is sick! much respect
Are you going to build one around a smaller monitor or go full size?
It’s probably fairly easy to find. It’s called Fablon in Europe and is simply self adhesive black vinyl that comes in rolls about 65cm wide. I’ve used 2 rolls for this project, each costing about 5. The pictures are a little flattering as there is a slight texture when applied so it’s not completely smooth. The trick when applying is to make sure that the surface is smooth and also to pull slightly when wrapping it around angles to ensure that there are no air pockets. You probably only get one go at sticking the stuff down as peeling it off and sticking it back down has a habit of introducing lumps due to surace material being pulled off. I’m actually on the hunt for some different non-adhesive slightly more heavy duty stuff so I’m going to check out some fabric shops. I may or may not re-cover. I’m going to screw the side panels into the main CP so I can do this later if necessry.
I do already have the vinyl on my MAME cabinet CP and it has been very durable.
I have been cursed with being a perfectionist unfortunately. I’ve always had a lot of patience which has advantages but disadvantages as well.
Edit: It’s pretty easy to work with and cuts very easily up against a straight edge with an exacto knife.
I’m building with a 24 inch Asus monitor in mind, due to the fact that it has minimal to no lag input. Originally, I planned on making a cab in the same vein as Donovan’s, but decided against it when I saw your design.
I love what you’ve done on the CP so far, really good work, its amazing how you’ve managed to get the front piece and the side piece of the CP to match amazing well without cutting it or sanding as one piece.