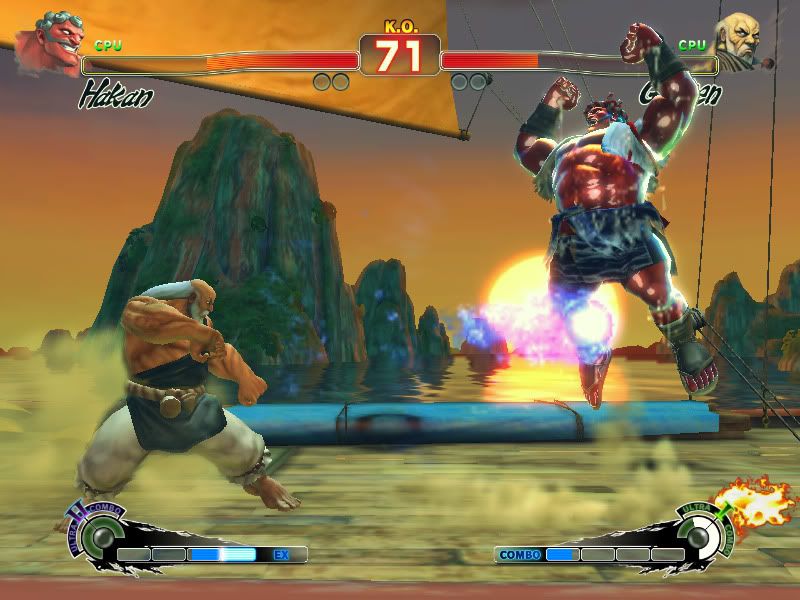
USF4 | PC Custom Skin Thread

I am confused about the 3 names of Vega (claw), Balrog (boxer), and Bison (Dictator) in the Costume Manager’s Images folder. In it, these are the default names:

VEG = Vega (Claw)
BSN = Bison (Dictator)
BLR = Balrog (Boxer)

I can’t seem to get modded costumes to work with these 3 characters. Am I supposed to re-arrange the image files to the way you posted in a previous post? Will that mess-up the Costume Manager? Any info on this stuff would be greatly appreciated. Thanks.

VEG = Dictator, even though you would think its vega
BSN = Boxer, but looks like Dictator
BLR = Claw, looks like Boxer

If you are still having problems, then reload all the originals to the folders because you may have overwritten or renamed an important file along the way. Treat them all just like the others, just know which one is for who.:tup:

If the costume manager has those names, then it would be confusing, I would just manually replace mods(and create an “original” folder for moving backups) you like for those 3 - I personally dont use the costume manager so I cant say I’ve seen that.

Okay, I’ll try not using the Costume Manager for those 3 characters. If I have any more problems, I’ll let you know. Thanks.

Does any body know how to switch any objects they want like that Darth Vader mask that sloth use, please share. :rolleyes:

Some people asked for this. I just put out my OBJ to EMG converter: Modding SSF4AE for PC (NO DLC UNLOCKS!)

Also I wrote a tool to extract skeleton from character EMO files to SMD:

http://img189.imageshack.us/img189/1739/camskel.jpg

Dunno much about 3d modeling but I chose SMD because it seems to have a pretty simple file structure and can hold all the information you really need that obj files cant such as bone assignments and weights. I guess there’s not much you can do with this yet…dunno if people could make their own mesh and skin it to this skeleton I could probably write something that can make it so you can import it back into a character. However the skeleton seems pretty complex, as you can see there’s like 4 nodes just on a forearm and extra nodes sticking straight out the back and hip idk why o_O

dude how the hell did you get the bones out of the files :eek:? Are going to release the script to get the bones out of the files too?

i 'm slow:(

Wow…you guys are going to make me turn straight nerd. LOL Good shit.

Awesome work sloth!

I think you don’t have to weight all bones.
These extra nodes are usually used for better deformation on forearms, elbows, wrists and similiar places that are kind of hard to skin with a single bone.

If you could code something to get the smd’s back into the game I would love to give it a shot.
Keep it up!

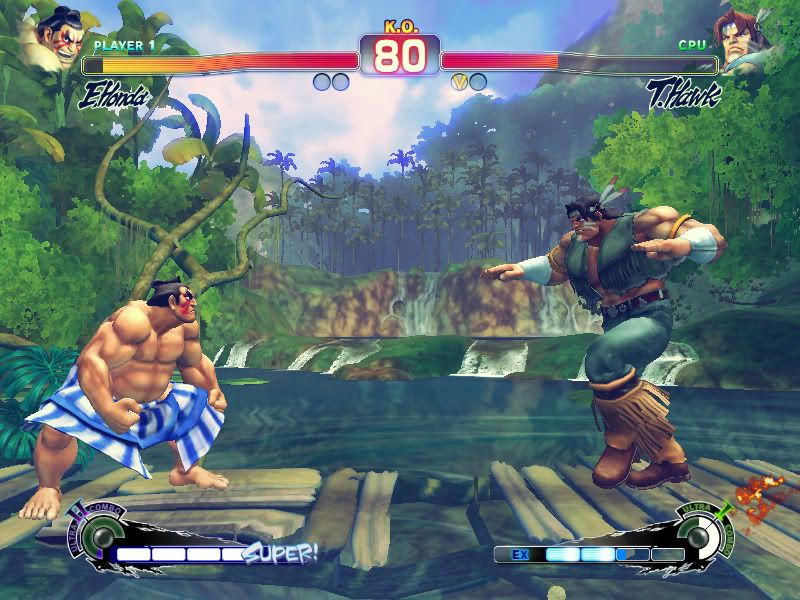
Another simplified stage, Jungle.

Download it here:
FileFront

Yes, I added a few holes in the bridge. :arazz:

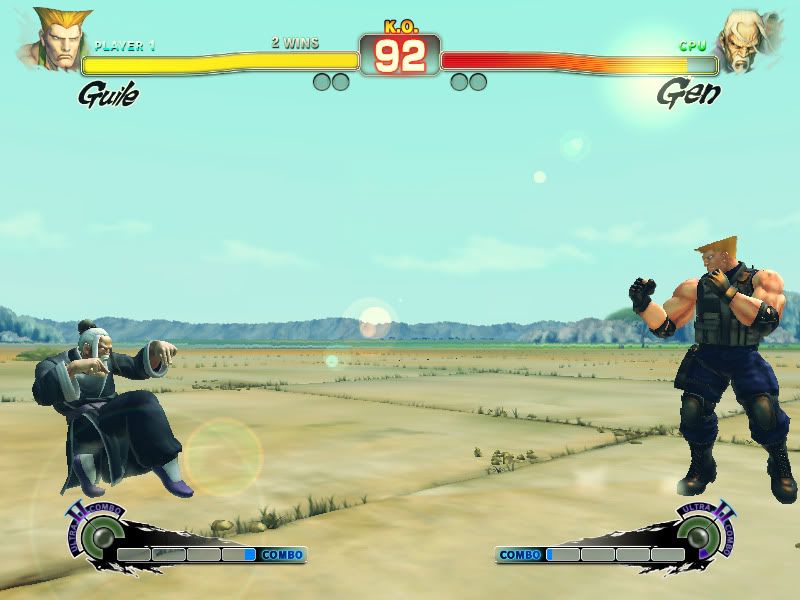
Deserted Airfield

Download it here:
FileFront

This one will still be fairly graphic intensive. I couldn’t remove the truck and the big plane, so I took care of about everything else.

OH man, it looks great so far! Wow, when she gets her full on panties action, it’s going to be a total FLASH, and I mean literally, she’s gonna FLASH your screen when she does her focus attack, haha. :3 I’m not complaining!

Hi All,

I’m wondering if it’s possible to modify game’s animations to play every frame, as in the ending credits, without being forced to play in slo-mo. It would be awesome to play the game without being reminded of Street Fighter EX animations (although SFEX2+ was one of the best Street Fighter games and seems to have heavily influenced SFIV).

Thanks in advance for any insight that can be provided!

http://img7.imageshack.us/img7/9476/juridazaratii2.jpg

i’d love to see this without recolored face.
nice work on costume

HELL YEAH! About the joints on the forearms Acethylen is correct. If you use only two joints from the wrist to the elbow and twist the forearm, you can imagine it looking like a long rubber balloon twisted from both ends. It’s going to look wrong in one concentrated area where both joints share weights (usually at the center or near the elbow. The extra joints make the twisting deformation less, well, twisted. The back of the hips could be skinned to clothing or the ass. Same goes with the shoulders. SMD hmmm… looks like I need to install milkshape for the conversion jumps. I can’t wait man. You got this!

You mean getting the shape of the panties in the textures? There’s a very easy and precise way to do it but you need to use a 3D application like Maya or Max. You can just draw lines on the model itself and export the UV map.

I don’t have either of those.

AT ANY RATE:
Release of Bouip Makoto School Uniform v2.5 <- Click for download page.
-Skirt fixed (evened out.)
-Added the Sheer Spats (YAY PANTIES!)
-Changed Picture of Bouip on her back.
-Removed Glare on skirt, for some reason it was blinking on and off on the Crumbling Lab stage.

http://i65.photobucket.com/albums/h228/KtWdA/Makoto/Bouip%20Schoolgirl/2011-08-13_00005.jpg

http://i65.photobucket.com/albums/h228/KtWdA/Makoto/Bouip%20Schoolgirl/2011-08-13_00006.jpg

http://i65.photobucket.com/albums/h228/KtWdA/Makoto/Bouip%20Schoolgirl/2011-08-13_00007.jpg

See it in action:
[media=youtube]WF5G7Xu4Luc[/media]

Anywho, the skin I’m making specifically for the spats will have 3 colors. I’ll post that when I’m finished with them.
Though here’s a preview of the first color. Let me know what you think.

http://i65.photobucket.com/albums/h228/KtWdA/Makoto/Sheer%20Spats/2011-08-12_00046.jpg

http://i65.photobucket.com/albums/h228/KtWdA/Makoto/Sheer%20Spats/2011-08-13_00003.jpg

http://hornyyoshi.deviantart.com/art/Cheetara-252641753

New Skin for cammy.

reset all the costumes for those 3 characters. so costume 1 is costume one and costume 2 is costume 2 and so forth. then delete the back files the program made for those 3 characters. then open up the CostumeChanger text file and replace all the text with this:

using System.Collections.Generic;

namespace SF4AECostumeChanger
{
public class CostumeChanger
{
public List<Character> CharList = new List<Character>();

    public CostumeChanger()
    {
        CharList.Add(new Character("Adon", "ADN"));
        CharList.Add(new Character("C.Viper", "AGL"));
        CharList.Add(new Character("Blanka", "BLK"));
        CharList.Add(new Character("Balrog", "BSN"));
        CharList.Add(new Character("Seth", "BOS"));
        CharList.Add(new Character("Bison", "VEG"));
        CharList.Add(new Character("Cody", "CDY"));
        CharList.Add(new Character("Rufus", "CHB"));
        CharList.Add(new Character("Cammy", "CMY"));
        CharList.Add(new Character("ChunLi", "CNL"));
        CharList.Add(new Character("Dan", "DAN"));
        CharList.Add(new Character("Dudley", "DDL"));
        CharList.Add(new Character("Deejay", "DJY"));
        CharList.Add(new Character("Dhalsim", "DSM"));
        CharList.Add(new Character("Feilong", "FLN"));
        CharList.Add(new Character("Gen", "GEN"));
        CharList.Add(new Character("Akuma", "GKI"));
        CharList.Add(new Character("Gouken", "GKN"));
        CharList.Add(new Character("Oni", "GKX"));
        CharList.Add(new Character("Guile", "GUL"));
        CharList.Add(new Character("Guy", "GUY"));
        CharList.Add(new Character("Hakkan", "HKN"));
        CharList.Add(new Character("Honda", "HND"));
        CharList.Add(new Character("T.Hawk", "HWK"));
        CharList.Add(new Character("Ibuki", "IBK"));
        CharList.Add(new Character("Abel", "JHA"));
        CharList.Add(new Character("Juri", "JRI"));
        CharList.Add(new Character("Ken", "KEN"));
        CharList.Add(new Character("Makoto", "MKT"));
        CharList.Add(new Character("El Fuerte", "RIC"));
        CharList.Add(new Character("Rose", "ROS"));
        CharList.Add(new Character("Ryu", "RYU"));
        CharList.Add(new Character("Evil Ryu", "RYX"));
        CharList.Add(new Character("Sagat", "SGT"));
        CharList.Add(new Character("Sakura", "SKR"));
        CharList.Add(new Character("Vega", "BLR"));
        CharList.Add(new Character("Yan", "YAN"));
        CharList.Add(new Character("Yun", "YUN"));
        CharList.Add(new Character("Zangief", "ZGF"));

        CharList.Sort((a, b) =&gt; a.Name.CompareTo(b.Name));
    }
}

}

save and close the file. then rearrange the names of the image files of those 3 characters to have there japanese names. then the costume manager will work for those 3, but they will be listed under there japanese names in the costume manager
Simply Beautiful Bay

Download it here:
FileFront

This stage had very little models to remove. Took away what I could while keeping the integrity of the stage whole.