This is a series of posts I made on ArcadeControls.com forums during the restoration of my Megalo 410. I decided to wait until it was near completion before posting it onto the Shoryuken forums. Each of the double dashed lines is used to represent a separate post from the original forum posts.
Feel free to post comments, responses, or ask any questions about my venture in general. There was virtually no information on the Megalo 410 series of cabs anywhere online that I could find, so I got to learn about the internals on my own. Technical arcade machine questions are also welcome, as I can probably answer them.
With that said, onto the content!
=========================================================
Running total of parts and costs:
Initial condition Megalo 410 - $400
2 Player overlay + shipping - $65
Spray paint - $4
Painting Tape - $4
PS2 -> JAMMA adapter parts - $140
Control Panel work from MameMarquees.com - $35
Controls from Rollie Electronics - $84
Total so far: $732
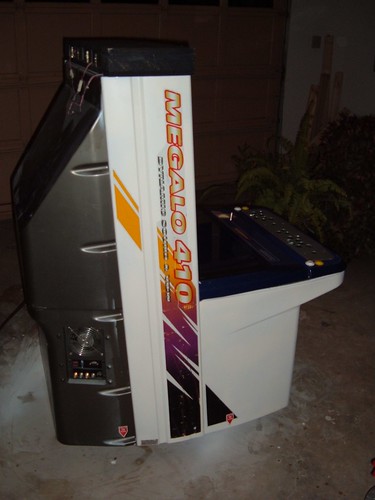
After looking online forever to “maybe” locate a Megalo 410 for sale in my area, I come across a very old post on a forum from 2004. The post advertised the cabinet at $500. Looking for his username on Google I came across a second forum he was apart of and in his profile on this forum he had a link to his website. So I venture to his website to find a section labeled “for sale” and what do I find? The same Megalo 410 from the forum post, but he has gone down on the price to $400!
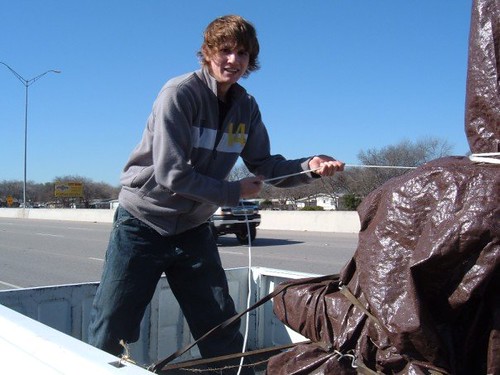
I live in Dallas, and the guy selling it lives in San Antonio, so off I go to pick it up! And consequently pull over several times on IH-35 to tie down the tarp that keeps flying off of the machine.
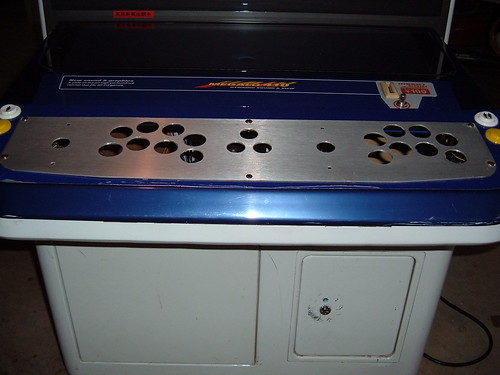
We get it back to my house in one piece. Everything is still functional, but the work has only begun. The cabinet’s initial condition wasn’t too bad. It had some cuts, bumps, chips in the paint, missing controls, and no game.

So the first step of the project is finding and ordering some sort of 2 player control bezel for the cabinet since only a single player control bezel was included.
=========================================================
First Addition: 2 player control overlay.
=========================================================
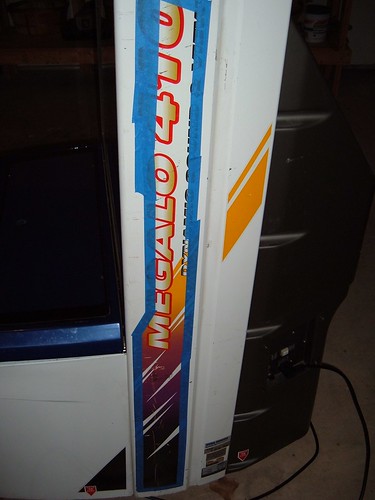
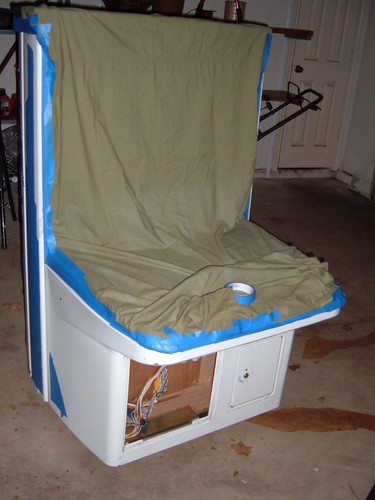
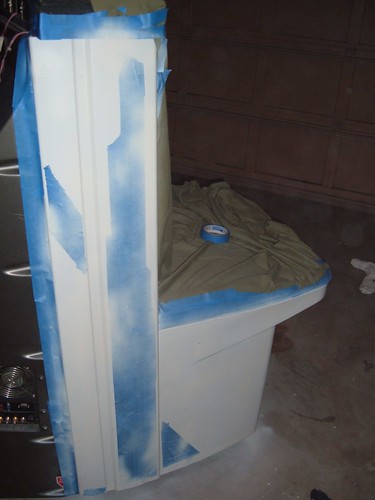
Step 2: Painting the cabinet.
Went to Lowe’s and picked up a spray paint in the closest color I could find, as well as some tape to tape off the Megalo 410 stickers. The color we used was “heirloom white”.
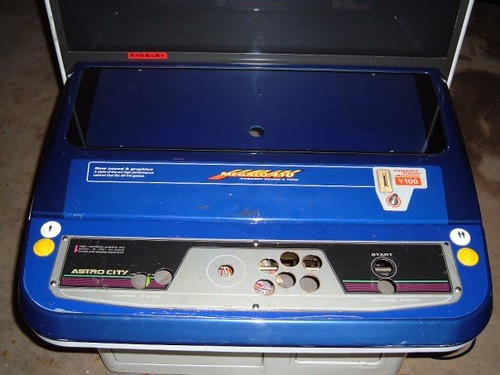
Before painting the cabinet looked like this:

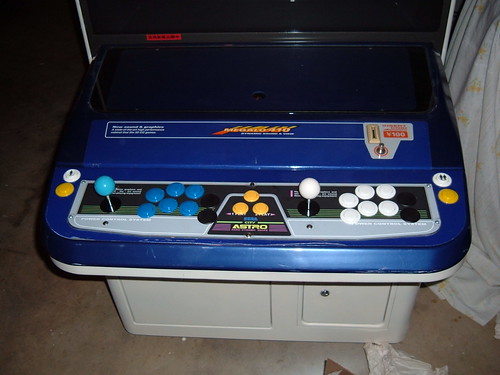
And then we applied the paint in 4 coats over the course of about 36 hours, the ending result:
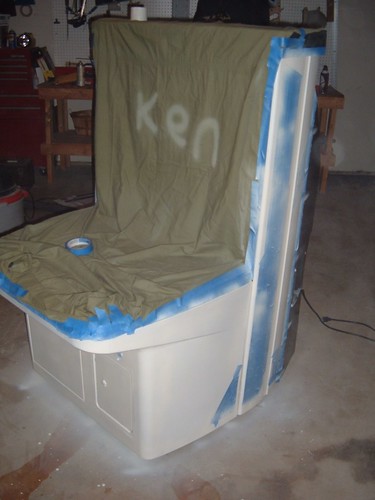

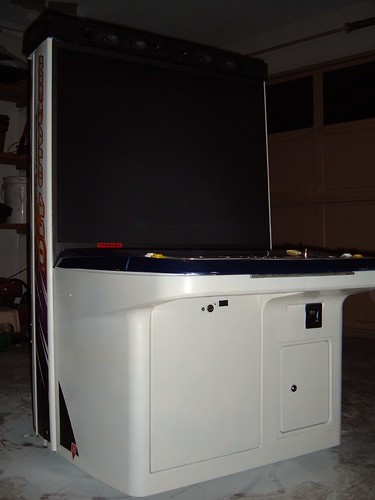
The paint job makes the cabinet look a lot better cosmetically. There is a VERY slight color differentiation between the color of the cabinet and the spray paint. You can only see this break around the Megalo 410 stickers where we taped off. Other than that, the paint looks great.
=========================================================
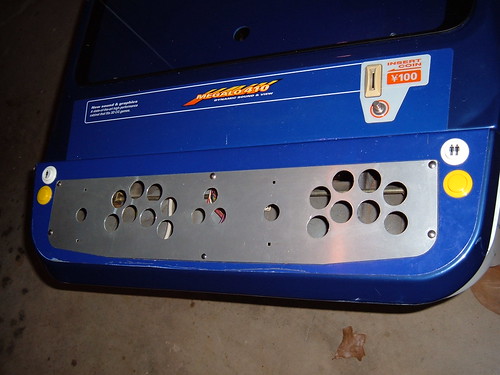
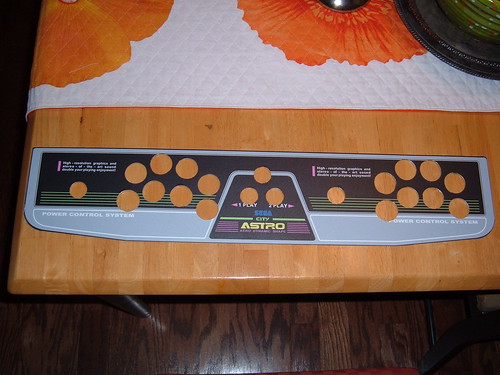
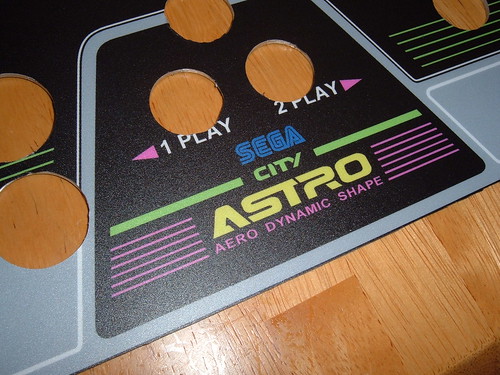
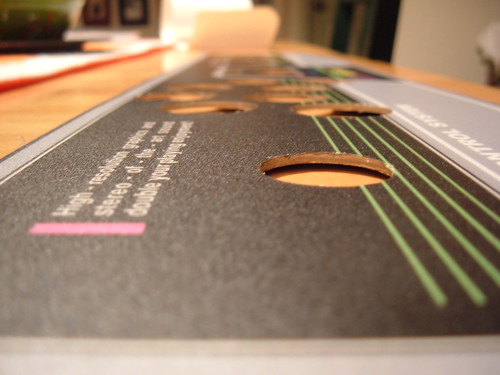
Received the control panel work from Mamemarquees.com and it fit perfectly! I just stuck it on and used a hobby knife to cut out all the button holes. Seriously, they do TOP quality work and printouts.

So now all that is left is the controls! Which I’m waiting on Rollie for. Hes waiting on a shipment of Sanwas before he can give me my order total and ship.
=========================================================
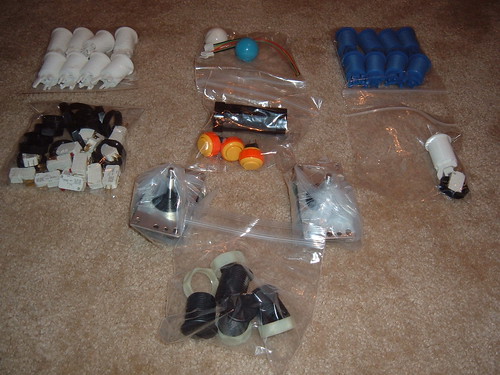
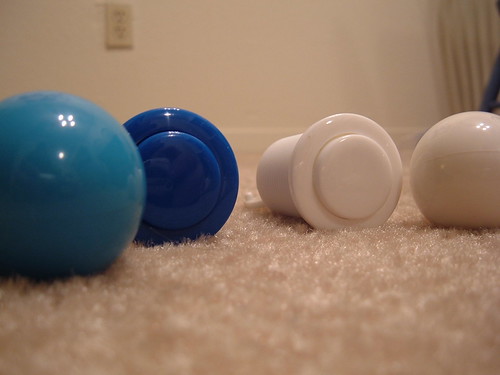
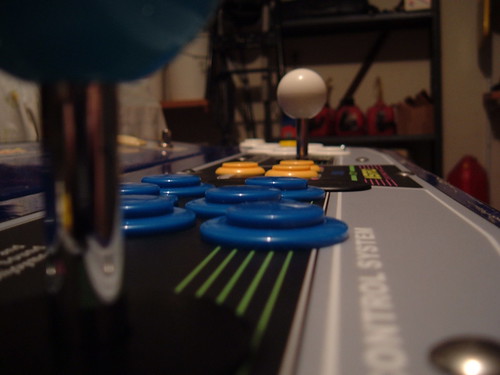
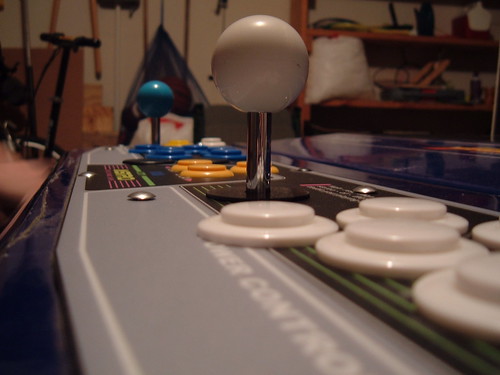
Received my button shipment from Rollie Electronics, tomorrow I will fit them all to the machine and then all I will need is wiring! I can’t wait!

=========================================================
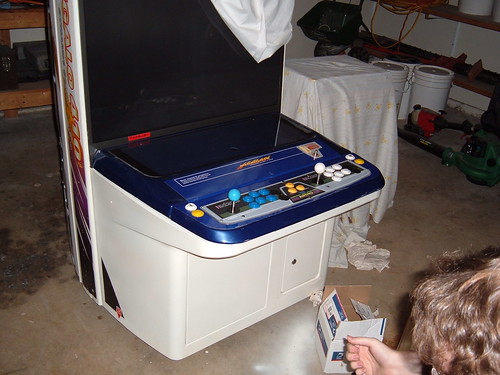
The controls are now all secured onto the cabinet! Pictures, of course.
=========================================================
I am now awaiting the arrival of the final parts that I need to get this thing rocking again! Should be working by this Friday night!

