I think the latest Cthulhu firmware handles SOCD internally, maybe try flashing the latest firmware to it?
I tried but it didn’t work because, I do not the MC Cthulhu, I have the PC/PS3 Cthulhu.
With removable stick shafts available now, has anyone built a dual stickless arcade stick all in one case? Is it even possible to wire both stick and buttons together or does there need to be some switch? I am seriously thinking about building one but wanted to see if anyone has one made and what your experiences have been.
It has been done, i forgot who did it but it has been done
Tried different searches but couldn’t find one.
You could wire them together, but I’d recommend splitting the ground for stick and button-directions and tying them to a toggle switch, so only one or the other can be active at a time.
well you don’t need the switch if you remove the shaft so i don’t see the need to have the toggle
agreed… you can just wire up the buttons to the signal points for the directionals and it will work just fine… ground is ground your good to go… button placement will help with accidental button pushes when you are using the stick but really its not an issue…
I was thinking about the button placement. Not sure how to space things to prevent accidental button presses for the directionals. But thanks to all the responses about the wiring. Those who have done this could you share your layouts?
Blklightning21 did the panel or two with that design… hit him up… heres a pic…
Yeah, button placement interfering is why I would do it, if I made a hybrid stick. It seems like if you play a bit too crazy and hold the balltop wineglass-style you could set off a button in the stick posted above.
That’s the reason I used a toggle switch, but it doesn’t completely solve the problem. I think the reason why is how the JLF pcb works. You can split the ground between the jlf and buttons, so you can switch to which one is active. But there is still a problem. For example, if you have the switch set to JLF and hold let’s say UP or DOWN. The UP or DOWN on the buttons won’t affect anything, but…, if you hit say the LEFT or RIGHT button, it will register it. I think the reason for this is that the JLF pcb is common ground. Because you are splitting the directional signal between the JLF and buttons when you hit a button on an axis and move the JLF along the opposing axis, it registers. I could be all wrong about this, I am not an electronics expert, but I think that is what’s going on. If someone else can better explain, or has a solution please feel free. I have the stick you see in those pics torn apart, I’m actually not finished with it, so its actually no help to any of this right now.
okay how that should be wired is like so
if you are using the toggle switch, that wire should toggle ground for the 4 direction buttons
these 4 buttons MUST have their grounds daisy chained together and feed into the toggle switch
from what it sounds like, the up and down aren’t daisy chained or something or other
the JLF pcb doesn’t matter since there is like almost no way to activate it without the shaft
I didn’t explain what I was trying to very well in the above post. You are right that the ground from the pcb must be split with the toggle switch(allowing you to switch between grounding the jlf or the buttons) and the buttons need to be daisy chained from the switch. When you switch to the joystick and try to press buttons, nothing will happen, and vice-versa. However, if you were to hold say LEFT on the joystick(with the joystick selected) and then hold the LEFT button and at the same time press the RIGHT button, it will register. That goes for any direction. If I hold DOWN on the joystick(with the joystick selected) and also hold the DOWN button, if I press the UP button it will register. The problem I think is that the directional signals are being split. Meaning that even when you are switched to the buttons and hit a direction, you are also sending that signal to the jlf(which can also be described as being “daisy-chained,” just directly on the pcb). I know this probably doesn’t explain things much better, but I did double check all the connections to make sure everything is where it’s supposed to be. There’s only 4 signals, so it’s not to difficult to mess up.
And with all that explaining, let me just add that these issues aren’t really problems considering it would only occur when you are using the joystick. And even then, it would be difficult to achieve the conditions necessary for the buttons to actually register. I just happen to come across it when I first wired it up. I was intentionally creating these conditions to see if things like this would happen, and they did. In the end it isn’t that big of a problem, unless you go really wild and crazy with your joystick.
it could be where you put your SOCD cleaner in the wiring process
or it could be the board you use, however an SOCD cleaner would help with that so it may the location of the cleaner
if you feed the SOCD cleaner straight at the source of the inputs so that the L + R of the JLF are also included in the cleaning process as well as the L+R of the buttons
sorry if i felt like i was being ignorant to what you were saying earlier
its hard to gauge what/how someone wires it up without pictures or a detailed explaination
and if it isn’t a problem for you then that’s fine too
No worries, I know without pictures its hard to explain things with as much detail. Are SOCD cleaners still necessary? I thought the only game it was a problem on was vanilla mvc3. If you have the SOCD cleaner in umvc3 won’t it give you L+R=neutral? Is there a benefit for having it setup this way? I’m not an advanced player so I really have no idea.
well if you’re running a cthulhu setup regardless of MC or not, it is firmware coded to filter out socd’s
if you’re running an xbox pad like an mcz fightpad, i’ve had a weird experience where L+R = downleft
and if you’re running a ps2 pad with converters, i’m not sure what to say
Ok, I see what you mean. Are there any known issues with the paewang? I guess I need to hurry up and finish that stick so I can find out for myself. I’ll be sure to put some more pics up when its finished,
oh no wonder you’re getting some SOCD’s and such
I’ve never heard anyone test the paewang so maybe there are
there are ways to fix it listed earlier in the thread or you can just buy an socd cleaner from toodles
should fix you up right as rain
Spoiler
[details=Spoiler]I plan to dual mod my ps3 TE. First step is to packhack a xbox360 pad. I hope this hasn’t been already asked, but what is the best pad model you guys can advise me ? If it’s possible, an easy to solder and one which I don’t need to invert the triggers. Also I would like to use the 8 attack buttons on my stick. Otherwise can I just pick a wired 360 pad at my nearest shop ? I’m totaly new to soldering and this will be my 1st mod apart modding my TE into an hitbox 
An update on my dualmod.
I just wanted to share my joy of padhacking  I have to say it’s a nice experience, it’s the first time soldering for me. But man the attacks buttons weren’t easy. I shorted at first the X, LB and guide buttons, but I managed to push the solder away from the grounds.


Then for testing, I stuffed all inside my case, and did the solderless method by inserting the wires into the sanwas tabs. Everything works fine so far, xbox and ps3 side.
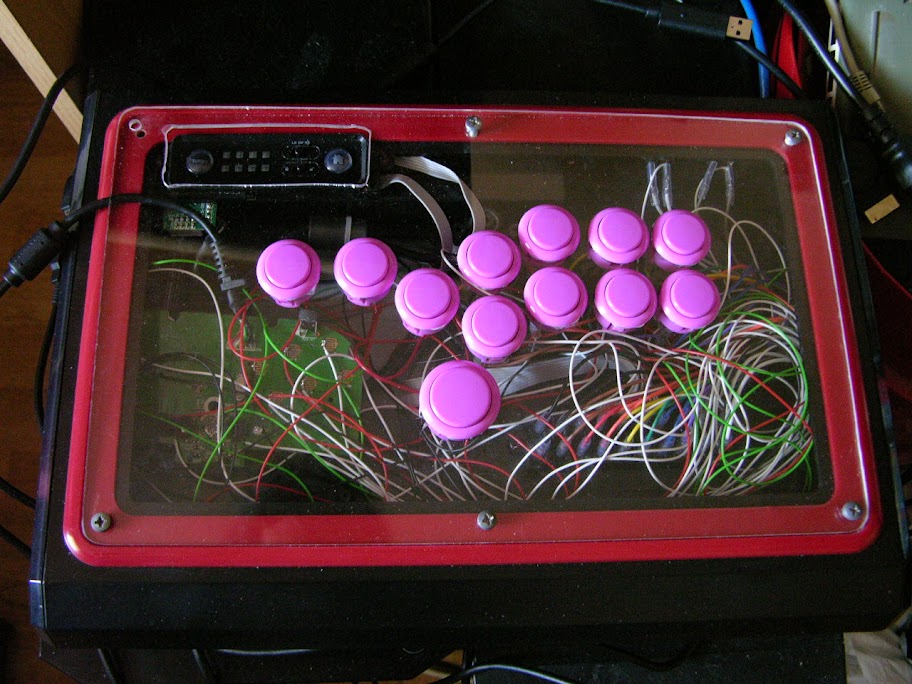
Look at this salad of long wires This is only temporary for testing. I don’t want to keep that usb cable like that
Next step is to solder the SOCD cleaner with my wires since the SOCD is different from xbox/ps3. And the last step is the Impv2.[/details]
Now that my xbox padhack works, my next step is the SOCD.
Can you guys advise me how to use the SOCD cleaning kit with the dual mod ? I hesitate between 2 options :
[LIST=1]
[]solder the xbox pad directions directly on the Ps3 pcb soldering points(right under the turbo button), while the SOCD cleaner filters the directions from the buttons to the PS3 PCB.
[]merge the xbox and ps3 directions wires together and solder them to the SOCD cleaner output
[/LIST]
-
looks more praticable but I’m not sure if it will work, it allows me to replace the JLF without having to cut the xbox pad but I’m a bit nervous to solder directly on the ps3 pcb.
-
looks easy but the xbox pcb wont be removable without the JLF cable
I would say to go with 2nd option but what if in the future I want to change something, then I stuck with the xbox pad / JLF cable. But I can still desolder and resolder them for any changes. Sorry if this is obvious, but if someone could kick my hesitating mind I would be gratefull.