My favorate arcade game ever played on PS1
Castlevania: Symphony of the night
love the illustrations

My favorate arcade game ever played on PS1
Castlevania: Symphony of the night
love the illustrations
hell yah, thanks so much again! sticking it on was a pain, and cutting it free hand…I had such a crappy ruler…that it cut the ruler >.> …creased it while laying it too  gonna do a reprint soon lol
maaan… the first post should be updated with all the contributed SE/TE templates that don’t have a link to them. It’s a pain in the ass looking through 120+ pages for an SE template. Especially when your computer turns off on you for no damned reason
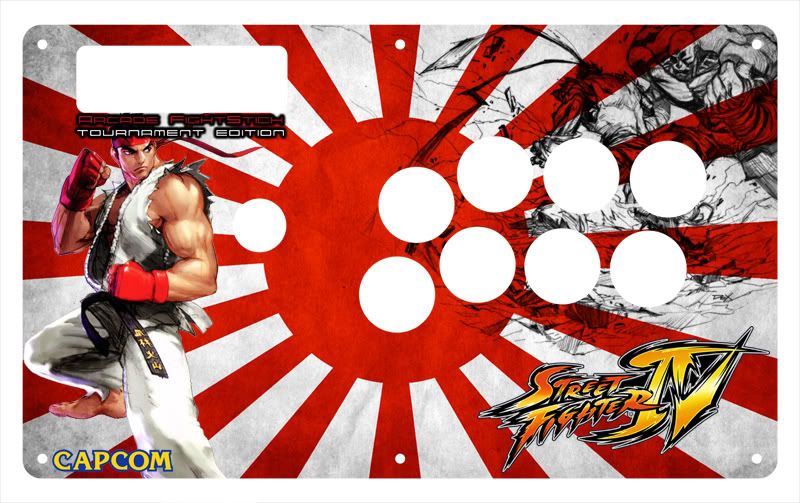
What is everyone’s thought on my current TE template design:
http://img206.imageshack.us/img206/5742/bison.jpg
Too much text? Too much going on (capcom logo, SF4 logo, tournament edition font, character name)?
I’d lost the Bison imo, everyone knows who he is (Dictator)
more attention on the char art that way
Tone down the “M. Bison.” Make it smaller or reduce its brightness if you can.
wow that was fast !
Awesome work!
Thanks for that Gief template. Still waiting to see more templates of my man. Seems like they are few and far between. Hook it up people :rock:
anyone got some tips on cutting the “guide buttin box” out on the see with very fine lines? ines r so ugly lol
Fantastic! Thanks!
Requested by kte03:
I colored Blanka to be a bit more green and have red hair not orange. The only thing I would recommend is finding something to put in the black area. Just put it on the very first layer and you will be good to go.
PSD is a bit of a mess…:yawn: to lazy to name and clean up.
OMG those are awesome!!!
I don’t have clear buttons though. Can you please, please, please make a ver either without the logo in the center entirely or put the logo down in the lower left?
http://img142.imageshack.us/img142/1051/p1020283.jpg
I left the white balltop on for now, but it will be changed to blue when it comes in the mail. I had originally thought the jlf was fried, but it worked perfectly… which means I’m gonna have some spare ones to unload, if anyone needs some. There’s a little bit of metal showing at the bottom, but I spent so much effort just getting this looking like it did that I don’t care to do it again… for a while, at least.
Thanks so much to Milkham for making the template for me!
P.S. My Kinko’s sucks ass at lamilabel…
Are the majority of you guys removing the factory existing decal before applying your new ones? Or are you just placing it over the existing decal?
If anyone is actually removing the decal, I would like to know what the process is like. Cause I’m getting a new decal in soon, and just wanted to do some research.
Thanks guys
Aaron
I removed the original art… and then immediately it got caught on a piece of paper and now that paper is stuck to the back, ugh. I kept it just in case, but I’ll probably toss it soon.
You basically need something small and thin. and slowly pry out the original art from around the pcb area, then once you get that corner off, slowly get all of it off.
Ok, I didn’t want to read all 123 pages, so can anyone reiterate how to replace the the cover for the CE? I see mentions of a sticker from kinkos, but then i see screws on some of them?
Any help appreciated
Saw something similar, they used a lit LB-39 and from top down it looked awesome, didn’t even notice the hands were missing