-
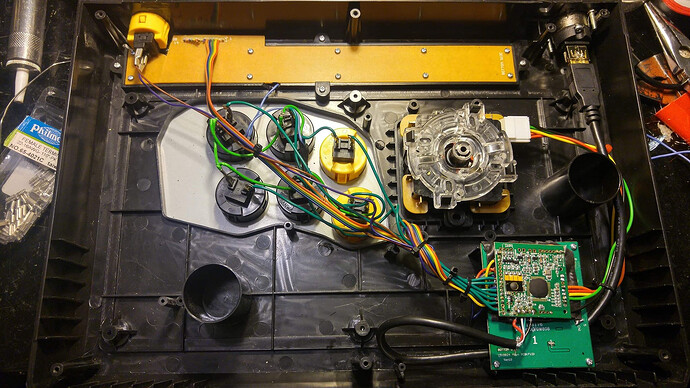
Screw-wise, use 4-40 screws (which are the same as the stock mounting screws), I don’t think you’d need anything more than 3/4" in length. If you choose to mount the JLF properly, you’ll also have to slice off some of the supports for the microswitches too. If you choose to drill through the restrictor plate, you won’t have to. I’ve generally tried to use countersunk screws for the flat top, but I’ve also use the stock button-head ones and ground them down slightly to flatten them some more.
-
Drill-wise, I found a drill-bit that matched the size of the posts, and just drilled gradually and tested often. I actually forgot how I measured; even though I’ve done this JLF mod (on various sticks) about 3 times. I don’t recommend drilling all the way through because you won’t have anything to secure the JLF body with afterwards.
-
Art-wise, I don’t have the file here at the office with me, but here are some of the links from earlier in the thread:
Link 1
Link 2
(not sure if they still work; the firewall here at the office blocks file-sharing sites).
FreedomGundam keeping this thread alive, its his baby from back in the day lol.
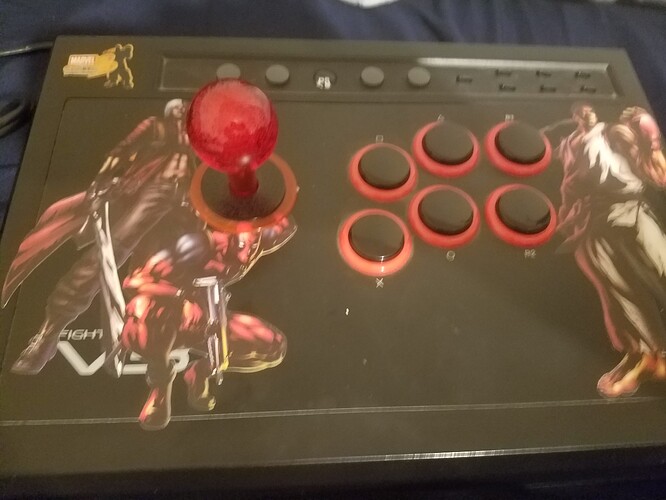
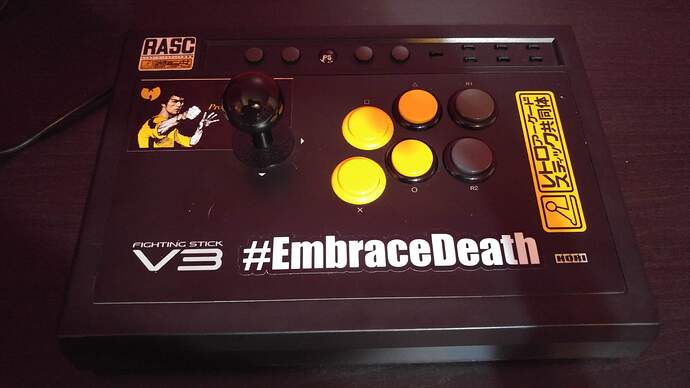
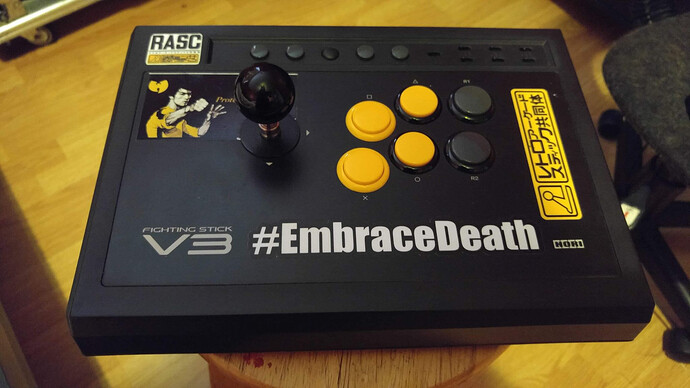
I have the standard V3 that i modded awhile back with JLF and buttons. Have been using it as a spare stick for locals. i recently used it at a friends house for Tekken 7. This thing is so comfortable, it has the perfect amount of space to rest your wrists on. Thinking of throwing a brook board of some sort in it.
Id really like to track down a N3 version or maybe a custom panel. Need that Noir goodness.
Hori have a new fighting stick out for PS4 that looks decent, maybe give that a shot? It’s called something like “Fighting Stick For PS4/PS3/PC”
Yeah, there’s that one. We had a thread here earlier back in February (and its release was supposedly in June), but it looks like there’s been no discussion about it since.
There’s one teardown video and ebay sellers are starting to pop up. It looks good, but I wish they hadn’t have gone with that PCB, replacing the square buttons or soldering to that PCB is beyond me
Gonna bring the discussion to the other thread to keep this thread specific to the Fighting Stick VX/V3/anything with that casing. ![]()
Wow I had never seen that version.looks extra clean! I honestly like mine though because it’s a 6button. I’m actually thinking of doin the same as you minus the link.
Looks good man. 6 button noir would be cool
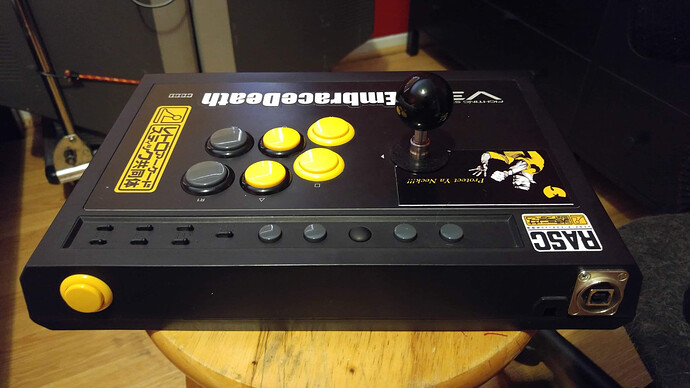
I’m waiting for a custom sticker to come in but I should be installing the ps4 board tonight if it comes in the damn mail lol. I will also be adding a neutrik, dying the home button black, installing link and adding a 24mm button to the top because I need a proper start button.
Gotta have it done by this weekend since I’ll be at San Japan
I literally am planning to do everything the same. Except I’m going to try to keep the top row of buttons functional. And then wire the 24mm button to be touchpad. I think i would only be missing L3 and R3 buttons. But no one really uses them anyhow. San japan??! Your from Texas??
I’m adding the 24mm button to backside of the case. I am keeping the button panel functional I’ll just be wiring touchpad to the start button on panel and wiring start to the 24mm button.
Yeah I’m in Houston. Me and the Poverty Maniacs crew will be running casuals/tourney at SJ.
https://twitter.com/MountainDewFKR/status/1164229169691201536?s=19
Brook board came in late last night. Just in time because im leaving to San Antonio today after work. I got the board for super cheap because it had already been soldered badly so it was a mess. Took me awhile to get the wire off and pads cleaned. But i did a quick wire job.
Ran into a issue on the 24mm buttons. I didnt drill the hole with clearing the top pcb in mind. Luckily i only drilled one hole and even more lucky it was on the side of the turbo switches. I had to cut/shave the pcb until the button sat flush. Top panel pcb worked fine, only thing i had to do was scrap a trace for ground. Really wanted that second 24mm button for select, oh well.
Also went ahead and vinyl dyed the PS button, because it looks corny as is.
Tested it on pc and ps4 and everything works. Only issue i have is when i was trying to use it on my supergun through undamned. It wouldnt even let me set my buttons when holding the 3 punches. Im hoping when i update the brook board today that fixes the issue.
Nice! Mind if I ask where’s a good source for those Sanwa stickers?
You could easily take out the top PCB, use smaller momentary switches and hot glue or epoxy in the turbo switches, which is what I’m planning on doing with the VX top panel I’ll transplant into the N3-SA
I hope people are still checking this thread.
I’ve been feeling the need to mod my old V3 but need to gather some info before buying parts, mainly 30mm sanwa buttons. Are these buttons fine for the V3? https://www.fighterchile.cl/boton-sanwa-obsf-30
The buttons are like the only thing I actually NEED to mod because the stick itself is still fine but some of the buttons are starting to randomly fail and just not registering presses unless I press really hard.
I’ve also seen a video of someone who made a detachable cable mod for this same model and I was wondering how hard or expensive is this. https://www.youtube.com/watch?v=PNnas5FfO-c
Thanks in advance!
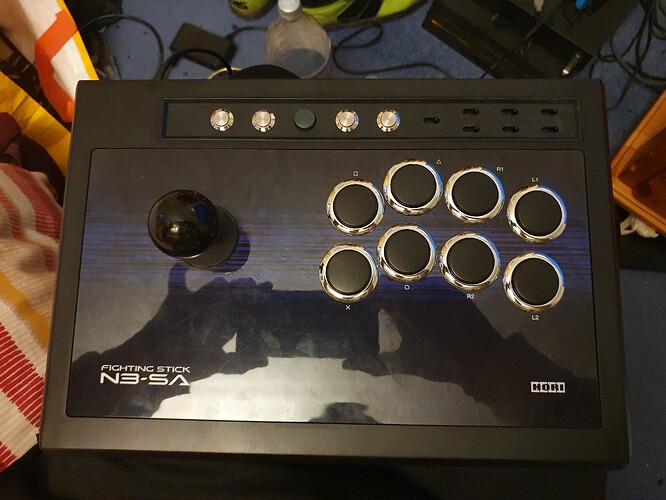
Moded the N3-SA with full hayabusa and a Brook ufb. You can mount the hayabusa by taking off the metal plate and then lining it up with the plastic screwholes and using 32mm screws (M3 self tapping). Gonna fit velcro for cable management rather than drill the case. A perfect little compact stick with minimal compromises, the community should make blank cases like this with a bottom metal plate.
Yes. The Hori FSVX/V3 uses standard 30mm buttons, so Sanwa OBSF/OBSN are drop-in replacements.
Note that the stock buttons are soldered to a PCB so you’ll need to desolder the PCB from the stock buttons before you can put in the Sanwas, and you’ll have to wire them up afterwards with Quick Disconnects.
Detachable cable mods are easy if you know where you’re soldering to, and where you want to install the jack.
The PCB-mounted jack that’s in the video you linked is cheap, but you’ll have to find a way to mount it.
Other recommended methods are to use Neutrik plugs, but you’ll also have to figure out where the best place to mount it is.
What’s a Quick Disconnect? I thought I just had to place the new buttons in ther place in the PCB and solder them again.
It’s been a while since I’ve messed with a FSVX/V3, but if I remember correctly, the stock buttons has pin-like connectors that are soldered. Sanwa buttons have spade-like connectors. You’re not likely to be able to fit the Sanwa buttons into the same pinholes. If it’s anything like some other sticks that I’ve worked on in the past, you might be able to get by with trimming down the connector on the Sanwa micro switch.
A quick-disconnect is a connector that you can plug and unplug without soldering and desoldering.
Is it too hard to mess with the wires to know how to move and connect them with the quick disconnects if I have no knowledge of modding whatsoever? I know how to solder and all that, I thought I just had to desolder the old butons and slap in the new ones soldering them back which apparently just works.
Hello everyone I finally found a forum on this fighting stick I want to install a Brook UFB on this stick but I want to check the turbo buttons are separated by six wires from the top pcb if I want them to work I have to solder the 6 wires together with a small one To be able to connect or not additional to it, I could add 2 more buttons to have L1 and L2 on the front.
Also the otherpart of the plan is the replacement of joystick and buttons for SANWA.
