If you install it upside down then it is easy. Since I use standard cat5e jacks I’ll be pushing in from the bottom. I never understood the benefits of using an expensive neutrik boot. You need to orient the jack to what ever is convenient for release. Otherwise you could carve a slope above on top if you must have it face right side up.
Thanks a bunch rtdzign! Now can’t wait for the ChImp board to be stocked by retailers… Its going to be neutrik + ChImp + XBOX 360 PCB = win : )
I think the big reason for the the connector is because the RJ45 connector in itself is kind of on the flimsy side. The plastic tab snaps with excessive use, and once that’s gone, you gotta replace it. The Neutrik connector’s steel and thus a lot more reliable in terms of excessive connecting/disconnecting.
The push tab on the Neutrik IS a bit overkill, though. The boot seems to fit well enough without a permalock on top of it.
Uhhh FYI. The ChImp is USB for PS3/PC only. For the USB Neutrik you will only have to drill a 24mm hole and the 2 corner plates directly into wood. The way the RJ-45 version is made it requires a thin metal or plastic panel.
The RJ-45 is only to be used with a MC cthulhu.
I’ve been watching these RJ-45 threads and I have to admit to some confusion at times. I just don’t have the electrical background some of you do even though I can use basic tools without cutting myself (badly).
I’ve got a few questions about cables myself…
- Do I need to buy Cat 5 cables for this project, or can I use the existing wiring and cables with the connectors for the systems I want to use with the MC Cthulu (PS3, not 360)? Is it possible that the only part of the cables (PS2, GC) I want to reuse are the actual plug-ins/system connectors themselves?
I understand about the PS3 using generic USB-2 cables and know that I’ll have to buy one of those and mod it with an RJ-45 plastic enclosure…
- Where can I get the plastic RJ-45 connectors with the tabs that DON’T break so easily? I see the tabs break all the time with Ethernet cable and I don’t want to invest in a mod with such a fragile piece! There has to be a plastic covering or something cheaper than that Neutrik cable covering… I know I’ve seen them used on some Cat 5/Ethernet cables.
Heh… So rtdzign used a JLF mounting plate to mount the jack.
I’ve taken those off all the JLF’s I’ve gotten in the mail since they’ve all the JLF’s have been mounted in T5 cabinets and you don’t need the mounting plates for that case.
Funny thing is that I still have all of those plates in storage. Just don’t have tools to cut them as nicely – that is if I don’t sell them first.
-
This should answer most of those questions.
http://forums.shoryuken.com/showthread.php?p=6209419 -
I don’t know I use the cheap ones and if they break I’ll cut it and put on another. I just use regular Cat 5e ethernet boots. Acceptble risk use heat shrink tubing. I slip on ethernet boots on the extension cables before I work the ethernet plug on and crimp. I have a Fry’s electronics that carries most of this stuff.
http://www.computingsolutions.ca/catalog/images/Techcraft%20-%20Red%20or%20White%20Snagless%20Boots.jpg
Okay, yeah those are the plastic pieces I’ve seen on more durable RJ-45 interfaces!
Thanks for the name… I’ll look it up when I’m ready to order.
I’m assuming that at least Fry’s carries these online? They don’t have Fry’s handyy anywhere in the Midwest! They seem to be a Southwest electronics chain.
Good stuff and excellent prices from what I’ve seen on their website, too!
I ordered a MadCatz TE from them about a month-and-a-half ago when they ran the online special for $99.
P.S. – Re-read the old thread. I got thrown off by the Cat 5/6 cable talk here. The old thread pretty much says it’s okay to use the existing controller cable/extension cable for each system. You definitely need to use the multimeter to figure out which cables you need to use and in what order with the RJ-45 heads… Guess I need to read up on multimeters!
This has been a very informative thread (in addition to the other RJ-45 thread).
My problem now is that I got a slightly different NJR-45 adapter from GamingNow.net a few days ago. Front-end wise, it looks like rtdzign’s but on the back end it terminates in an RJ-45 plug-in/Ethernet-type interface. I would presume I’d have to get a Cat 5 cable, leave the RJ-45 plug-in on end (to plug into the inner RJ-45 jack), cut off the other RJ-45 plug, strip the required wires (7 of them?) on that end to solder in like a PS2 interface on the MC Cthulu, and then plug the Cat 5 in-between the NJR-45 and MCthulu?
This is the type of RJ-45 plug-in casing Nareg sells at GamingNow.net in black and silver for the time being. I think he’s planning on not carrying the silver version in the future since the black interface sells a lot better!
http://img233.imageshack.us/img233/1161/frontend.th.jpg
http://img218.imageshack.us/img218/8701/sidex.th.jpg
http://img524.imageshack.us/img524/9392/backar.th.jpg
The MC Cthulu is a sweet piece of engineering. Once you get past the smallness of it and read the included diagram description two or three times, you realize how ingenious it really is!
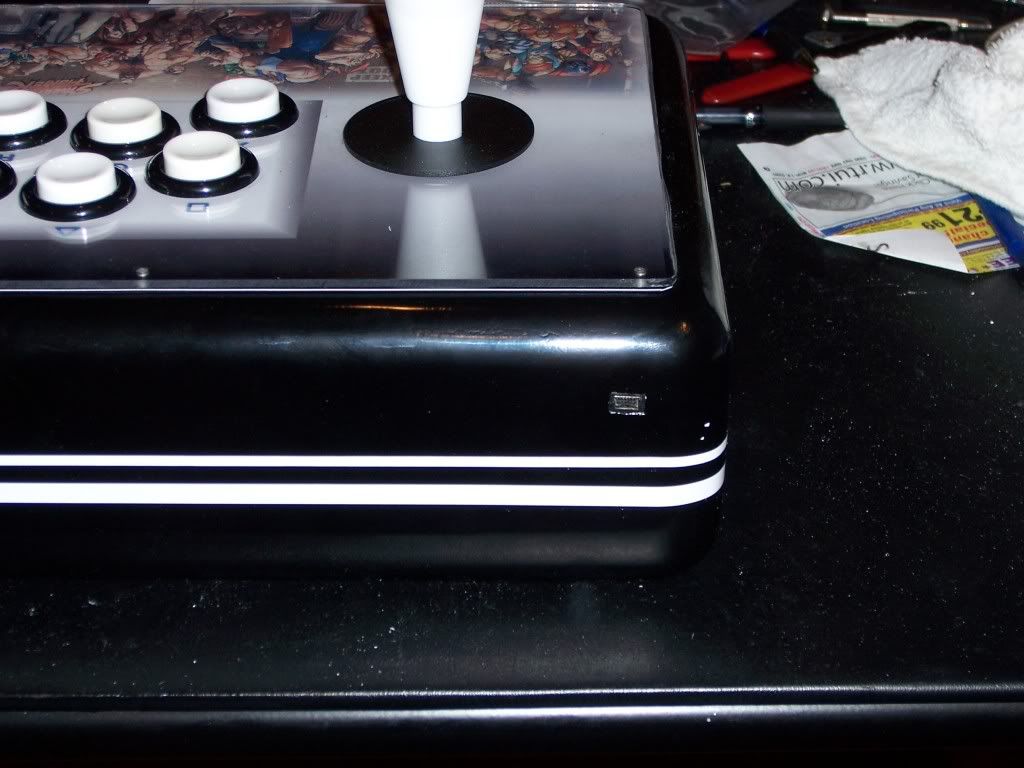
It really looks like the biggest problem now is how to mount the RJ-45 jack in any case. It’s gotta be put on an acrylic or metal frame to be screwed in. A simple 24mm hole just isn’t going to work with the RJ-45 jacks that rtdzign and I got online…
Neutrik made nice designs there but they require you to do quite a bit of cutting and smoothing/sanding prior to fitting the jacks!
I got the same adapter as George C. Now, being impatient and lacking mad carpentry skills I came up with a simple yet effective solution for mounting this neat-o piece of hardware.
Step 1: I got a cheap box from Satek so I wouldn’t be too sad or out too much money if I borked this up. Depending on how anal retentive you are about your box, you may want to forgo my method.
Step 2: Find mounting location.
Step 3: Make a metal plate that you will not mind having on the face of your box. You can also use acrylic or wood or whatever other material, but I likes metal and my father has access to awesome machinery at his work place and time to kill so he was nice enough to make me a plate with a round hole and 4 screw holes. (I forgot to take a picture of the plate by itself, I apologize).
Step 4: Cut out a ugly rectangular hole in your box that will fit the neutrik feedthrough adapter snugly. I recommend a good reciprocating saw like the Sawzall:


Step 5: Mount the neutrik adapter to your plate, mount the plate to your box, and rock and roll:

The one thing I really dislike is the bottom hole it leaves:

I may devise a way to cover it up for aesthetics and protecting the neutrik’s juicy innards.
Hey, can Toodles or someone else confirm if the NE8FDY-C6 mounts without a hitch in a 24mm hole? I’m looking at buying one of Satek’s QCF cases, and wanting to know if requesting a 4th 24mm hole in the front will be fine for hooking this port up.
It works alright. I had to sand out the hole a little bit after drilling so the back end fit fine (and you wanna sand it enough to make sure it slips in without pressure, as it’ll be a pain to make it connect to itself otherwise, but a finger and some sandpaper for about 15 mins did the trick fine). But the problem really is in the cost of the connector. As mentioned a couple times earlier in the thread, the connector that’s been come to be loved here won’t fit this thing, and the only way to get a fitting one is to buy a cord with the connector pre-assembled. This sucker’ll set you back $45 on top of the $20 you just spent on the adapter.
Truth be told, I’ve simply been planning on plugging a CAT5 cable directly into the port. (None of the giant casing / adapter that Neutrik sells for 40$ or so) I know a lot of people seem to prefer the casing, but I’ve rarely if ever had troubles with cable slipping out of the CAT5 heads in many years of using em. =\ Worst case scenario I’d have to re-crimp into a new head every once in a great while.
Assuming I understood everything correctly, then I could also have the benefit of sharing cables between this (future) stick and my current one with an RJ-45 port.
Oh, and my god are those results sexy. ;o; You have me even more inspired now to hurry up and get said new stick constructed. ;_; I also didn’t even know you could get the little covers for the port. That is freaking nice.
I know RJ45 and USB are not exactly the same but if you can clear that tab on the front, here is what I do for the USB and it is screwless:
http://hphotos-snc1.fbcdn.net/hs256.snc1/10320_1228487999635_1452120864_30620667_4556040_n.jpg
http://hphotos-snc1.fbcdn.net/hs276.snc1/10320_1228487199615_1452120864_30620649_3293068_n.jpg
http://hphotos-snc3.fbcdn.net/hs042.snc3/12950_1254625293051_1452120864_30692097_5013702_n.jpg
I hate the outside mounted look. Kills the flushness of the side panels.
Here’s my process.
BEFORE gluing the frame together
- Drill out a 24mm hole, perfect size for Neutrik
- Place the face of the Neutrik in the interior side of the piecec and trace the shape of the square mount
- Dremel or route the mount shape out just deep enough for the Neutrik to come flush with the exterior panel
- Test fit before glueing frame together
Once frame is dried, sanded and stained, polyed
- mount the Neutrik from the inside
- DO NOT SCREW IT IN
- Make sure you have the right face inside and outside (I turn it around)
- use generous amounts of wood glue or epoxy AFTER the Neutrik is seated
- let stand dry for a full 24 hours
This should work perfectly as you are never applying tremendous amounts of force for the USB plugging, and even then the glue can take a good deal of pressure.
I’ll try and post some detailed pictures later on.
How does Neutrik work?
The Neutrik ports are essentially just a passthrough for USB and CAT5 cables. IE you have a usb port on the outside of your stick, and plug your cable into that for playing on 360 or PS3. On the inside of your joystick, that port is then connected to the PCB where the USB would normally plug in.
The other big selling point for Neutrik with folks is that they seem to have casing around the plugs (USB or CAT5. Example here ) that lock into their ports. This way while you’re using your modular cable system, it’s more securely locked in and less likely for cables to get yanked out by accidents.
In summary, allows for a nice, cleaner stick appearance imo. Much nicer for packing your stick around. =)
If you were using the neutrik just for usb there is another option. I bought a female to female usb-a adapter and a male usb to female mini usb adapter from monoprice. I then drilled and shaped a hole to mount the adapter flush on the back of the case. The adapter has a slight taper, so I used wood filler to fill in the rest of the hole. After it dried, I sanded, primed and painted it. You can see it here
Awesome job and awesome stick.:china:
I’ll probably mount my RJ-45 interface like Nefarious but will probably use acrylic instead.
I’m not crazy about cutting into metal again (I hate sparks almost as much as flames) even though I have JLF flat mounting plates to spare! (Every vendor in the US always sends you the JLF’s with the mounting plates – I’ve never used one of those for any of my stick mods! I’ve got at least 4 mounting plates at last count.)
Now I’ve gotta find time to hike up to my parents to borrow a neighbor’s equipment (I’m sure he has a clamp) or figure out how to secure an acrylic plate on my own. I definitely need access to a better tool setup and some sanding equipment to get these parts smoothed down nicely.
I dunno… Maybe I’ll go ahead and save some bucks and use the darn JLF mounting plates after all! Either way, you know that when you’re cutting something sparks and/or slivers of material are going to fly through the air. I’m so anal that I wear my safety goggles even when I’m soldering…
Any links BTW on how to use a multimeter to determine the correct connection paths/line interfaces for the RJ-45 enclosures? I’m setting up an MC Cthulu for both PS3/USB and PS2 lines…
If I had known how much work it took to get that damn thing mounted, I would have coughed up the 20something bucks to get the round neutrik. Oh well, live and learn.
To check continuity on the RJ45 I’d recommend wrapping a thin strand of wire on one or both ends of your multimeter. The little tabs in the modular plug are too tiny for most multimeters I’ve encountered (unless you got one made for small electronics check).
To make sure everything worked properly, I checked each wire end of my Cat6 cable to each modular tab, then also checked each modular table to the solder on the corresponding point on the Cthulhu board, and of course on your extension cords. That way you you can rule out any wiring issues if you encounter a problem.
Also, seriously measure your box dimensions before soldering in the RJ45 cord into the Cthulhu. Mine was way longer than I needed and I had to curl it tight to get it to fit right. I’d rather have more slack than not, but still, too much can be a pain.
I don’t understand, why can’t woodworkers just use a square bit and make a nice hole that will house the RJ45 nicely? I know that RJ45 has just recently risen in popularity (i myself am planning) and stickbuilders usually only do the usb neutrik 24mm hole, but I would think that contacting your custom builder (and sending him a RJ45 neutrik) and asking him to mount it for you would be the best option to make it look good…at least thats what im hoping for.