After reading this entire thread several times and finally taking apart my Fighting Stick 3, I have a couple of questions…
When putting in a new stick, whats the easiest method to use? I see all the pictures of how the sticks came out, did those of you just take off that mounting plate from the JLF and dremel down those areas where you need to screw it in?
Whats the best way to get art on the stick? Also, I just want to keep the six button layout, would it be best to have the artwork over the last 2 buttons, or to use those button plugs?
Also, is there any major difference in fitting in Seimitsu Buttons or Sanwa Buttons? I already understand you have to make it a complete circle, but i’ve read sections where one button was perfered over the other in terms of button placement.
Really hope I get help with this, my 1st complete project from scratch, minus the pre-made case-ing
OK I was in the middle of putting the beat down on my opponent with some SPDs playing HD Remix, when all of a sudden my stick breaks
Hori FS3
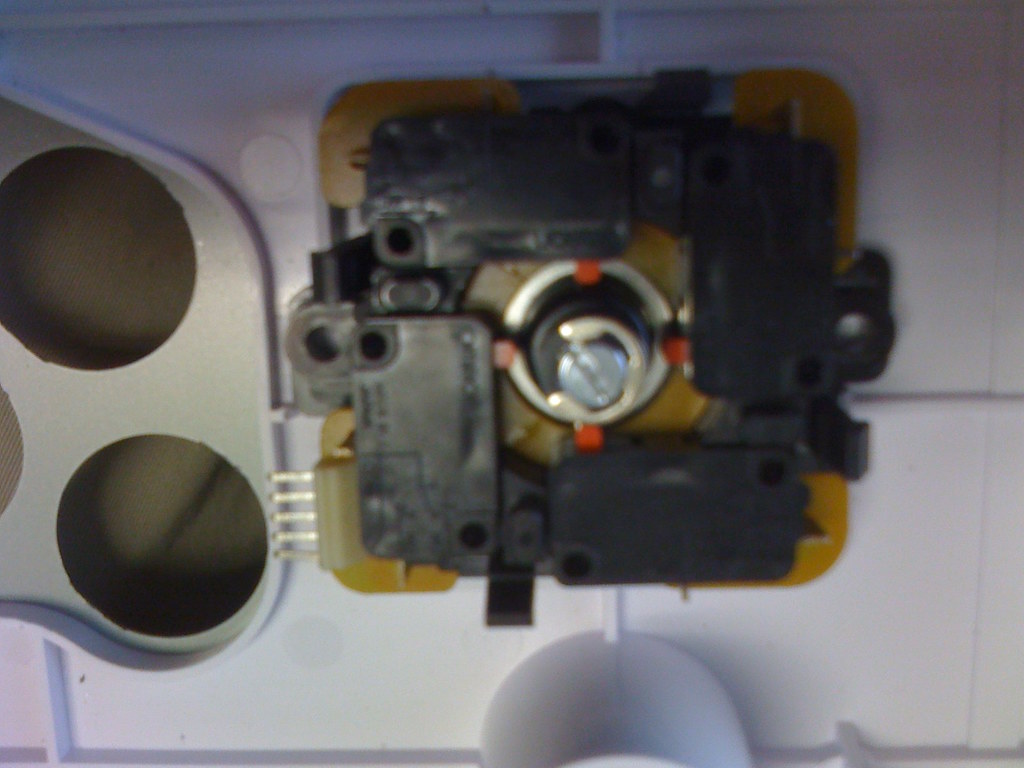
Opened it up and wouldn’t ya know I tore the stick right off from the support screws My question is what’s the best way to fix this? Well until my TE Stick arrives in like a week or so.
Hope ya don’t mind Jinx I borrowed one of ur pix to demonstrate.
I guess all those SPDs took its toll on the stick, and guess what I bought it in December. It’s not like it’s the most accurate stick, so when trying to get moves out I felt I needed to exert more force than I felt I should.
heisuke, if you really want to fix it rather than wait. then drill from the top panel and slap on a few bolts.
lol clicky sounds, all sticks make clicky sounds (except for em optical sticks). can’t really help with that unless you just add a ton of insulation or something.
last time i checked it wasn’t toodles adapter, but ShinJn. Toodles helped with it i think (and created the cthulhu and the uPcb)
Was planning to put LS-33, which shouldn’t be too hard but decided to leave the original stick after modding its actuator with some electric tape.
(thanks for akihabarashop for JLF ultimate mod video for giving me the idea)
After this simple mod the stick is now tighter and definitely easier for me to pull hcf/qcf.
Soldered the cables to joystick microswitches and just hook up the wires on buttons until I can find some QDs. The button works with no problem so far though.
Put custom made skin. Should’ve used CMYK instead of RGB, so the color is a bit messed up.
Decided not to glue the skin to the metal plate yet. Just put some clear tape around the edges, so it will be easy to change skin or if I decided to put LS-33
Now… It would be nice if there’s a way I can make the skin have textured surface instead of gloss/slippery…
For printing I just bring my file to a print shop.
There you can choose from several alternatives for the paper and laminating.
As for cutting I just put the top plate on the back of the finished skin and used an exacto knife around the edges.
As for the holes I draw them with a pen first (using the top plate as the guide), and then cut around it with exacto knife, about 1-2mm larger so the buttons can fit without warping the skin.
I just purchased a fs3 and I’ve been wanting to mod it, but there seems to be information scattered throughout the thread. I was wondering if someone could explain or overview what needs to be done? There seems to be various controllers out there that have been modded. Any step by step pics to show how to mod the fs3?
Nice mod. I saw how you used tape to reduce the deadzone on the Hori stick. I recommend you to replace the stock Hori micro switches and get the following:
$.85/each Cherry Microswitch, Silver .187" Tab, Happ part # 95-0733-01
from LizardLick.
First it is MUCH MUCH more sensitive than any microswitches i tried so far
(including Sanwa, Hori, Seismitsu (sp?)). I recently modded my Hori EX2 with Cherries it is so MUCH quieter and the stick is super sensitive and precise.
Yeah, ANY Mod to Hori EX2/FS3/Wii FS will require filing down the tabs in the button holes. I didn’t use a dremel, I used a metal file and file down the tabs myself. It took about 15 to 20 mins for all 8 button holes. Here’s a photo of the holes up close (look to the left of the photo). You will see some rough edges in the holes not perfectly circular but good enough for button installation.
You don’t need to file the hole itself, just the 2 metal tabs that sticks out inside the hole. File those 2 tabs down so you can’t see them anymore as in my photo then it is good to go!