Actually, now that i sat down and looked at what you did, it seems like it would work. Also if your gonna use the jlf you wont have to daisy chain it, but if your using the jlw then yes, youll have to daisy chain it.
Are you gonna put hole in the case for the guide button?
Does anybody know if a S mounting plate for Seimitsu LS-32 fit with the stock mounting plate in the T5 stick? According to the first page It looks like it would fit, but I want to know for sure does the S plate fit. If not what other modifications do I need to make it fit?
It does not. There’s no easy mod to accomodate a LS-32. Some of the HRAPs will let you do it. You could also have hbreakz make you a custom panel.
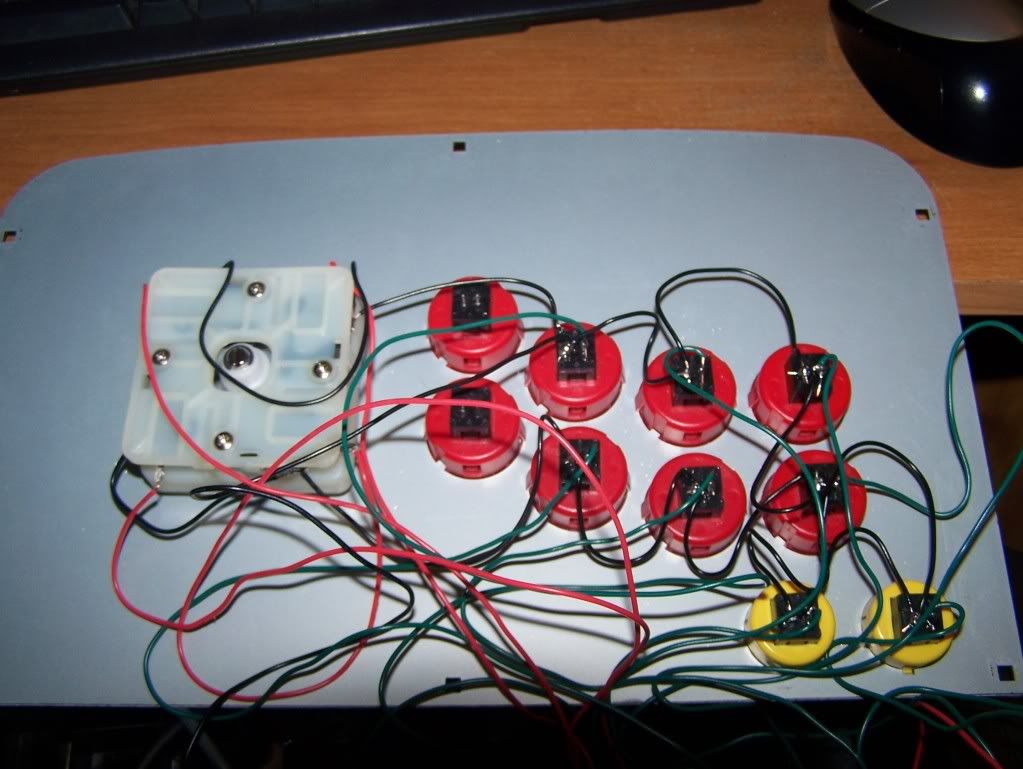
Done (Wiring Mess First Mod Work!!) MAIN GOAL GET STICK FOR PS3 and Xbox 360
Thanks for the help AJ (I’m not putting in Sanwa now just kept it a dual mod for now. Put select for guide button but nice idea but I have no drill :arazz:) and the people of this thread mostly Counterhit, MrFresh (Your pics are the shit helped me a lot), DominoLogic , and most definitely M K L for the 3.3v freaken awesome work on that freaken pro man. Special Thanks to SRKTT on Efnet amazing channel and thank you DimeBag.
Didn’t put ground on terminal.
Want to make it only 6 buttons remove first 2 like this without the plugs. I don’t like the plug look. New artwork of course. I need a drill hopefully friend could come through with drill for the cord. Then add Sanwa later down the road not in a hurry to do that. Main concern for me right now is making a spot for the Cord. Then replacing the artwork and removing first 2 buttons! and maybe if is not to hard remove start and select(LAST on my do do list really) and drill it to the side don’t know about that one since is really unnecessary for me since I never hit start and select. Never used drill in my life but then again I never solder in my life. But lets see I’m happy for now I can finally play on the 360 with an arcade stick and not the pad people are amazed when they find out I played in the original Xbox 360 pad lol
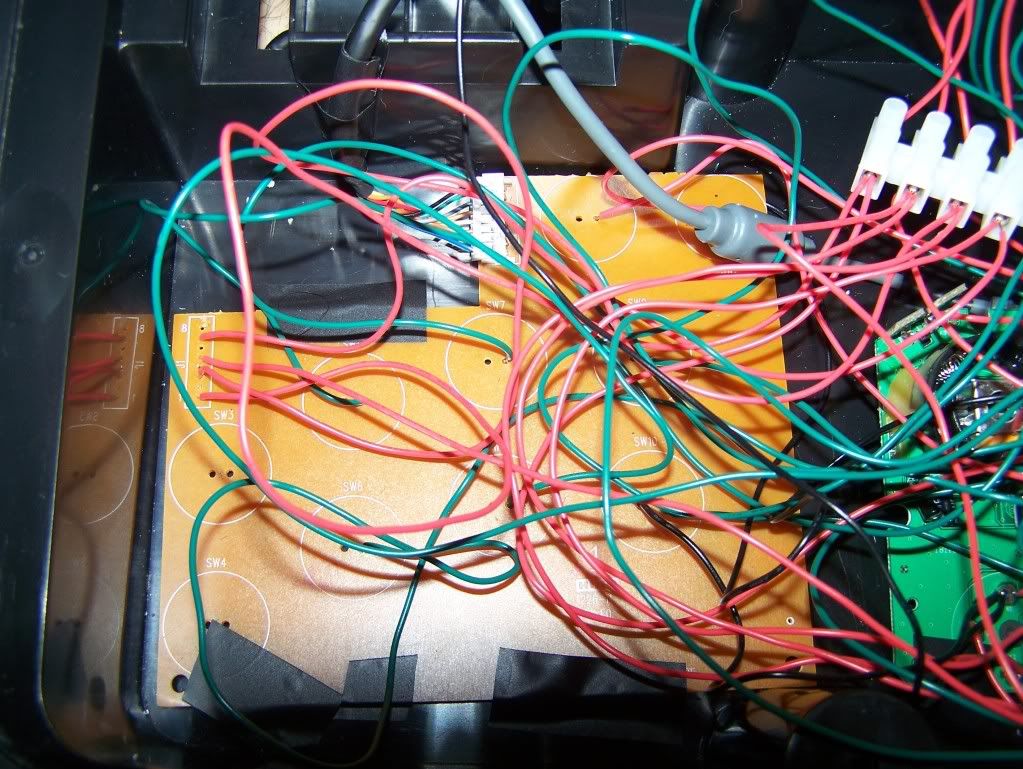
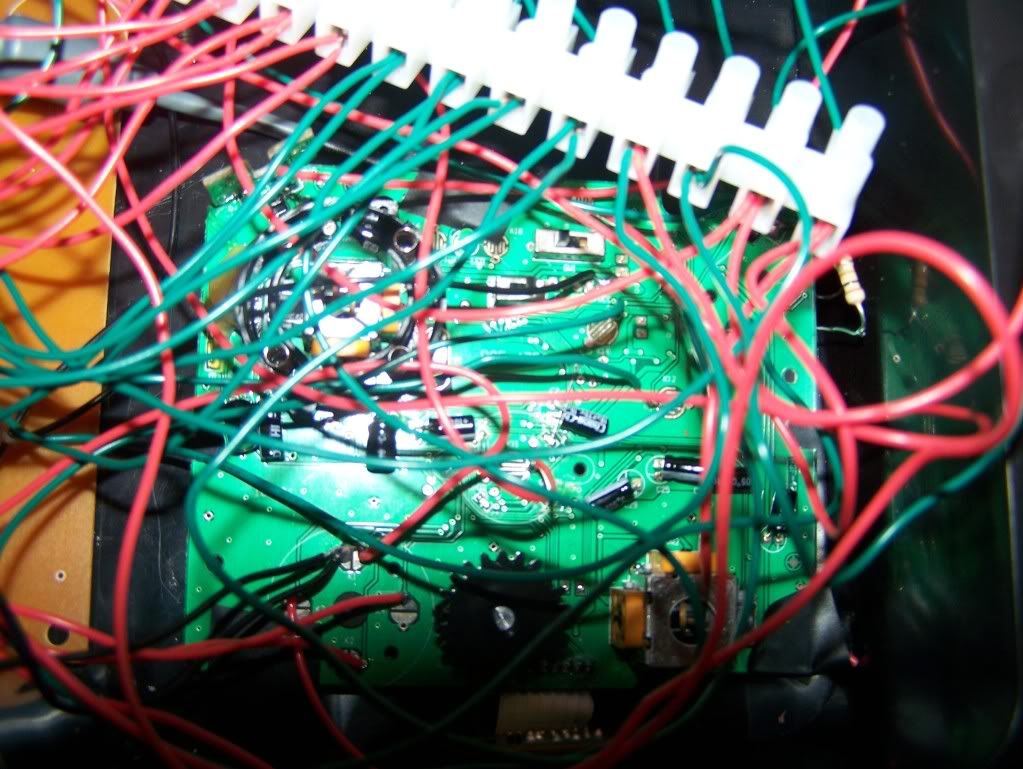
Tips for newbs like myself at soldering TINNING IS EVERYTHING!!
Haven’t clean nothing up yet will rewire/organize later but it works!!! pretty much my diagram but way more messy! lol 


Yeah lets play SF4 now on my newly modded stick!!!
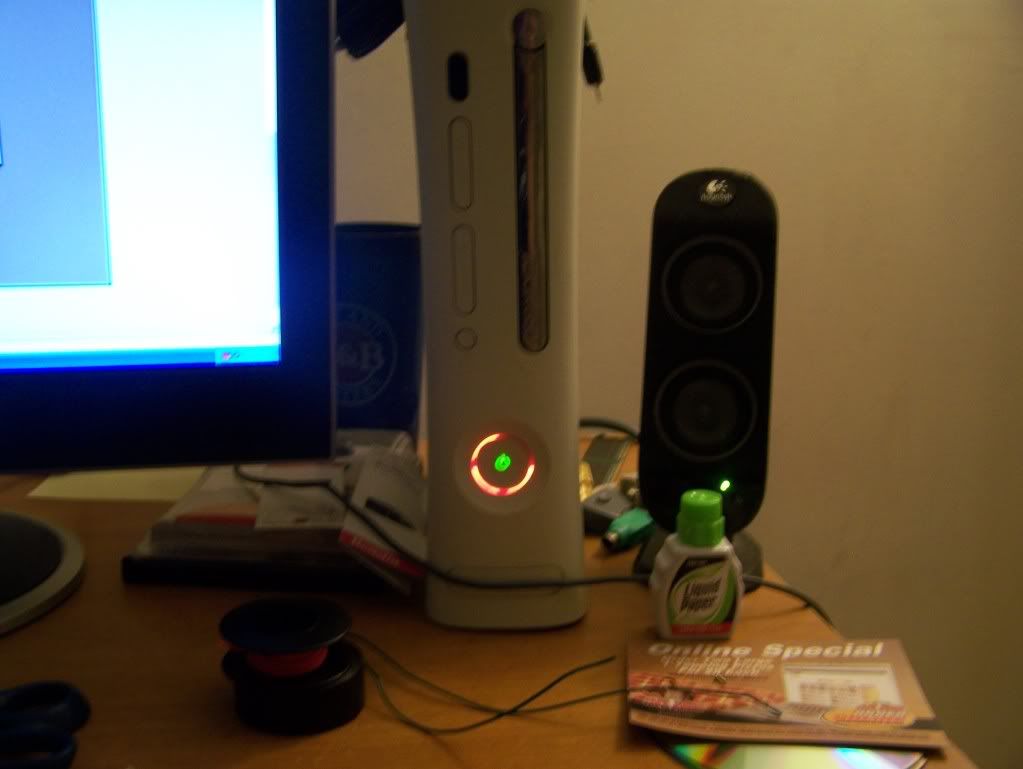
FUCK MICROSOFT what a time to RED RING!!!
Used this thread to create a great gift for a friend of mine from an old T5 stick I had lying around. The PS2 cable was originally broken in two pieces on it, but I repaired that and set out to fix it for a guy who recently had a death in the family and could use a lift.
Ladies n gentlemen,
**
BOOTY-STICK!

Yummeh.

Booty tattoo.

Wiring is pretty clean, I think, for my first real mod job. Each wire pair twisted and cable-tied together, then cable ties around the whole bunch.
I got the 6 pink screw-in buttons from a friend because I needed them ASAP (or else, I would have gone with snap-in’s, of course). To make them fit, I used a Dremel to sand/grind down and remove all of the teeth on three of the buttons: X, triangle, and R2. Had no problem putting the two white snap-ins that I had straight into it without removing any tabs.
All soldering covered in hot glue on both sides of the solder holes. PCB held tightly to the case with 3 strips of velcro on the bottom. Terminal strip held to the case by 3M sticky squares.
Artwork printed at a local print shop downtown called “Jive!” who took care of me far better than I can imagine our local Kinko’s doing. Maybe Kinko’s doesn’t suck elsewhere, but here… EFF 'em. haha.
Thanks to everyone for this thread :china: My friend damn near cried.
**
Nice Stick
Holy shit nice stick and nice gesture wish I had you as a friend! shit lol. The artwork looks real pro nice job at Jive! Where did you get screw that don’t look like screws and what are they called? That’s awesome matches the art…
Oh, that’s actually before the screws were put back in. I used the original silver screws; I just took the pics before I screwed it back down.
Nice stick bro, glad your friend liked it. Inside looks clean
Next time you dont have to shave all the teeth on the nut. Just the section thats rubbing, then you turn the button instead of the nut.
Contributing. Great guide guys, I was able to Build this…
http://i14.photobucket.com/albums/a324/X_EGO_BRAIN_X/Picture147.jpg
Cthulu Board, JLF, Seimitsu 30mm’s and 24mm’s Plays like an Effing Dream.
Not as amazing as some, but I love it anyway:

Custom art under clear contact paper. Tape for clean edges. My character. Mom helped. JLF with Korean Crown buttons. =)
Couldn’t have done it without this guide.
wer is the 3v in the T5 pcb. Gonna dual mod with xbox360 and i cant find a picture that shows wer it is. all i need to do is connect the 3v to the 5v and the grounds together n im done. thanks
here you go
Yes, alot of people including me, and many people dual mod it with a 360 pad so with the help of an adapter it can be used on 3 systems(ps2/ps3/360).
There is an issue with the mounting of the JLF in the T5 case.
Recently, I got my first JLF and saw that it came with two washers. For a while, I actually left both washers on top! Then after asking around and investigating the issue on my own by opening a Hori RAP stick that I also own, I find one of the washers is SUPPOSED to go between the underside of the faceplate and the stick itself.
Alright, so I take it apart and put the second washer underneath the faceplate.
Problem – the JLF in the T5 modded base has suddenly become a lot stiffer to move around. I try loosening the screws keeping the JLF attached to the T5 faceplate mount a bit and that helps but the stick is still stiffer than normal. I try my other full-up sticks (Hori, Mad Catz) to see if I’m not imagining the stiffness
Yep, the washer underneath the T5 faceplate made the JLF a lot stiffer.
I ended up taking the second washer off and leaving top-plate washer on. The stick feels like a JLF again! The second washer, btw, showed signs of scraping (even though I DID NOT feel any grinding) and would have eventually been horribly scratched through time and eventually destroyed by pressure. It possibly could have damaged the upper part of the interior JLF base, too.
I just don’t know that the second washer is needed in this case to be honestly truthful.
At any rate, the stick mount on the T5 is NOT the same as the one ones on the HRAP or the MadCatz TE. The T5 stick mount(ing plate) welded to the underside of the T5 faceplate is shallower and you have to screw in a bit to get the screws through the thread in the mount to keep the JLF secure. I noticed on the HRAP that I took apart that the second washer had quite a bit of room to move around on the underside of the faceplate and it freely lifted up and down. I did not feel that was the case with the T5-mounted JLF; the second washer in the T5 definitely felt like it was under significant pressure and would not move when the faceplate was removed the stick base.
I don’t know if anybody else has noticed this but I thought I’d pass it on because I haven’t seen it mentioned in thread involving T5 mods.
ive never used the second washer, i always use one. Its only purpose is to cover the hole to protect from dust. Its not suppose to change the way the stick feels or anything of that nature.
I looked on slagcoin just to see and this is the page
http://slagcoin.com/joystick/joystick_components.html
This thread has evolved so much with really great tips and shortcuts. Great work guys!!
That’s what I thought, too, but the the other sticks are definitely different than the T5. There is a second washer being used underneath the faceplate. Why I couldn’t tell you – I’d think one washer would take care of 90% of the dust problems at least – but it is there. The second washer just will not fit under the T5 faceplate, though.
The stock Hori sticks only use one washer, too. The Hori washer itself can be used on JLF sticks that don’t have the shaft cover on btw. Most of the Hori parts seem to be the same size as the basic JLF components and are interchangeable. I can verify from fitting that the Hori ball handles and washers do fit the JLF’s.
yeah, some hori parts are interchangeable. Ive used a hori shaft and actuator on one of my fs3 mods in the past.
I think were safe using just one dust protector.
i just finished modding my hori with toddles MC Cthulhu and a mad catz retro stick PCB, i used the RJ45 one cable method as wel, with a dpdt switch, i haven’t ordered the buttons for it yet( my wife was making sure i didn’t spend to much on it) but now that it works, i’ll get Sanwa 30mm and a JLF on there too, i’ll post picks when i get the headset hooked up for the 360( i just need to buy an extension cord so i can use the existing setup on the madcatz board).