Honcam Mod (First Tutorial/Mod) with Free and Easy Mod Tutorial

After reading SRK forums for about a month, I am finally able to contribute. Paying for an arcade stick at the cost of +$100.00 is ridiculous. I wanted to bring an alternative to the Modded Mayflash, SE, and TE sticks. This post was inspired by http://forums.shoryuken.com/showthread.php?t=206013&highlight=honcam
Knowledge is power, so read up on your arcade stick stuff http://www.slagcoin.com

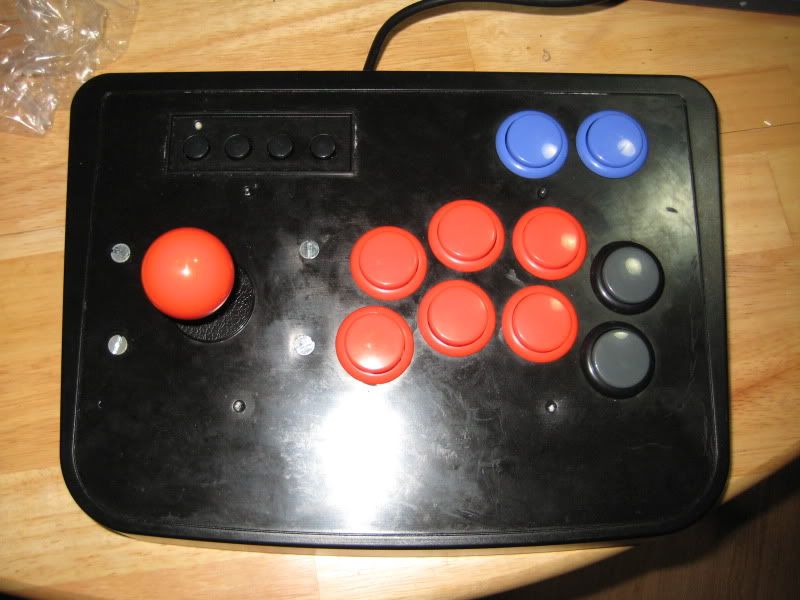
I purchased 2 Honcam Arcade Sticks for $49.99 on ebay. Two crappy sticks for the price of one. :slight_smile:
I am currently waiting for my order from LizardLicks. 2 JLF’s and 20 Sanwa OSBF-30 buttons (various colors)

Out of the box, the stick was unable to perform diagnols. Fear not, here’s a quick easy joystick mod to hold you over before the

replacement parts arrive. Besides, using a crappy stick to train on will help improve your Hadokens. :smiley:

QUICK AND EASY MOD (MAY WORK ON MOST IF NOT ALL GENERIC CRAPPY STICKS)

Tools

1 Flathead Screw Driver
1 Phillips Screw Driver
4 inches of electrical tape

  1. Remove the plastic film from the back panel of the plastic housing.
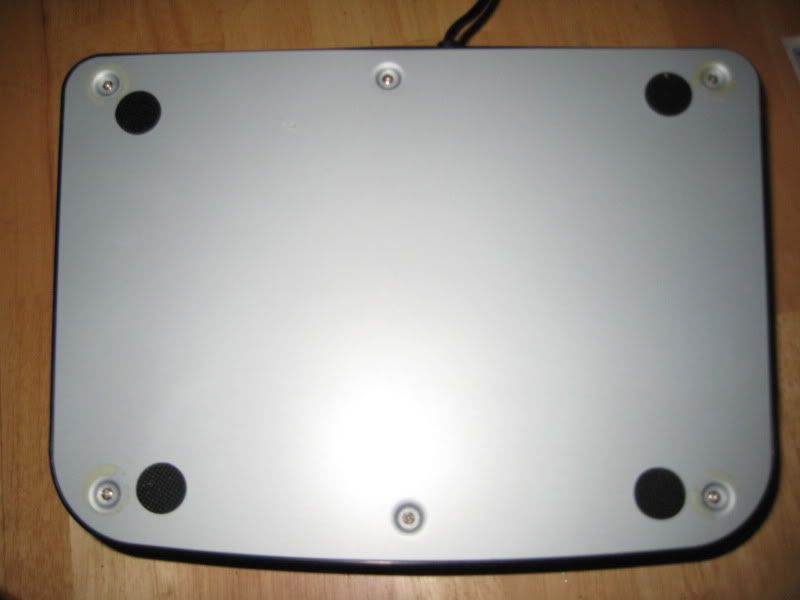
  1. Use your Flathead Screw Driver/Fingernails to remove the rubber feet. The adhesive is really good, I just replaced the feet right next to the screw holes.

  2. Unscrew the 6 Phillips screws with the Phillips Screw Driver and remove the metal back panel.

  3. Use the flathead screw driver to hold the shaft in place while you unscrew the balltop.

  1. Unscrew the 4 screws from the joystick and remove the stick from housing. Be careful, although the microswitches soldering points have been hotglued, they can still come off.

  2. Carefully unlatch the restrictor gate with the screw driver. It comes very easily so be gentle.
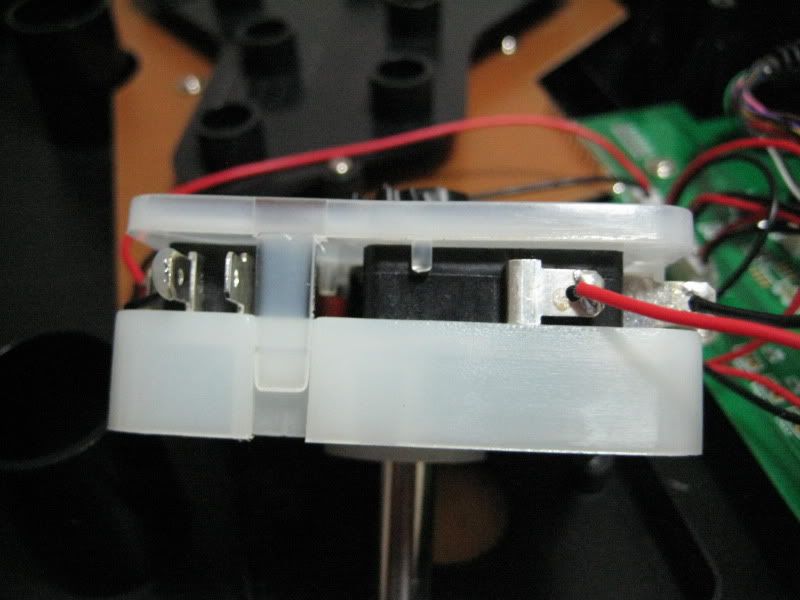
  1. Carefully remove the microswitches (beware be gentle)

  2. Wrap the electrical tape around the Actuator. (You can cut the access tape, but I left it as is since its going to be replaced anyway)
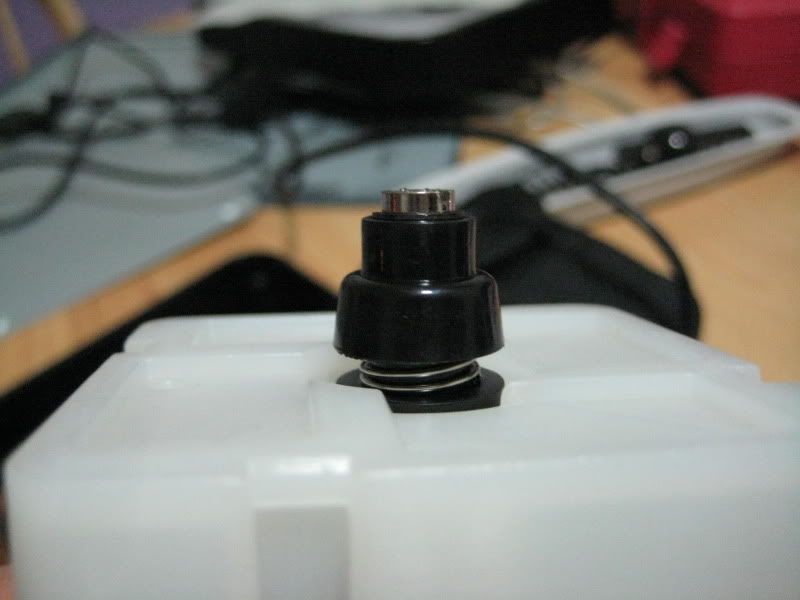
  1. Replace the microswitches (in the correct order) and reattached the restrictor gate.
  2. Rescrew all the appropriate screws in order to remount the stick and balltop. (don’t forget the dust cover)
  3. Replace the back metal panel and rescrew everything. DONE!

**The stick should now work, with a little effort. You can place more tape but I don’t know if that will truly improve performance of

hitting the microswitches.**

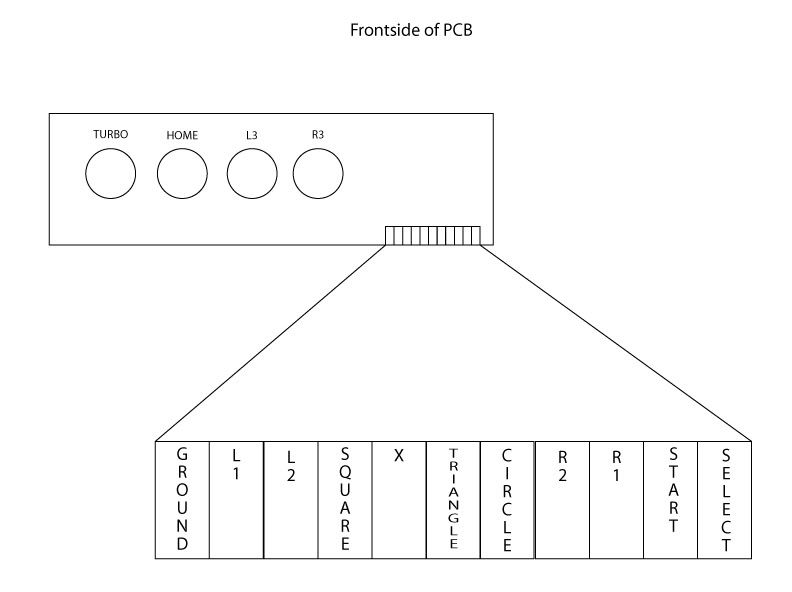
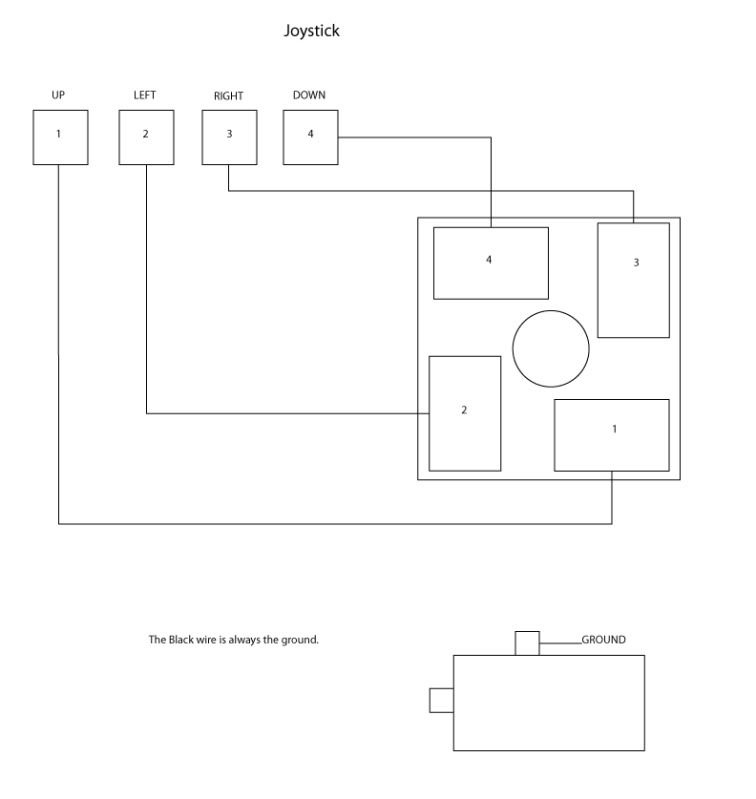
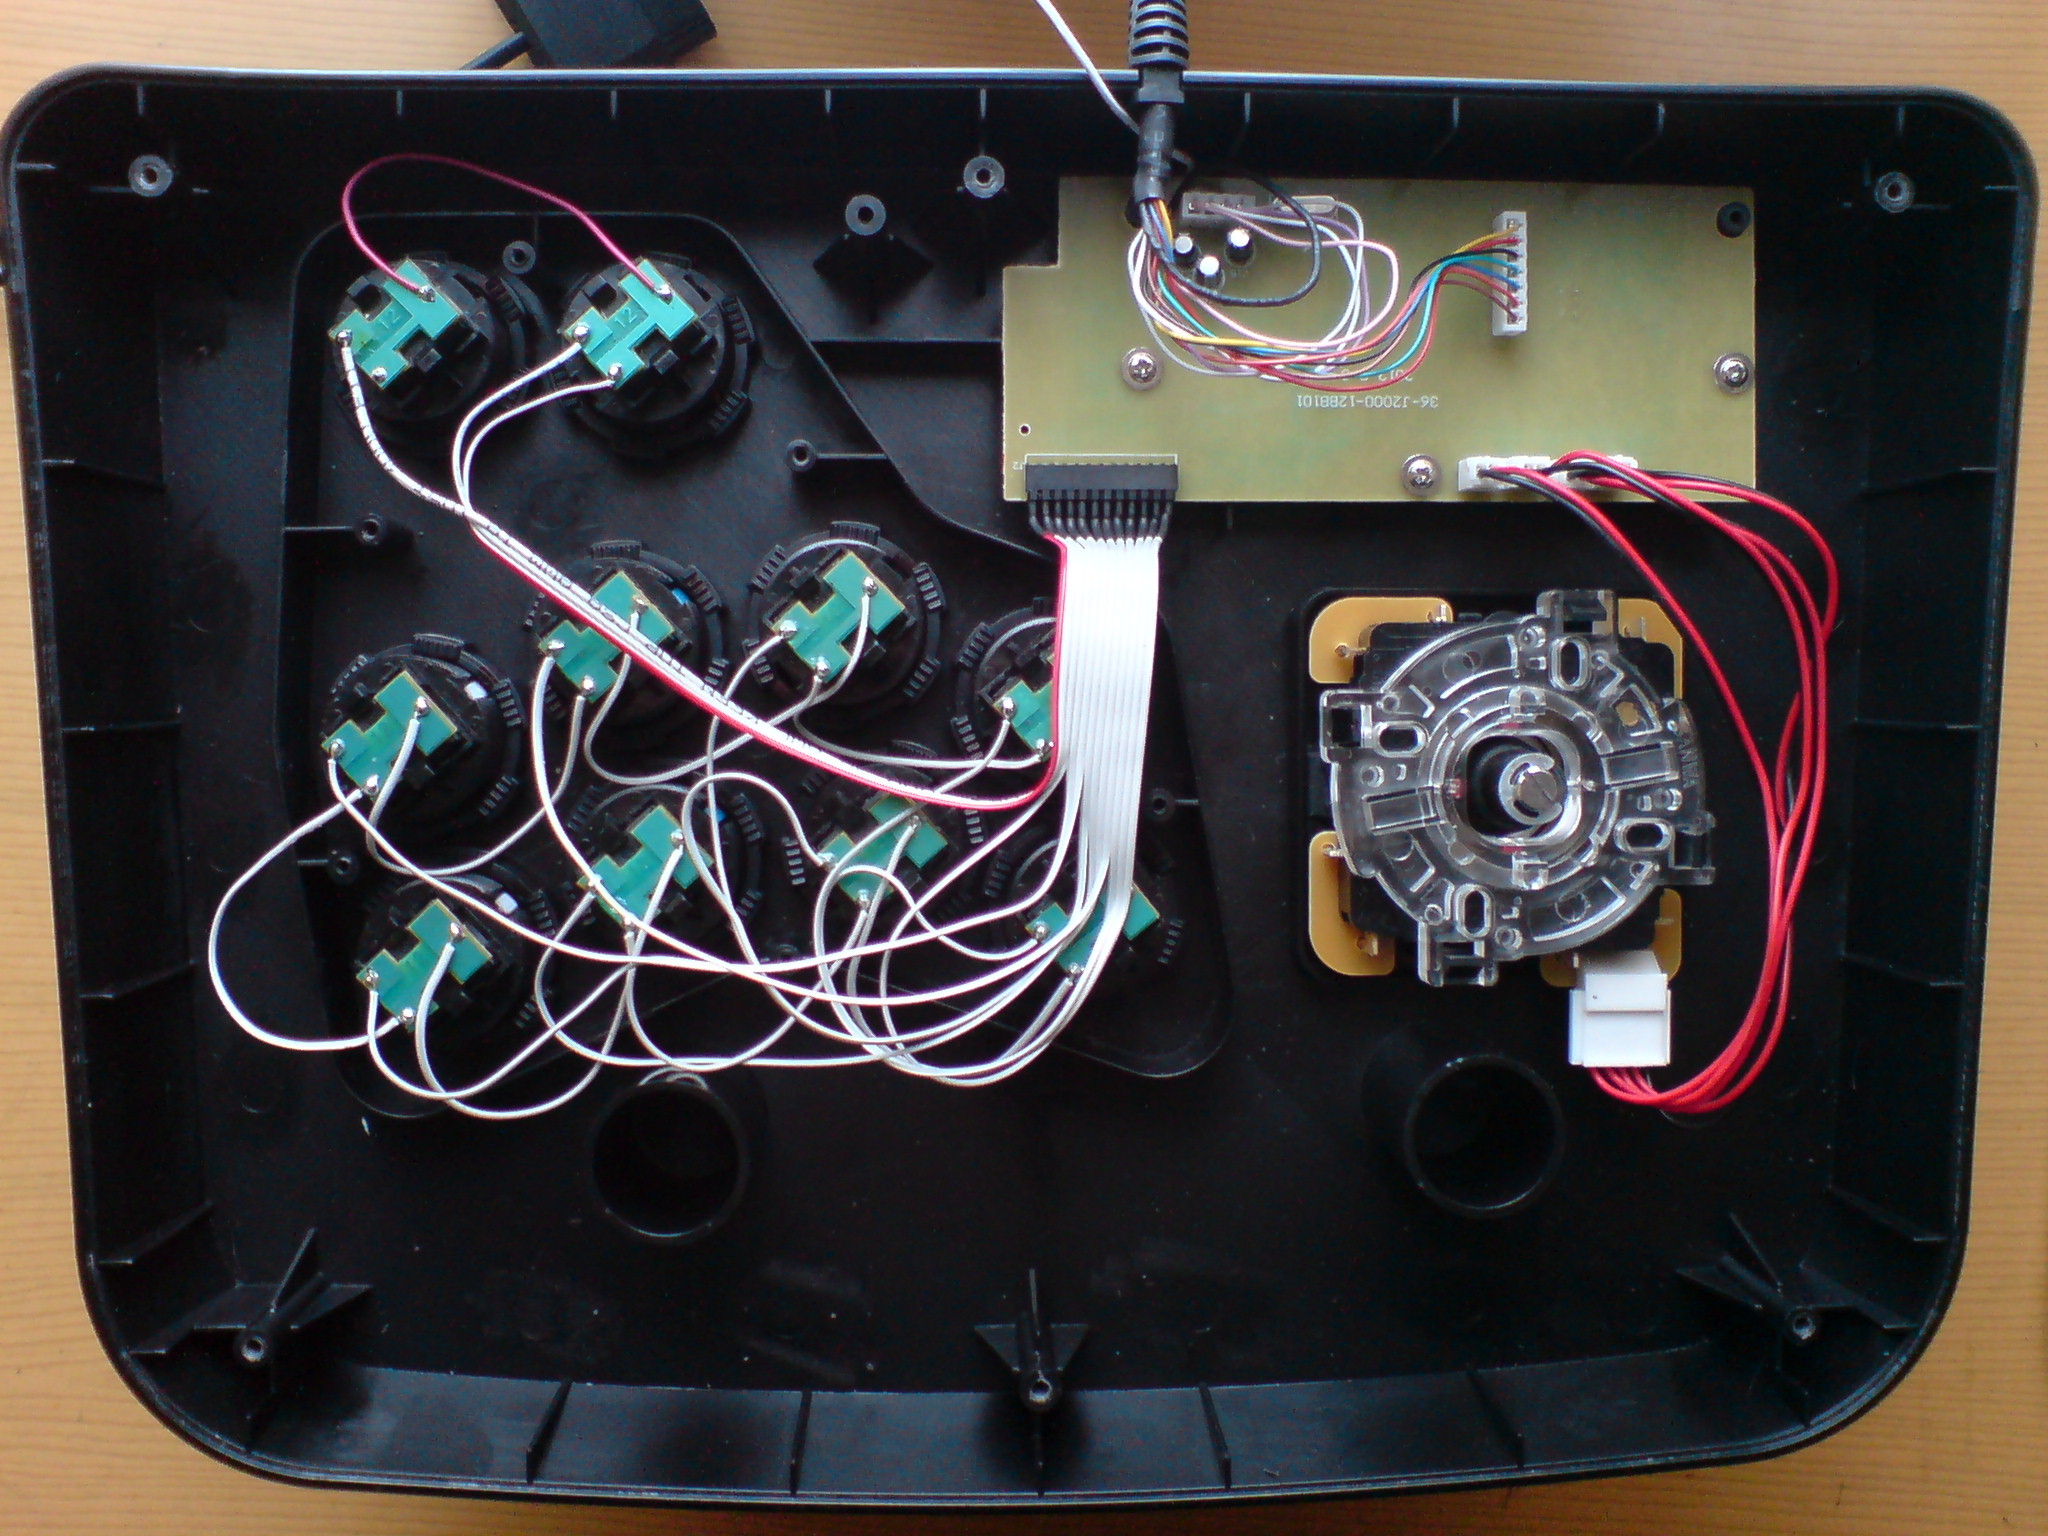
Here are some pics that you will find helpful for soldering and such. FYI The points on the backside of the pcb works as well. Which is where I soldered the buttons. When mounting the JLF, the wireless harness will not work because there is not common ground for the directions. All the buttons can be daisy chained but the directions cannot. I had to solder directly to the microswitches. Also, you can use the original microswitches instead of desoldering the jlf (you can use that for later use). I tried both and they both work exactly the same. :slight_smile:

I mounted the JLF horizontally. Which is why you have to dremel off the plastic where the stick was originally mounted and some areas around it.
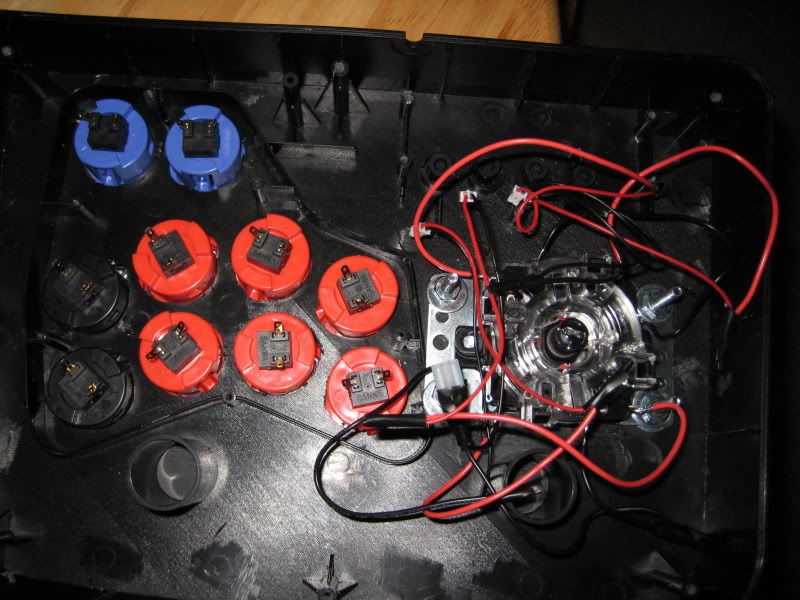
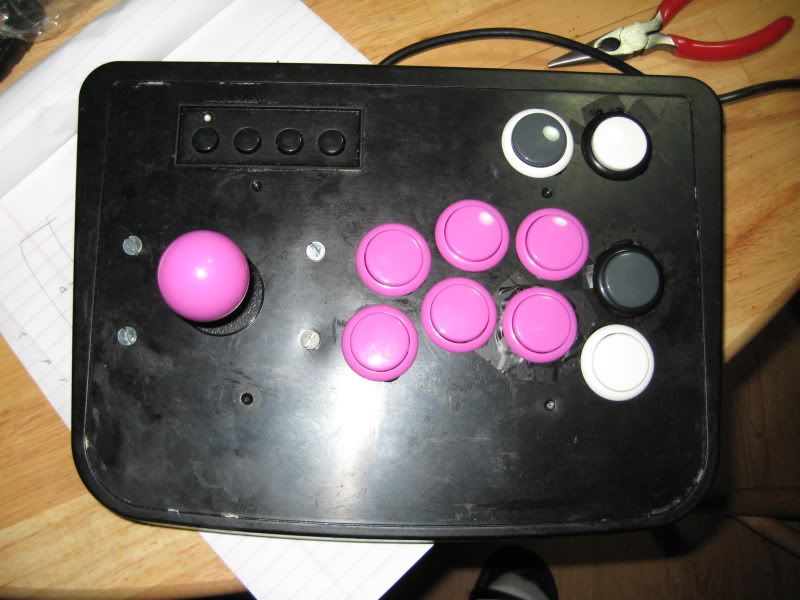
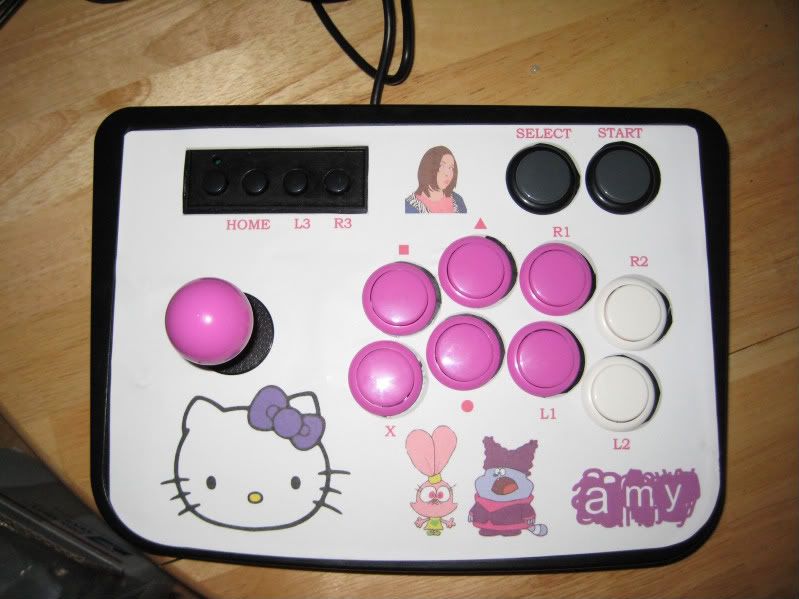
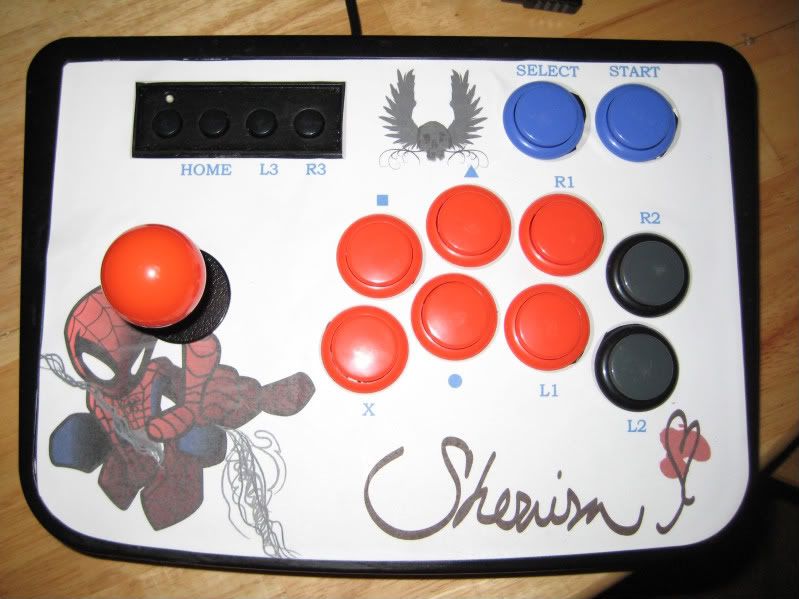
Here is the final product. I’m working on the template Stay tuned :slight_smile: I hope that was helpful.

Truth be told, the more I work on sticks, the more I realize that its the componenets that folks want that cost so damn much. When japanese buttons cost 3-4 bux a pop, with a ten button layout - thats 30-40 bux alone. Add-in the 25 dollar sticks and your already at 55-65 bux. I hope your project comes out well, its just the ‘cost’ thing…its not cheap unless you use Happ parts.

  • :bluu:

Cheap Mod? Not Really

@Unreal
Actually, my comment on paying for a stick that’s +$100 is due to the following factors.

SE stick costs roughly around 60-70 bucks (depending on the system), but if you have to replace the buttons and the stick, that’s an additional 55 bucks. Grand total of (approx) $110.

I’m going to be modding two sticks that cost me $49.99, parts $109 bucks with the total of (approx) $160. Which breaks down to about $80 bucks per stick plus labor. Is it cheap? Not really, but the value and knowledge outweighs it overall. At least that’s how I viewed it. Custom art work is an awesome bonus.

Small world isn’t it? I actually know you IRL. LOL check yo facebook.

Very small world, hit me up if you want to work on it this weekend, seems Sunday wil lbe my available day.

I’ve been wanting to do some stick work, but the cost of the friggin Japanese parts kills me. $20 for 360 controller + $55 for buttons/stick + $30 for material.

GL on it =) And welcome to SRK

  • :bluu:

quality comes with price. :shy: You can get sawna knockoffs for less, price and quality.

so ~80 for a good stick is cheap comparing to other custom and commercial sticks.

Just recieved the parts! Unfortunately, I have school this week. I will most likely finish my sticks this weekend. I will provide pictures and step by step instructions. Stay tuned. :smiley:

Let me know if you have any questions.

thanks for the info! i tried with electrical tape, but no luck…then i tried with scotch tape.
it works much better than the original! i actually ordered sanwa jlf, but am thinking about canceling…haha
now im waiting for the template…not sure how i can print it, but well…will try!

Would you happen to have the artwork template for this stick? I have it and want to give it some nice art work but I want to space it correctly.

I also need the template for the artwork . Can you post a download bro?

Thanks for this great guide. I followed the guide and was able to mod a stick this week and have parts for one more. These sticks will be used in a Virtual Pinball / MAME cabinet.

Here are some pictures of the results:

I used #6 screws for the joystick and a countersink bit and the mounting of the joystick came out pretty good. I also dremeld the sides of the original joystick holder in the top mold so that it would hold the new joystick’s mounting plate in a solid manner. I had to add a spacer to the joystick assembly as well to bring the bottom of the joystick pin up a hair so that it would not rub on the bottom metal sheetl.

Again thanks for the idea and diagrams!
-Ron

Greetings.
Is there an artwork template file for the Honcam Fighting Stick ?

qwPhisher, do you have any file ready to use ? Or even the arts you did for your sticks ?

Thanks a lot for this tutorial.

I managed create my own Honcam mod (my first work) but** I really wouldn’t recommend this for any beginner. **I didn’t have any dremel-tools so I used sand paper instead lol!

You can’t use the existing screw holes for your average Sanwa JLF joystick, because the case is too small.

Phisher already showed you how there is no common ground for directions. That was really annoying when I didn’t know anything about modding sticks. I had to desolder all the microswitches out from the Sanwa PCB. One can use the old wires from the stock joystick though so atleast that helped a bit.

A couple of pics from my own project (sorry for the bad quality, I’m also a newbie when it comes to taking pictures hehe)

http://yfrog.com/59imag0098rj

http://yfrog.com/j7imag0099wcj

ps. About the template. Since I had no idea how to apply art (too lazy to read any tutorials), I just scanned the original art and then made some changes via photoshop.
(for 6 buttons) http://imageshack.us/photo/my-images/823/unlediv.jpg/ If you add your own art and print this with paint (marginals : 0), it should fit in well. Doesn’t help much but there you go :confused:

Here’s the pic I used : http://imageshack.us/photo/my-images/857/6muoto.jpg/

I know this is an old thread, but it’s still linked in the tutorials sticky, and these sticks are still available (and cheap), so I’m posting here.

These are available in Europe (Germany in particular), sold under the Lioncast brand. Their construction is very similar to the Mayflash and Paewang/Datel sticks, and so the mods you can perform on them use the same procedures.

One advantage of this stick is the Sega P1 layout, which people may prefer over the older HRAP style used by the other models I mentioned.

It can be much easier to mod this stick than the methods in this thread suggest (not that they are bad methods). It’s very possible to do a solderless mod here.

If you break off the button board in such a way as to preserve the connector pins (scissors will help if you wish to avoid a soldering iron altogether), you can attach quick disconnects directly to them. In fact, you could also buy the Paewang harness from etokki and use that, or make your own.

A JLF can be mounted without modification to the case or JLF, by using Laugh’s method in his Mayflash/Paewang tutorial. You can use flat head screws if you want to avoid cutting off the posts on the JLF like Laugh does.

Wiring the stick is more fiddly. The easiest way to do it is to just buy the TM (pcb-less) model, rather than the more common TP, and use the existing wires with 4.8mm qds to attach to the microswitches.

If you can’t get a TM model, then you’ll have to cut the grounds on the JLF I believe (look on youtube for this, especially in mayflash stick mod videos).

Anyway, I hope this is a worthwhile contribution to this thread, in case anyone has one of these or was considering buying one.

A caveat: I haven’t performed this myself, as I have no need of the stick, but I have studied the mayflash/datel methods extensively, and can see clearly that it applies here as well.

Still an old thread :wink: - but maybe some European people are interested in buying/modding a Lioncast stick…
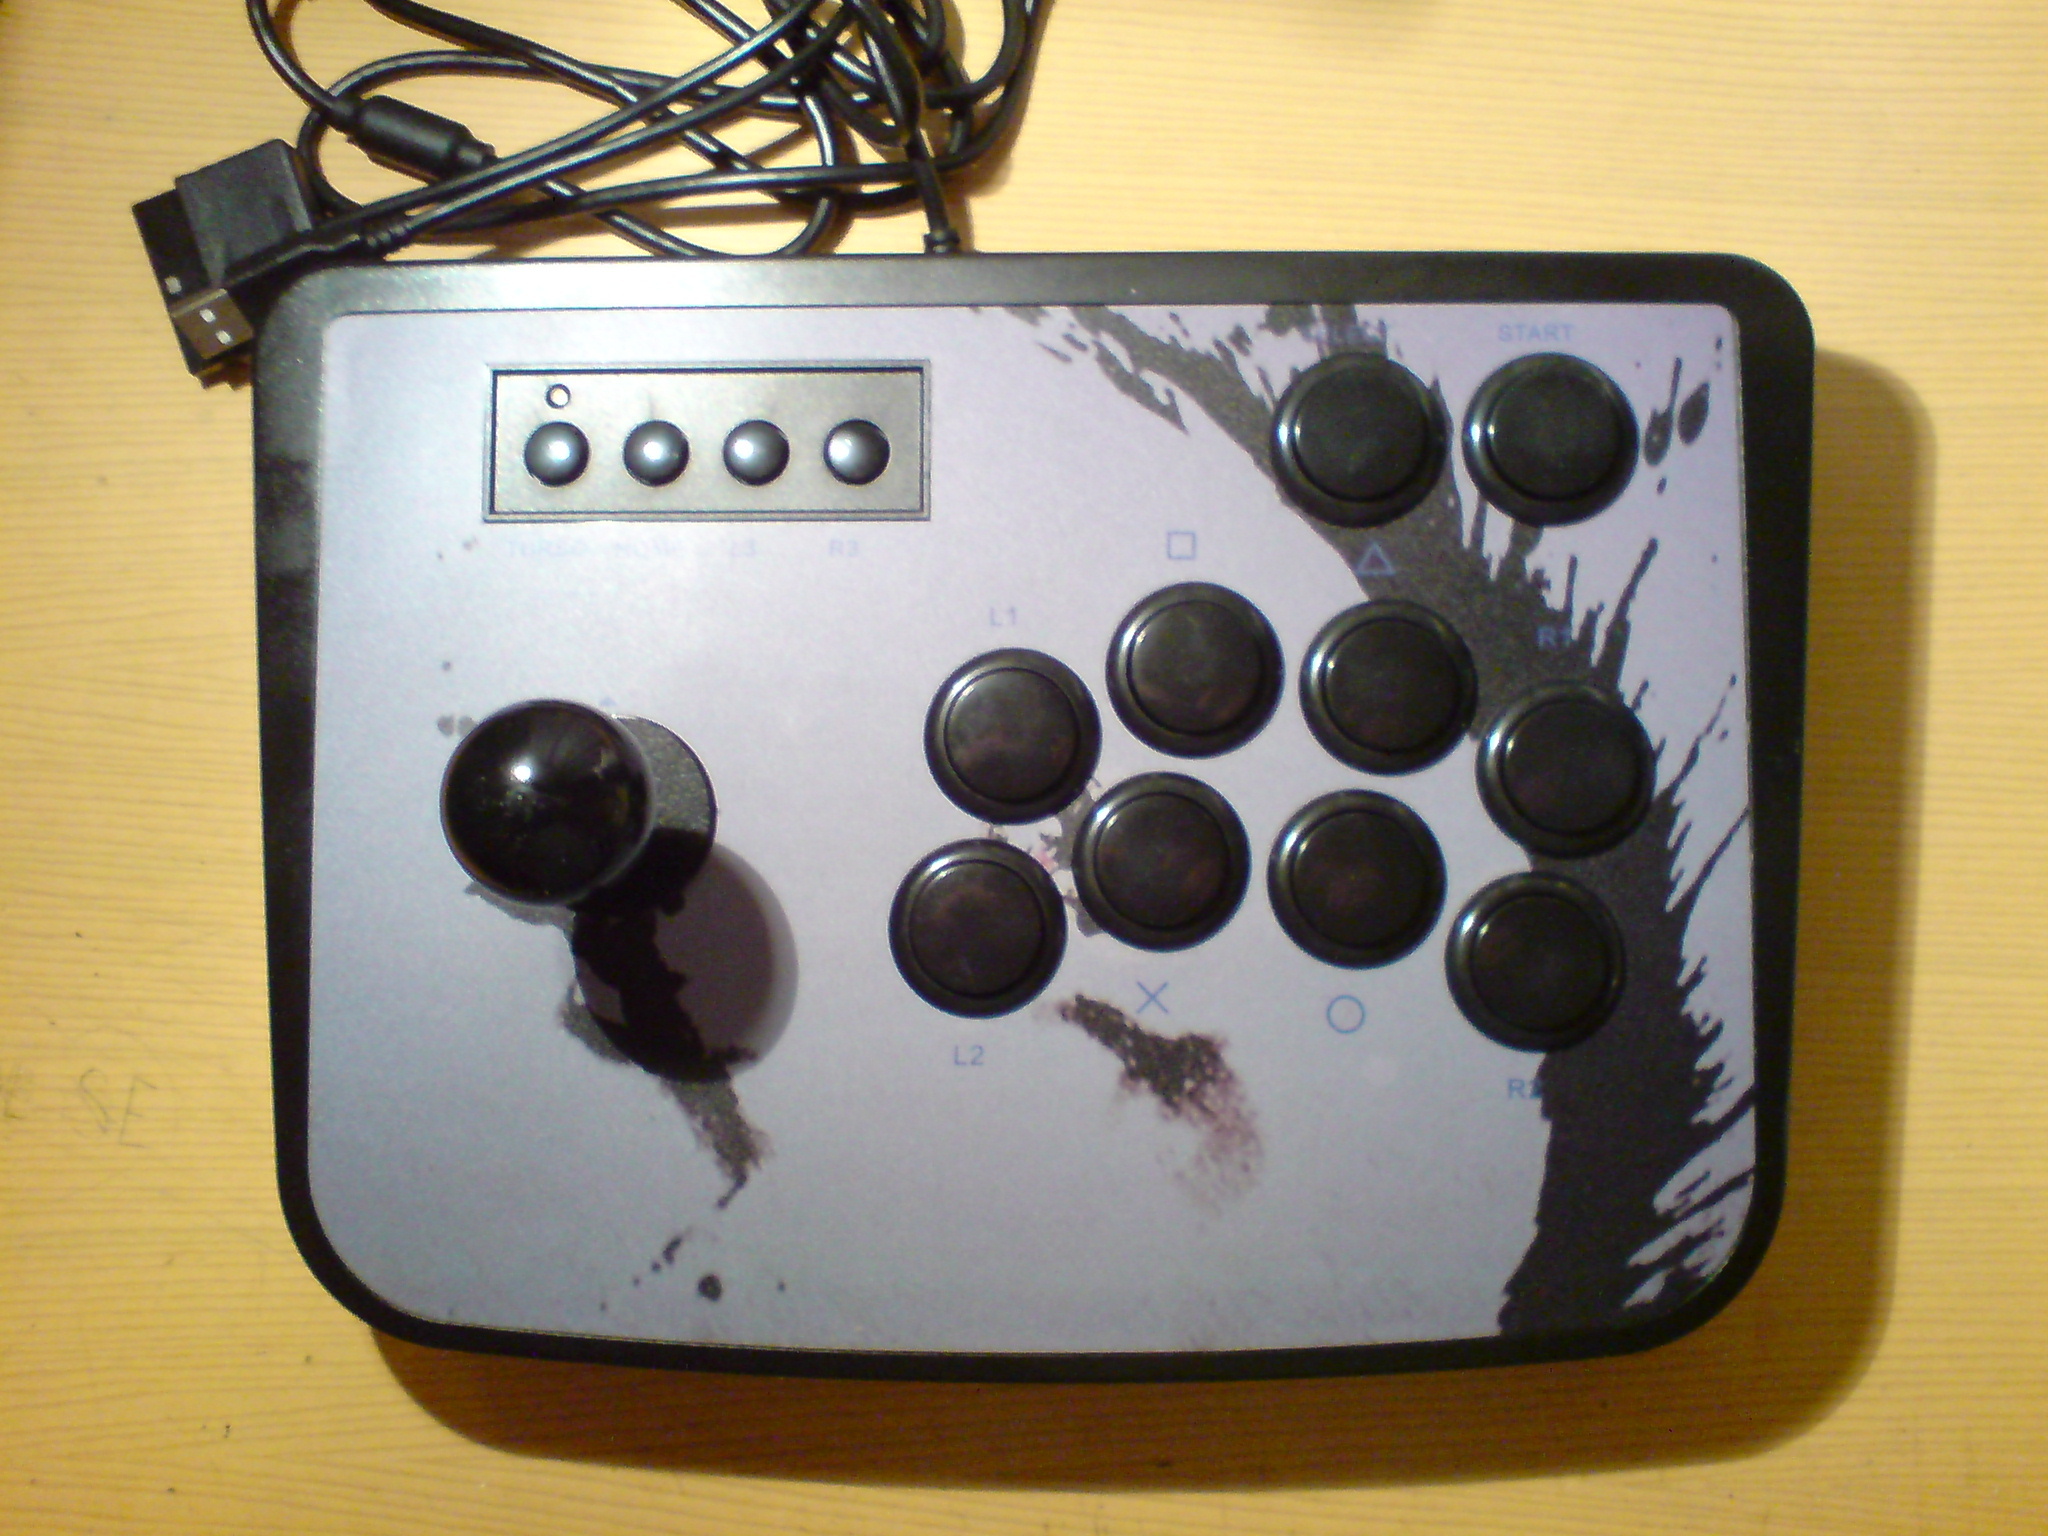
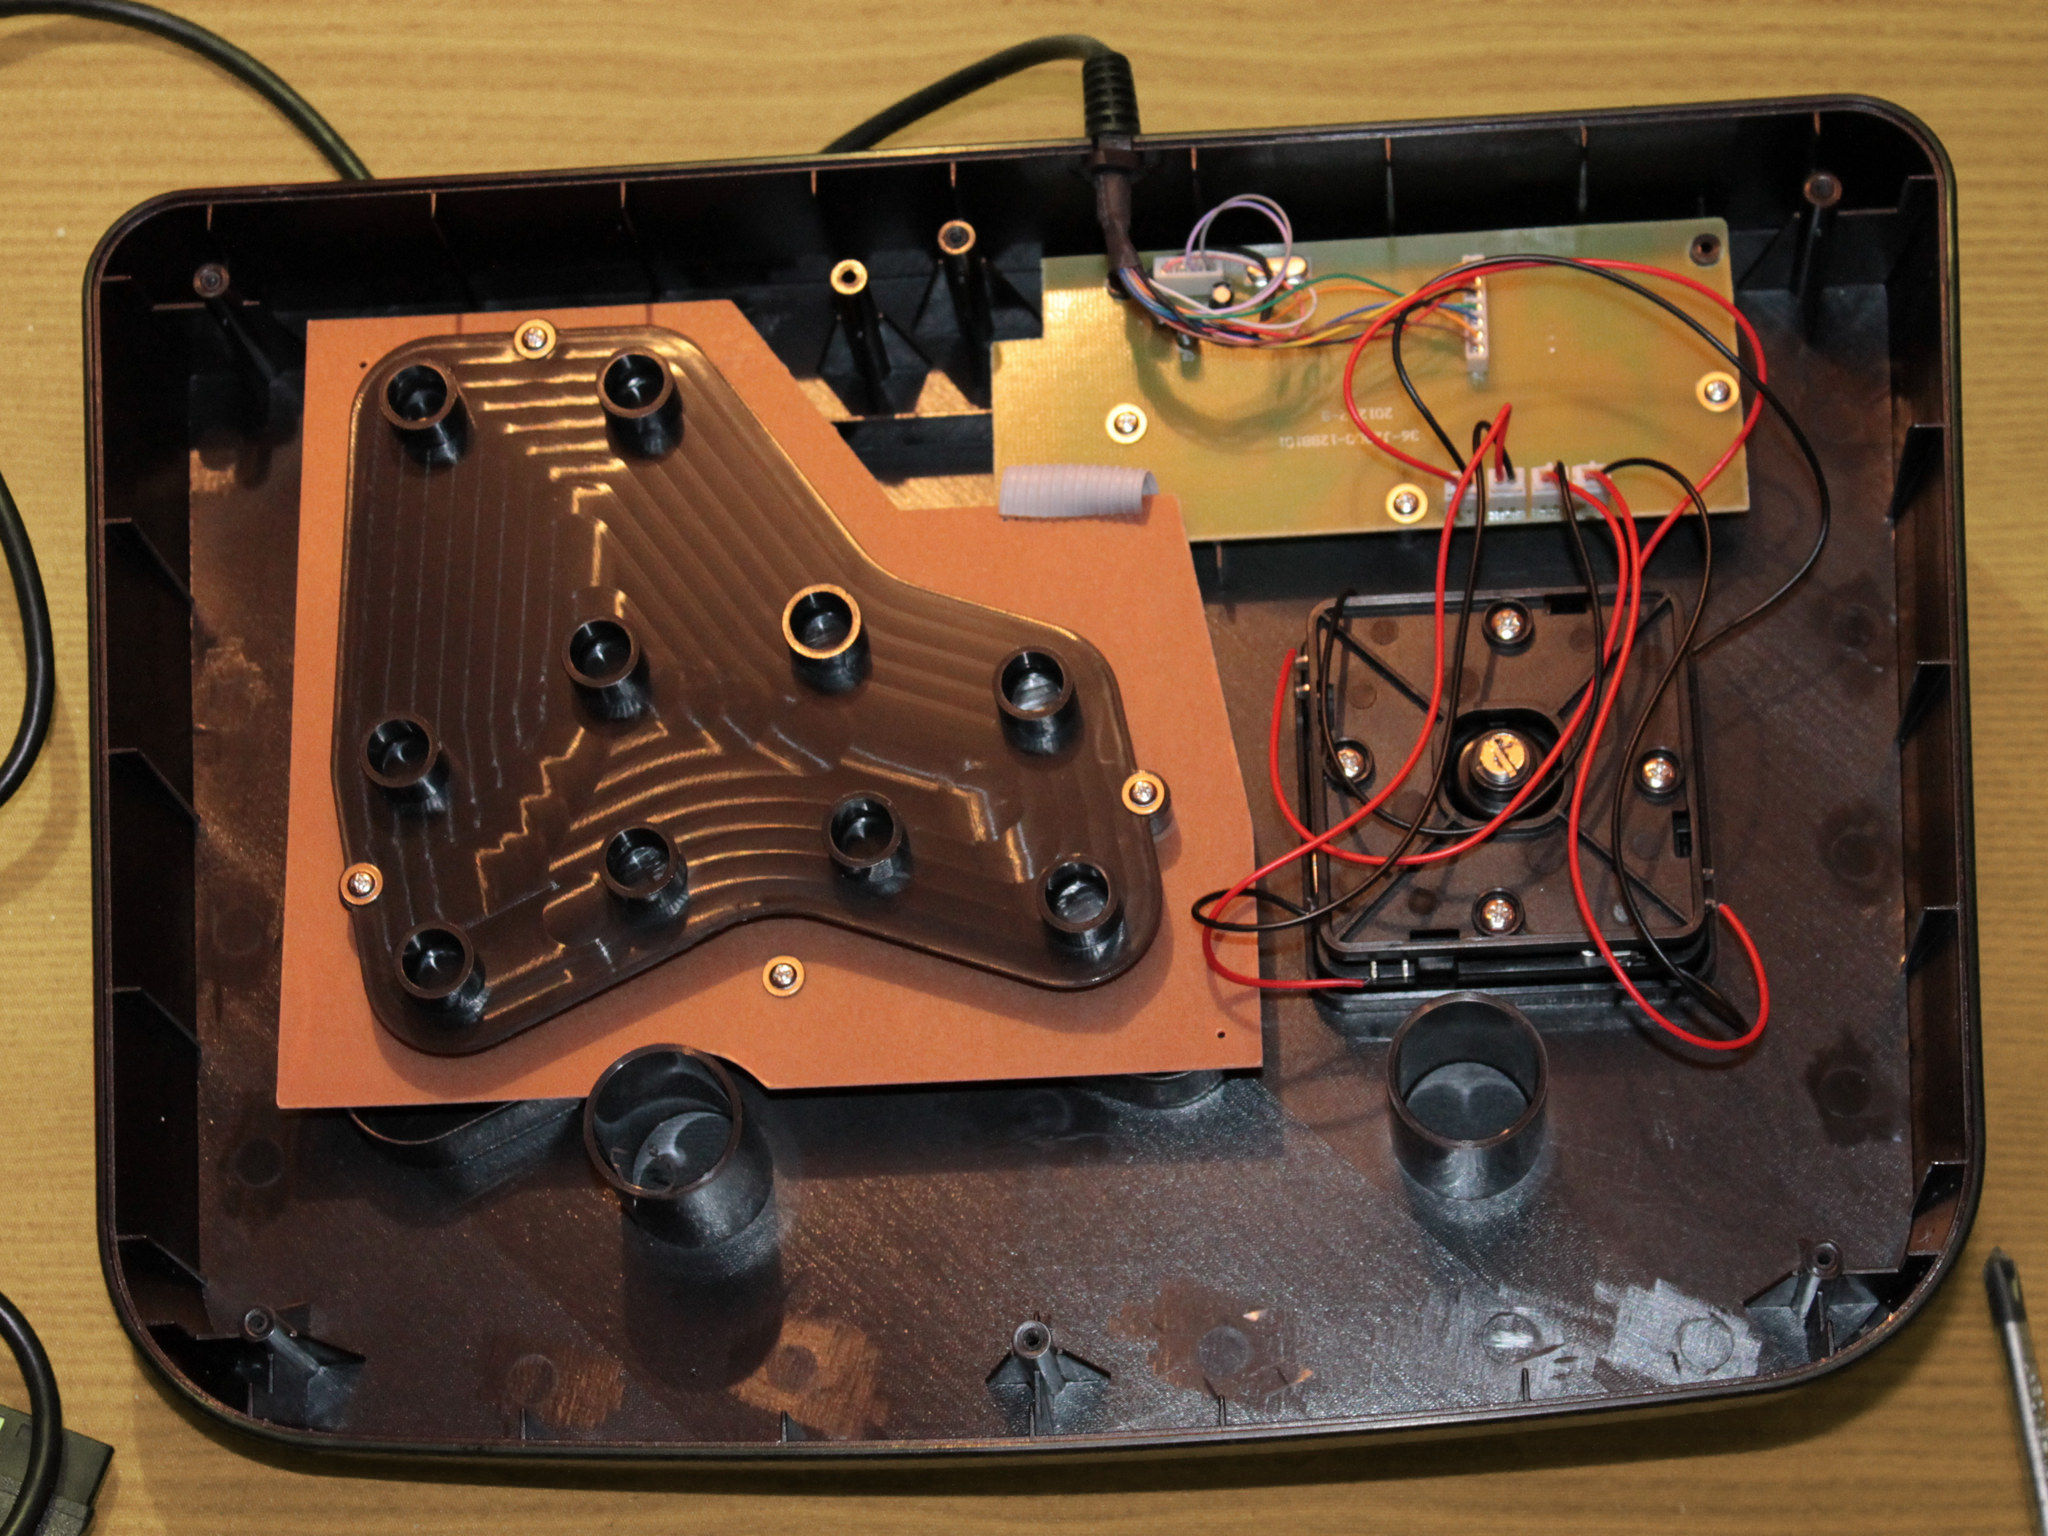
Those sticks do use exactly the same case as the Honcam sticks (with a different generic artwork):

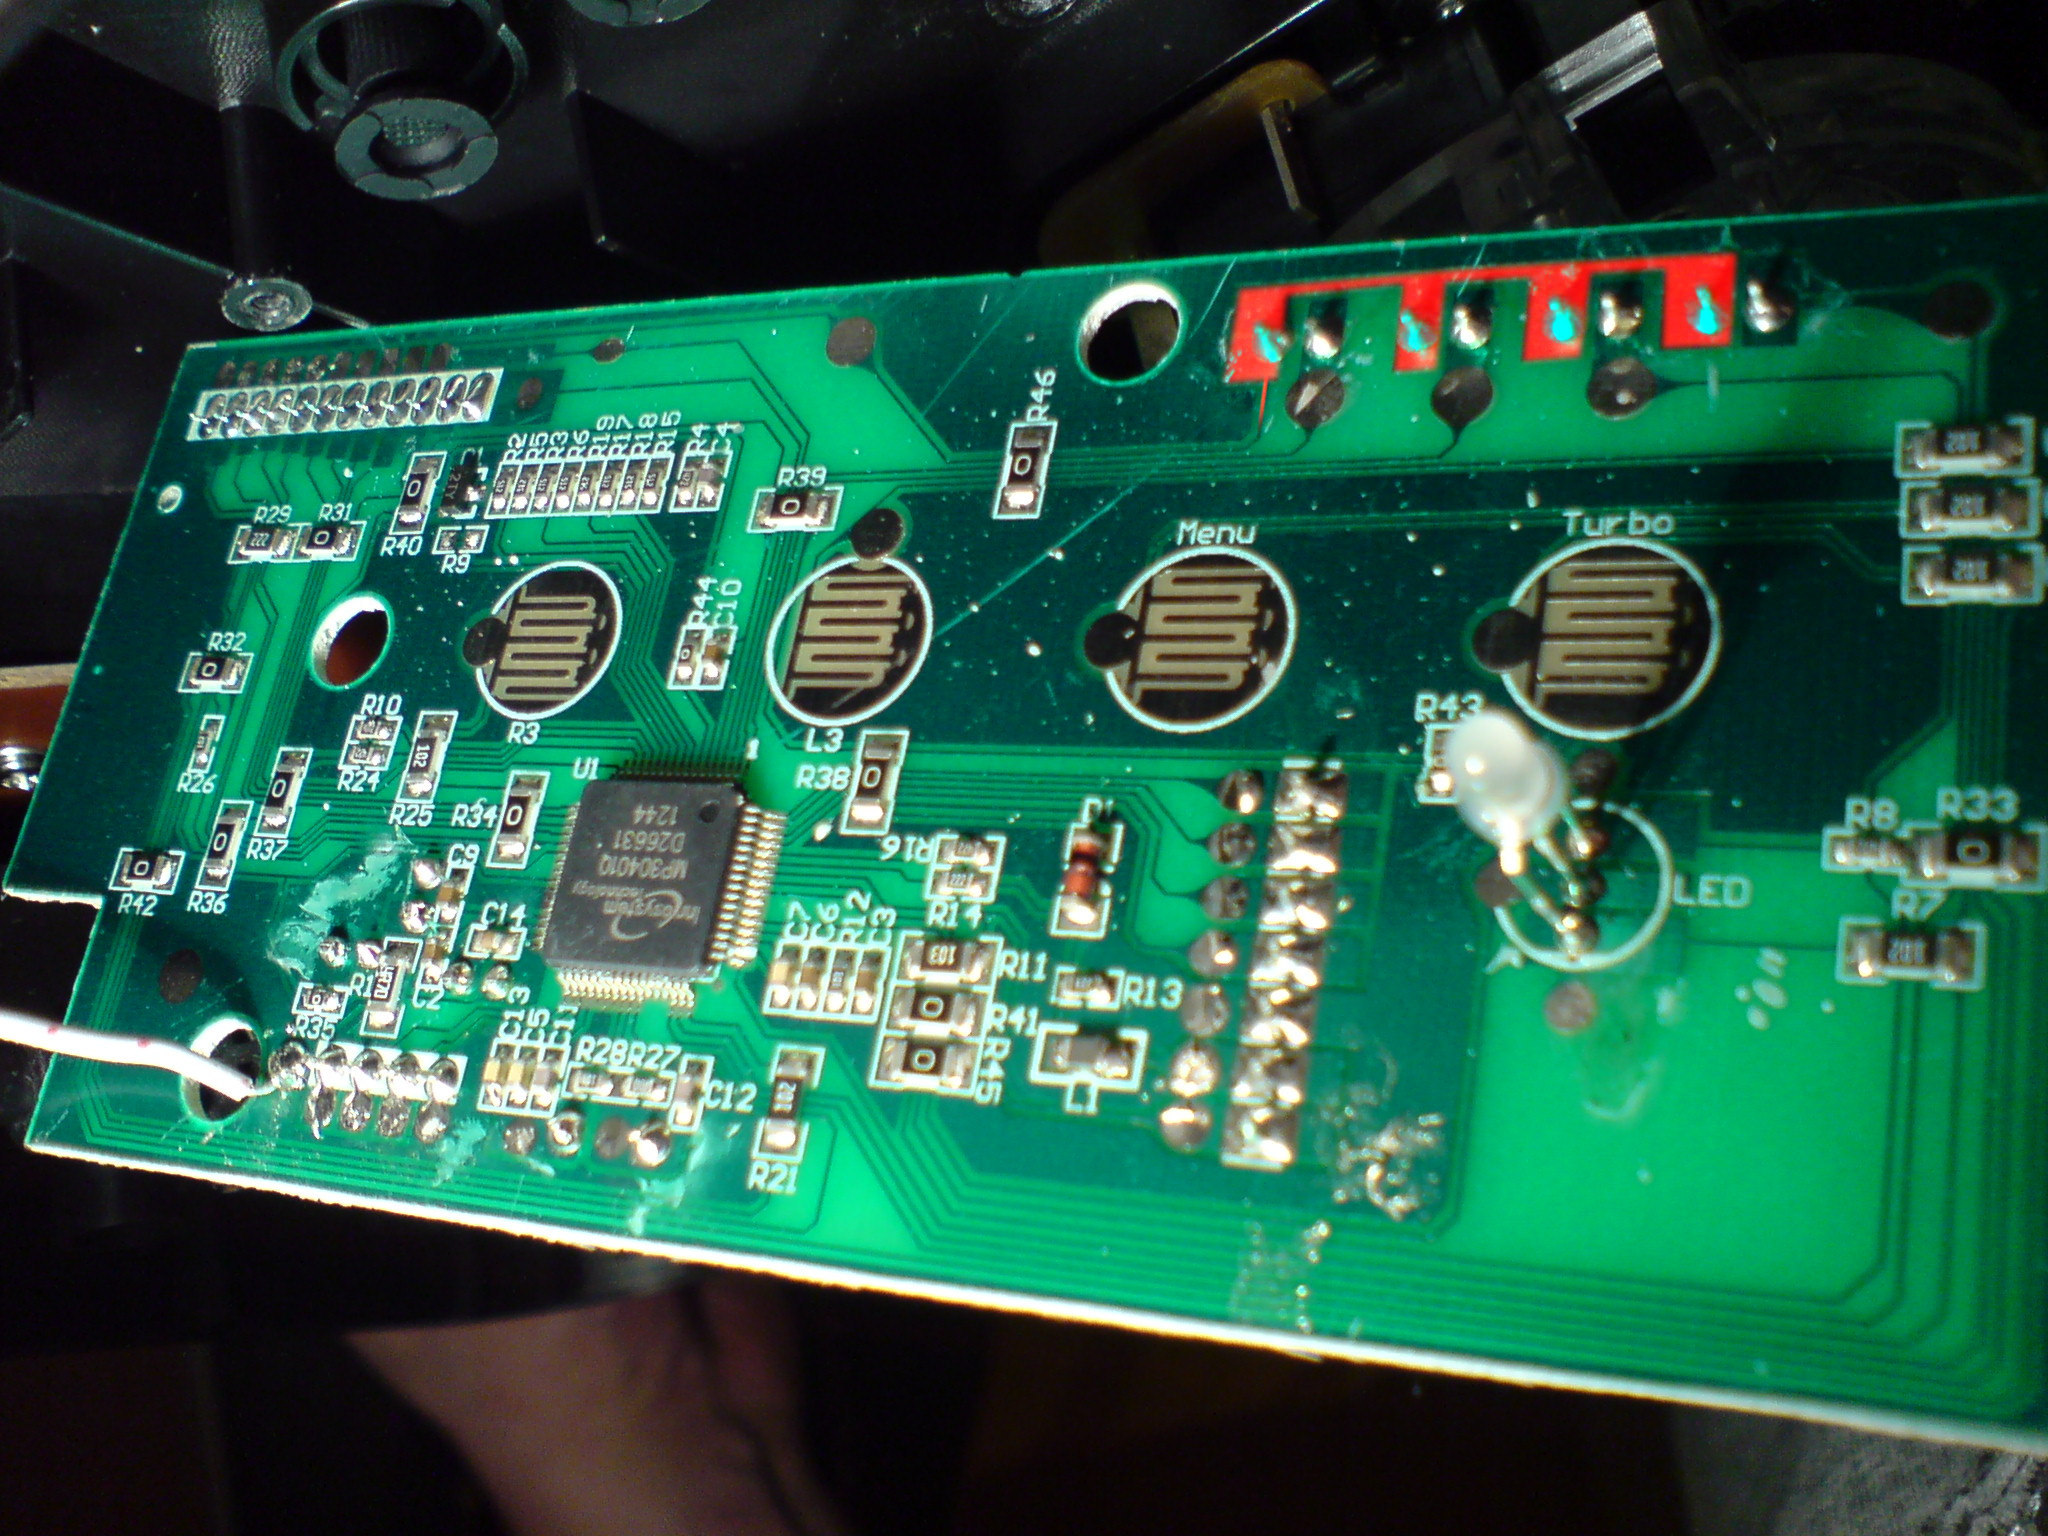
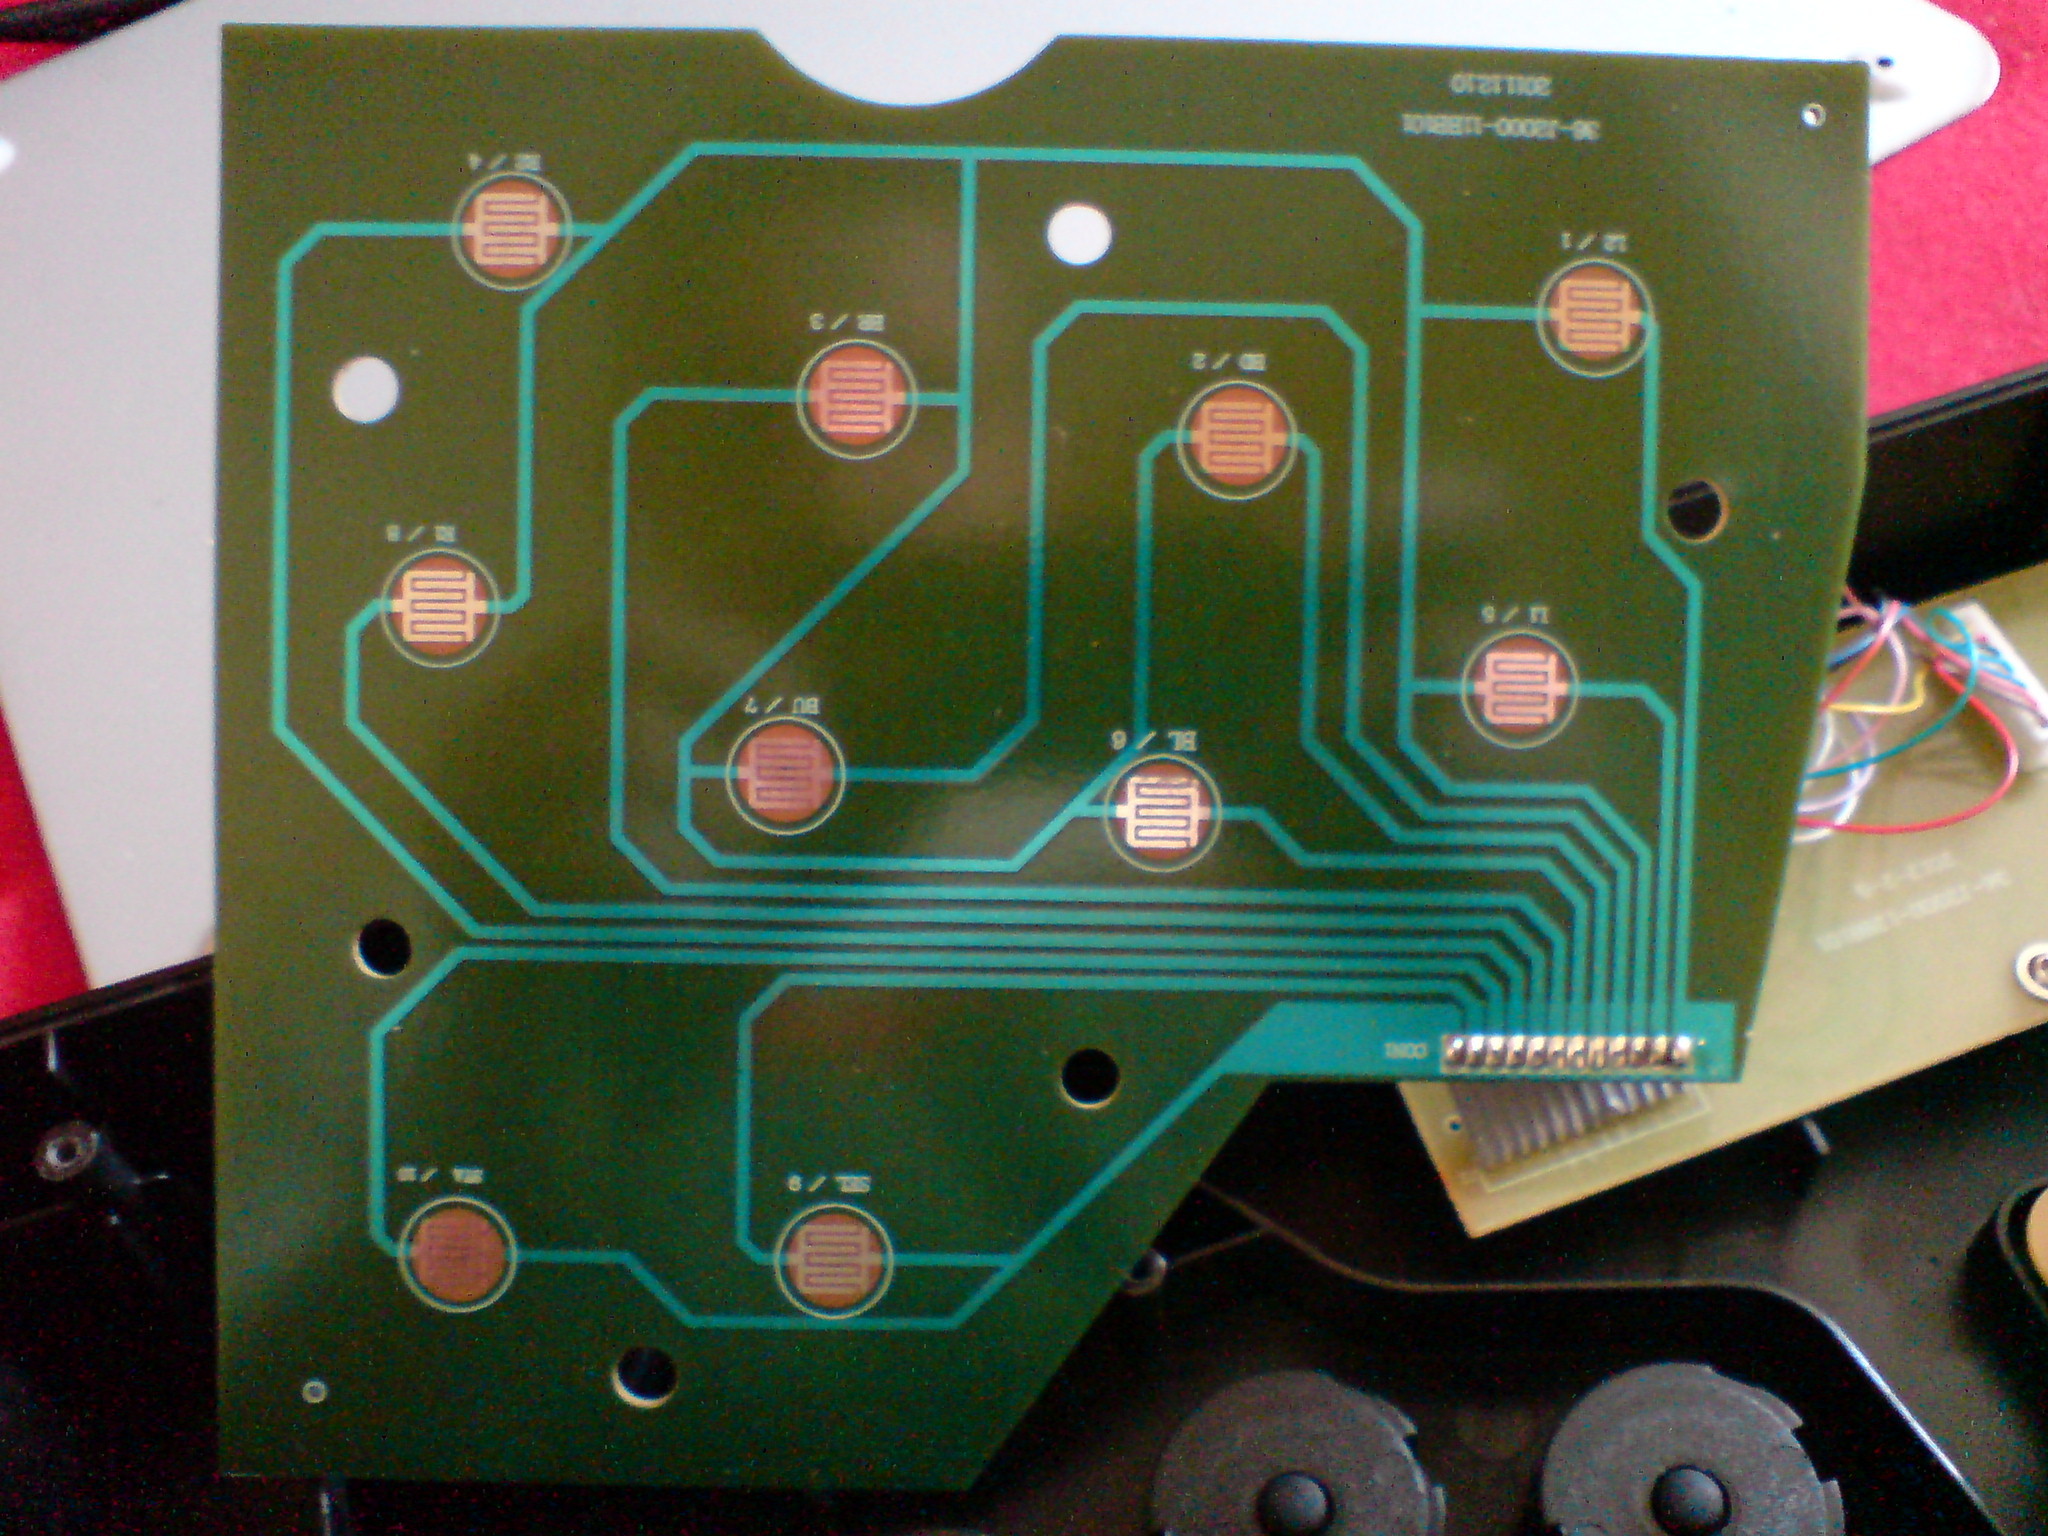
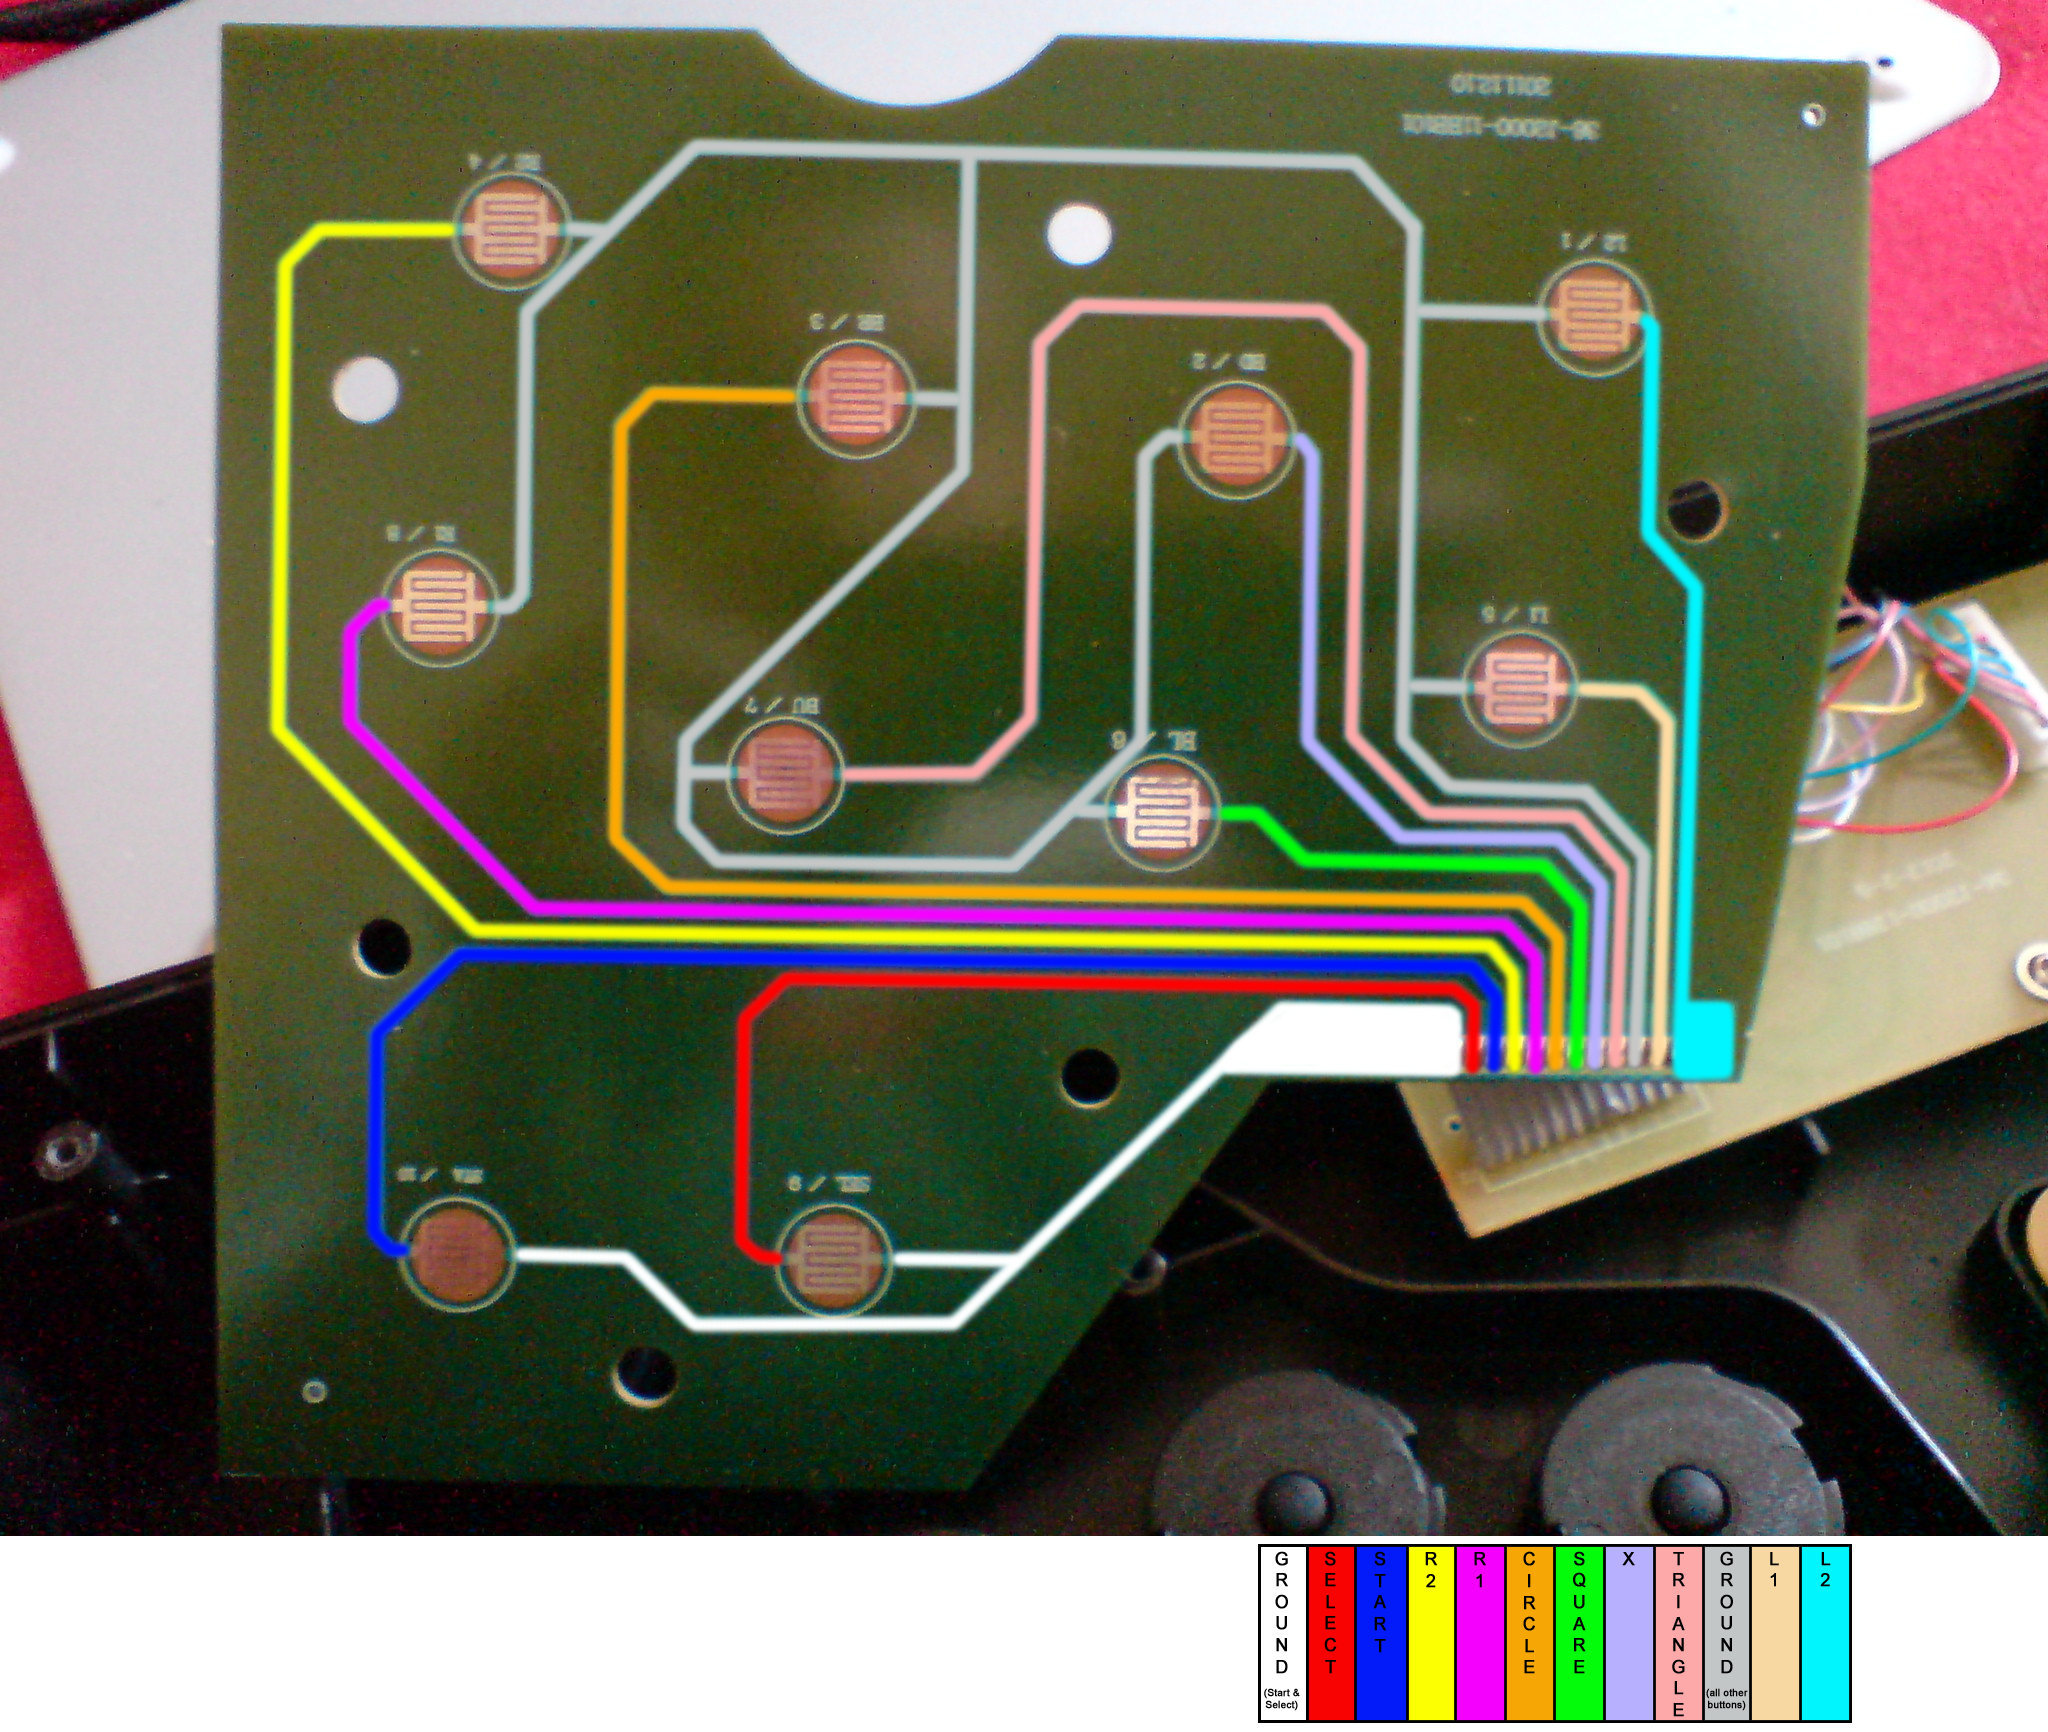
But their PCB layout is quite different:

First of all, there IS a common ground for the directions:

So you can easily replace the stock stick with a Sanwa JLF, without any changes to the JLF itself (however… i changed the base of the JLF, for using the original mounting holes of the stock stick - but that’s not necessary, if you’re using a different method to mount the stick to the case):

Second of all, instead of the 11 pins used to connect the two PCBs inside the Honcam, the Lioncast uses a 12-conductor ribbon cable. There are 12 pins, because the Lioncast has a separate ground pin for the ‘Select’ & ‘Start’ Buttons:

And the order of the signal pins is different too:

Except those differences, the effort in modding the Lioncast stick is almost the same as for the Honcam, since the cases are identical.

Perhaps you should of started a new thread, as the Lioncast is built differently from the Honcam.

Also

Sorry for the gravedigging… but i thought, this thread would be a good place to share those informations, since Honcam and Lioncast are (while not 100% identical) quite similar in design and therefore can be modded almost the same way.

But i guess you’re right. I’ll start a new Lioncast-modding-thread after replacing the buttons - this will be either next week, or never (since i’m waiting for my eTokki order around 1 month by now, while day by day losing hope to get the ordered parts at all :frowning: ).

Interestingly, the ribbon cable connector thing is what they use in newer Datel arcade pros. Makes it almost impossible to do a solderless mod now (the ribbon cable is basically a series of the very cheapest twist ties you can imagine).

Since they’ve put this revision in the Datel as well, I don’t think it’s correct to suggest that the Lioncast is “built differently” from the otherwise identical Honcam (which could well have had the same revision in the meantime) - unless people think a new thread for Datels with the ribbon cable should be set up as well.

I read somewhere (maybe in one of the Amazon reviews), that some of the Lioncast sticks have a Honcam Label somewhere on their cardboard box. This could be a hint, that they are indeed nothing else but relabeled Honcams for the European market and therefore are identical with the latest Honcam revision.

But since there are no pictures of the inside of newer Honcam sticks (are they still available somewhere?), we don’t know for sure…

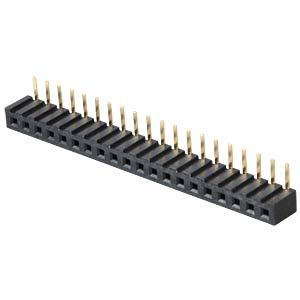
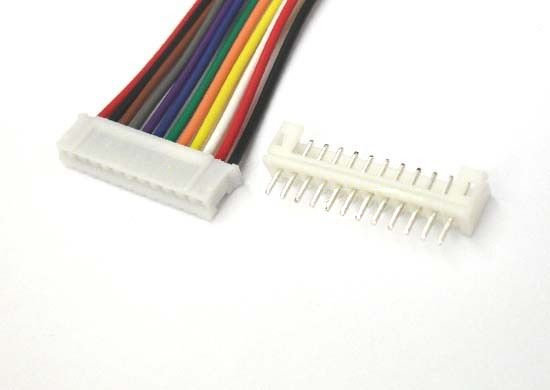
The contact spacing is 2mm - so i thought about building a simple (and cheap) connector, using this:

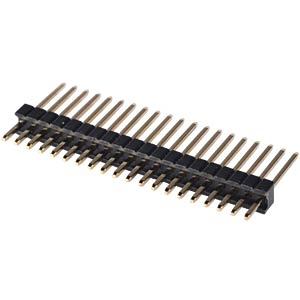
… and using that:

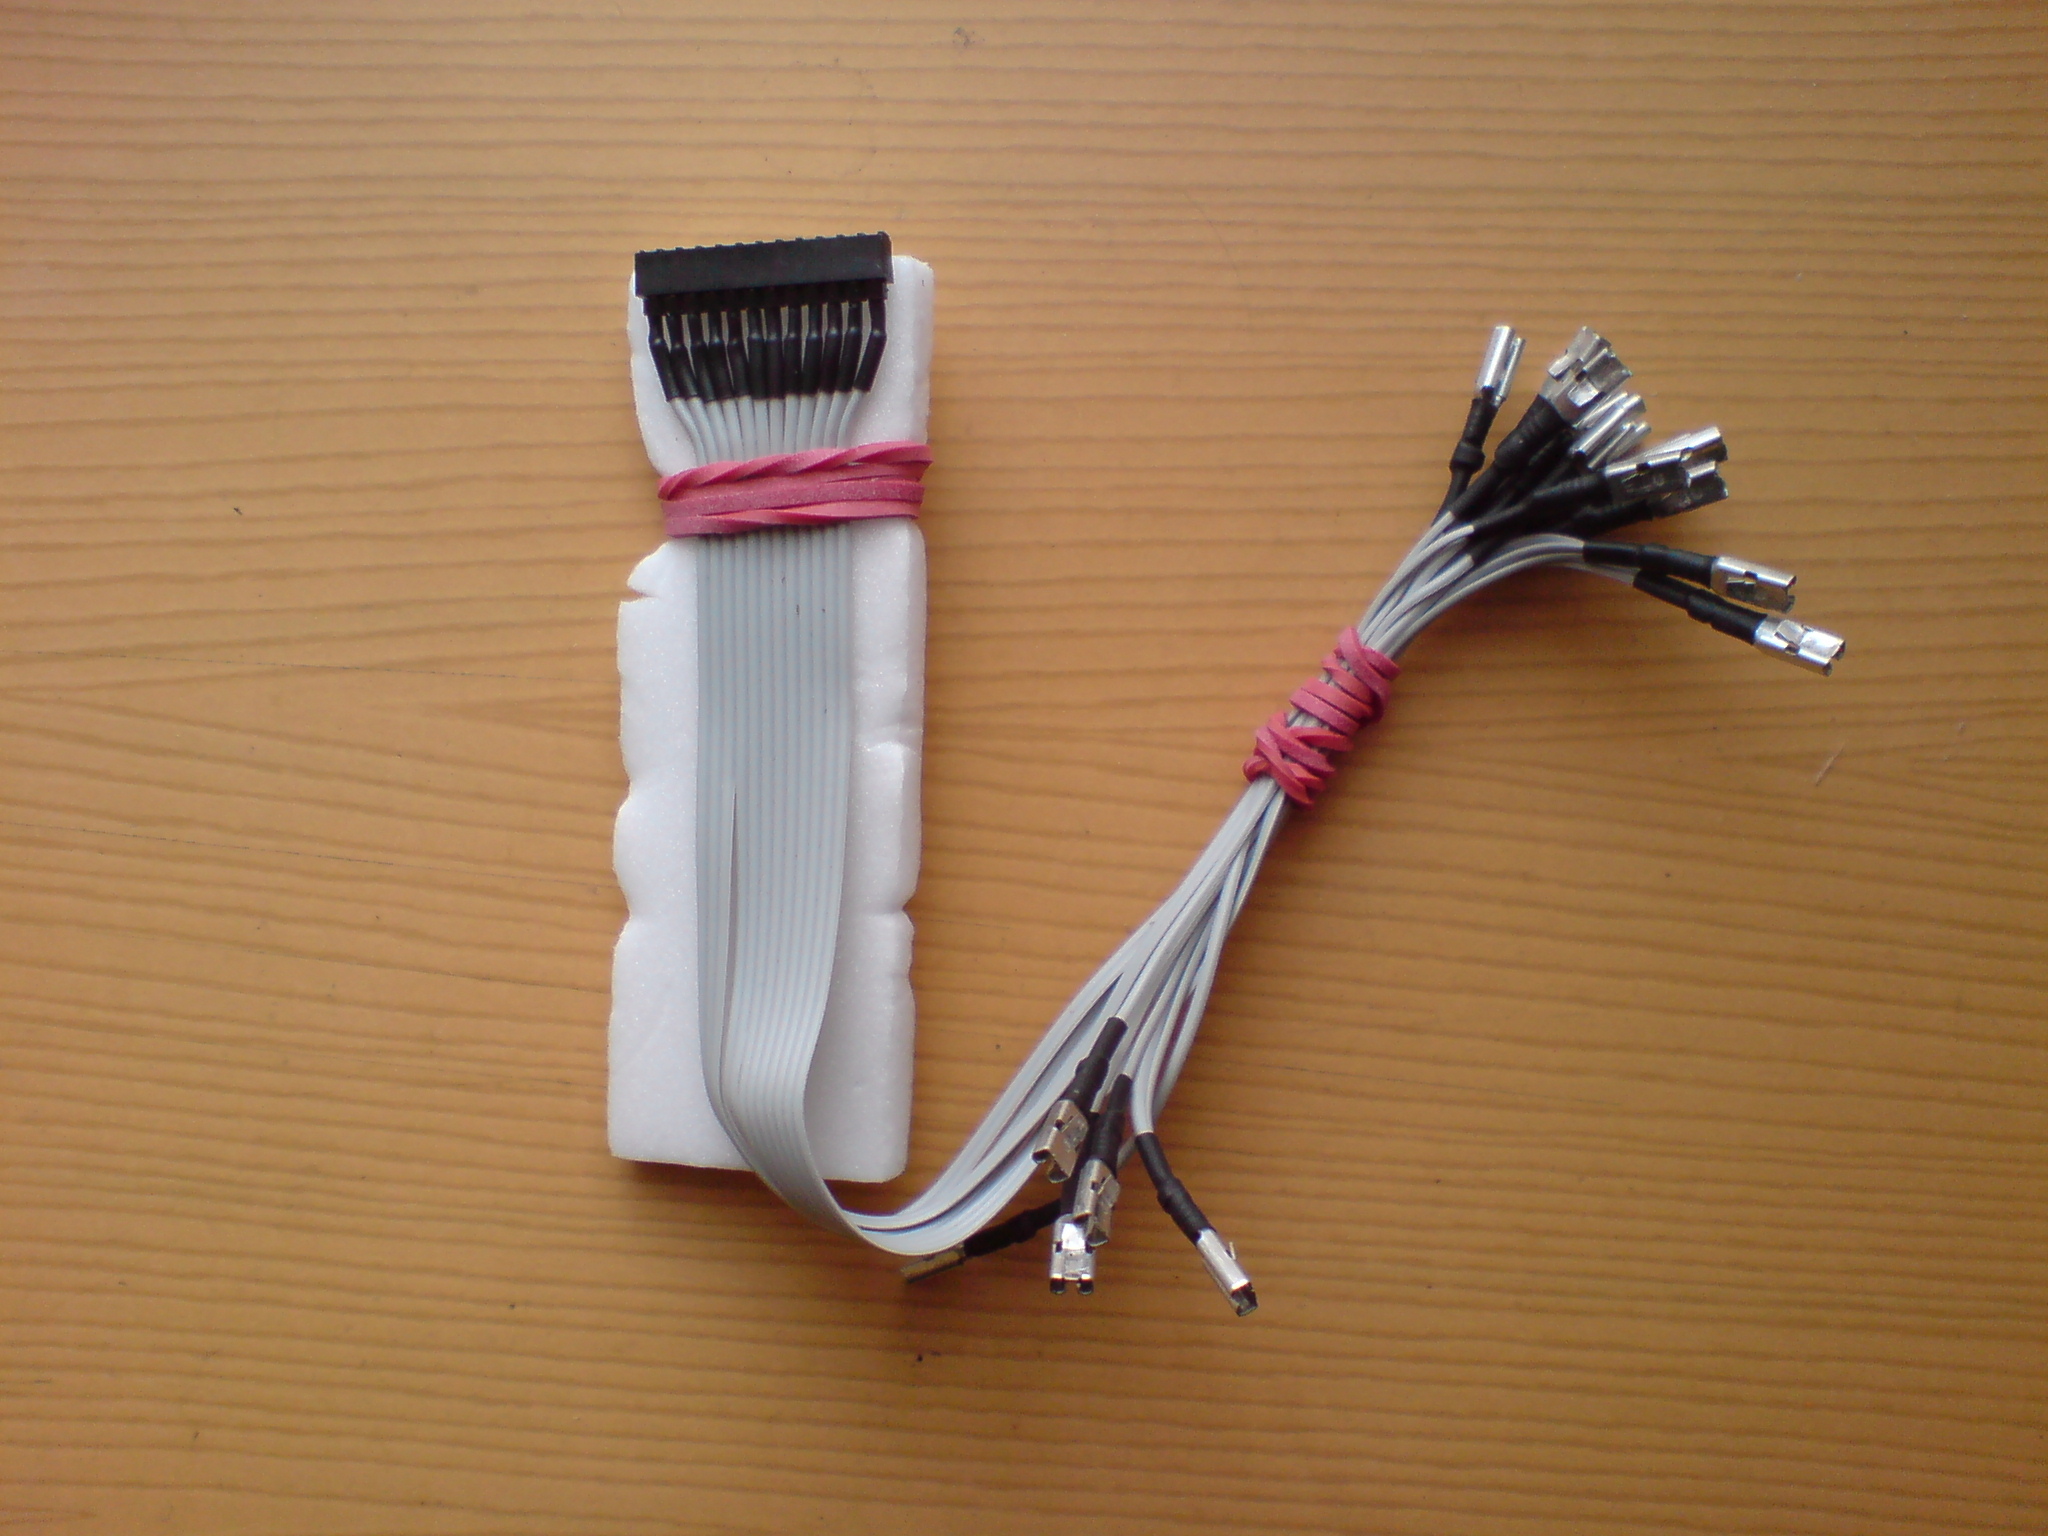
… some wires and some shrinking tubes, to build a custom wire harness. We’ll see, if it works out.

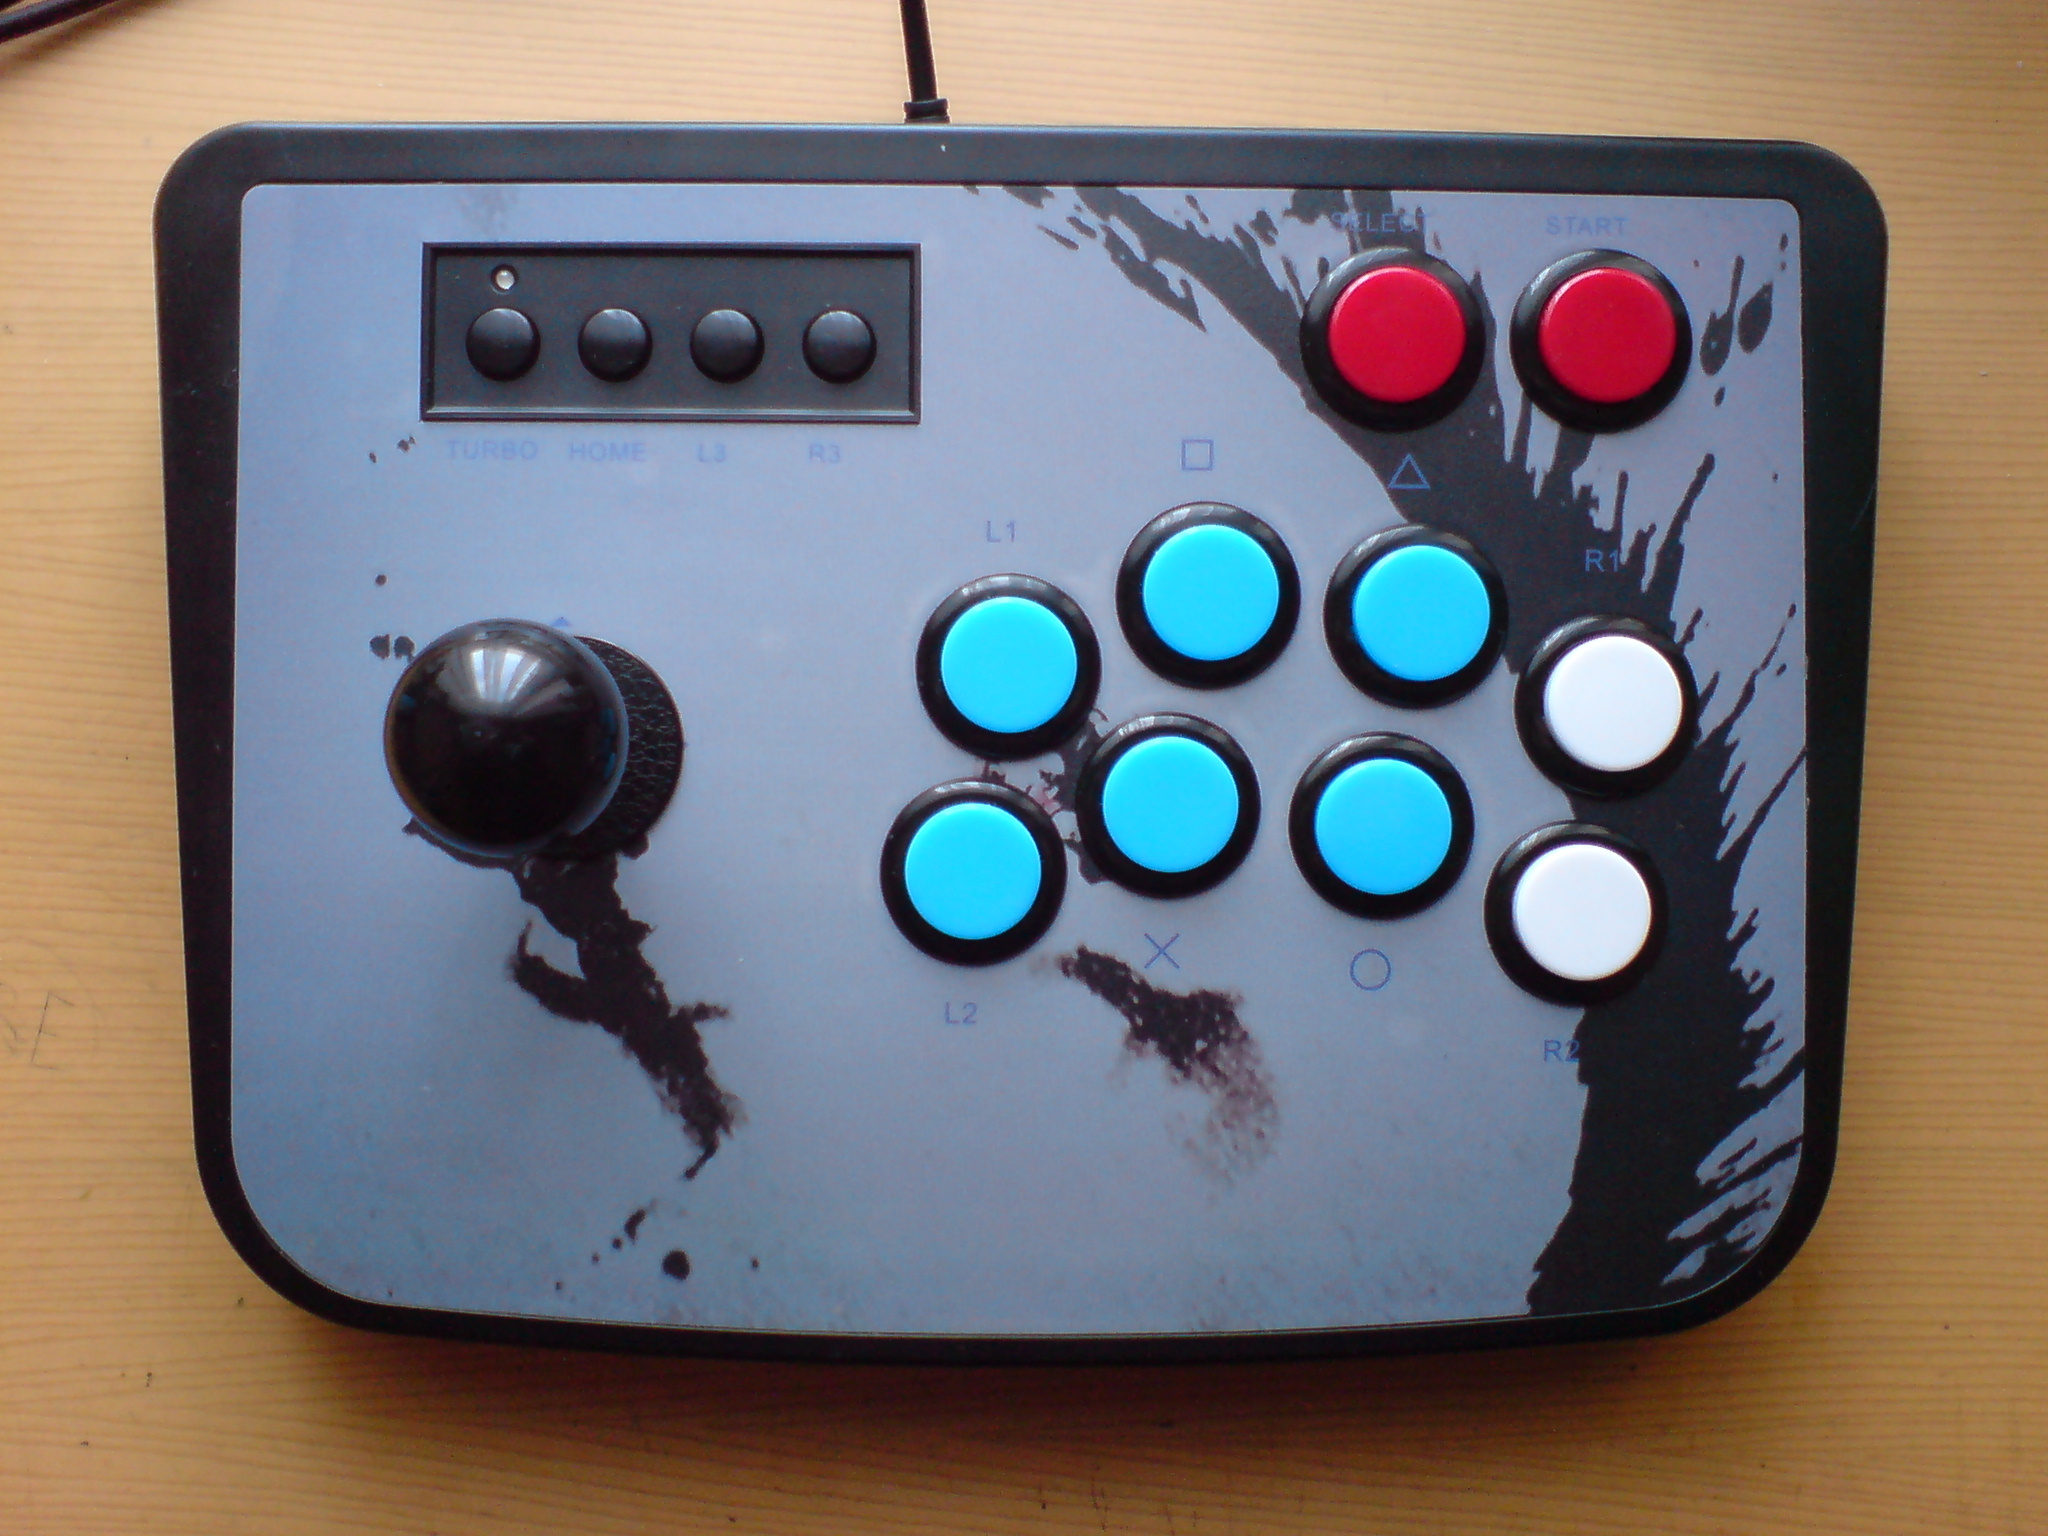
My eTokki order arrived yesterday… so i was able to finish my little modding project:

Maybe another balltop (light blue… or red) would look better - but i like it anyway:

Because the package (containing the Crown CWB203C push buttons) took almost 6 weeks to arrive, i was worried and prepared a second wire harness with quick disconnects (since the parts were cheap and/or close at hand)… in case i won’t get the Crown buttons and have to get Sanwa or Seimitsu ones instead:

Since i did nothing that hasn’t been done in any other tutorial on this board, i don’t know if there’s some interest in a Lioncast modding tutorial. But if there is, i will open a new tutorial thread.

Have a great weekend everyone!

EDIT:
A little late for my little project… but i’ve found a fitting 12-pin connector on eBay - complete with a corresponding wire harness…

Maybe it’ll be useful for others, since this wire harness will be shipped with preattached multicolored wires, which makes connecting the new buttons a lot easier.