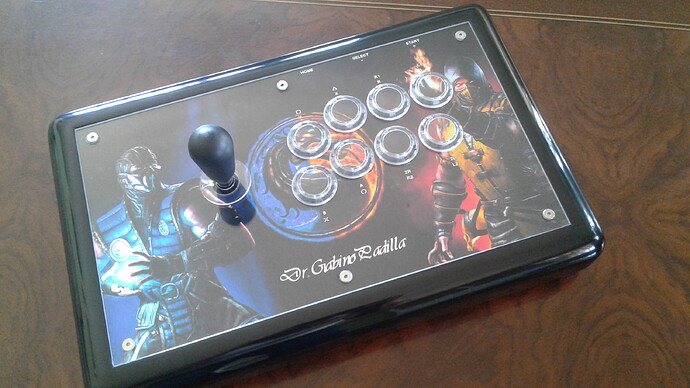
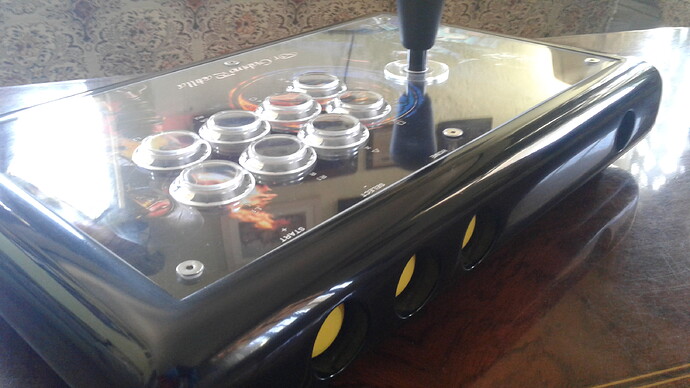
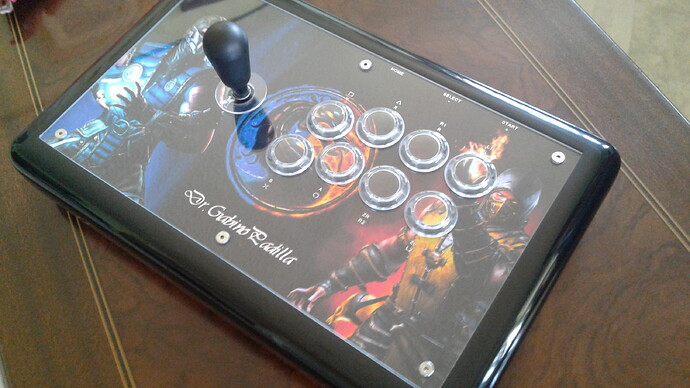
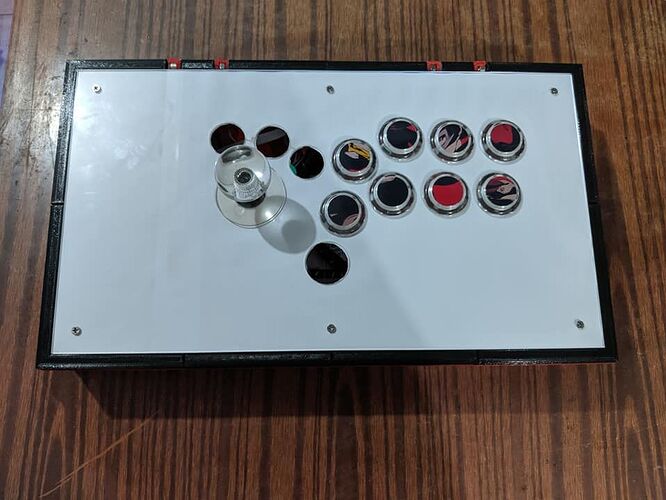
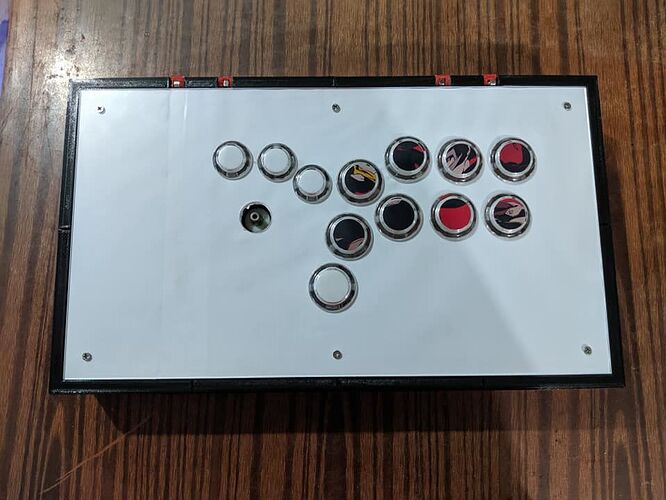
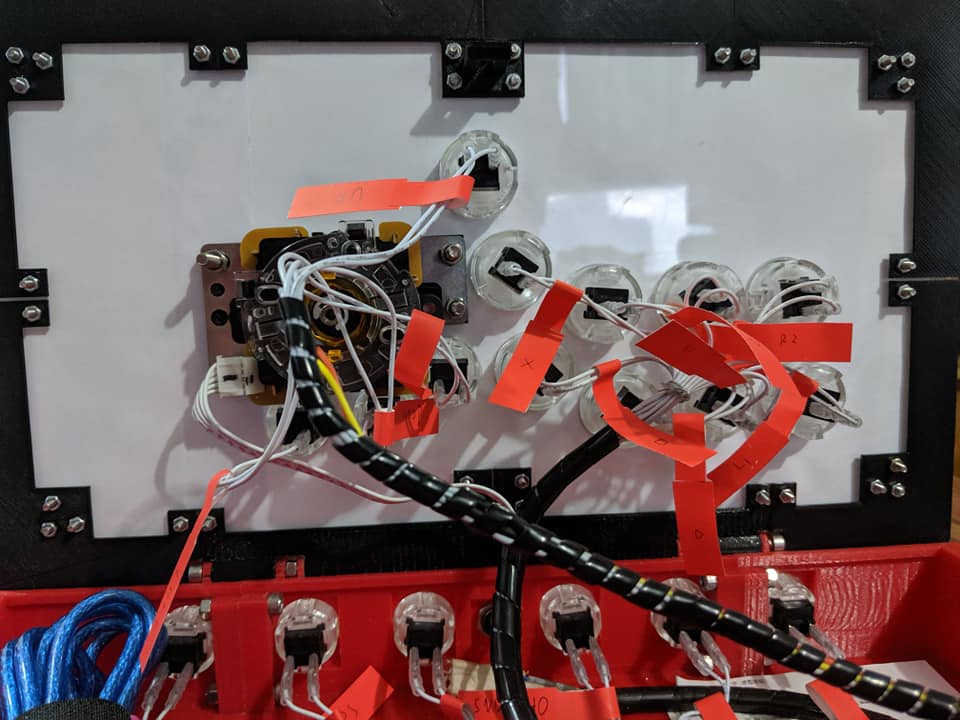
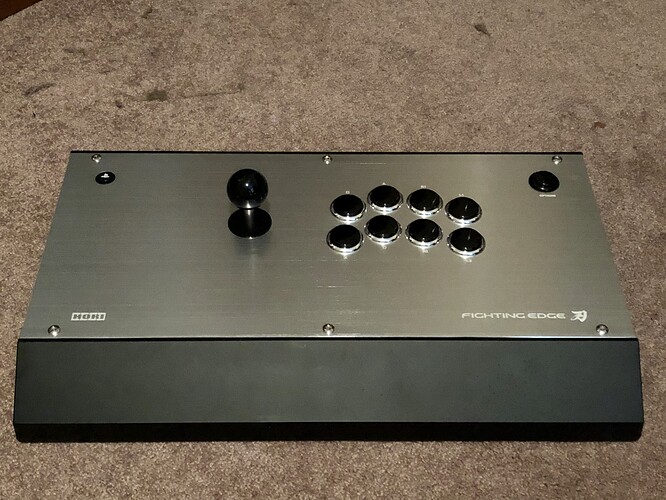
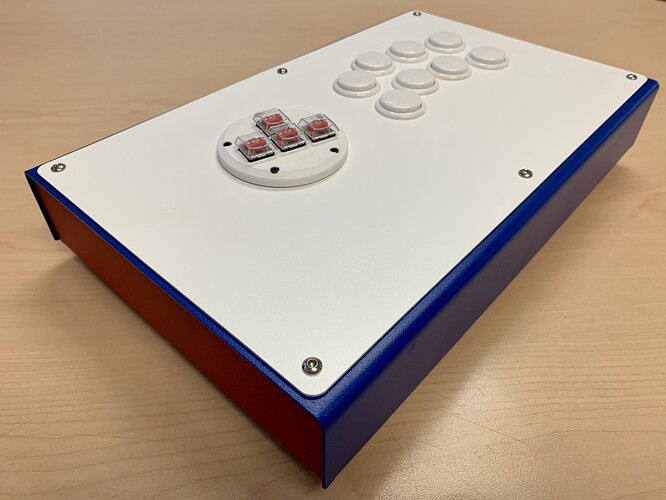
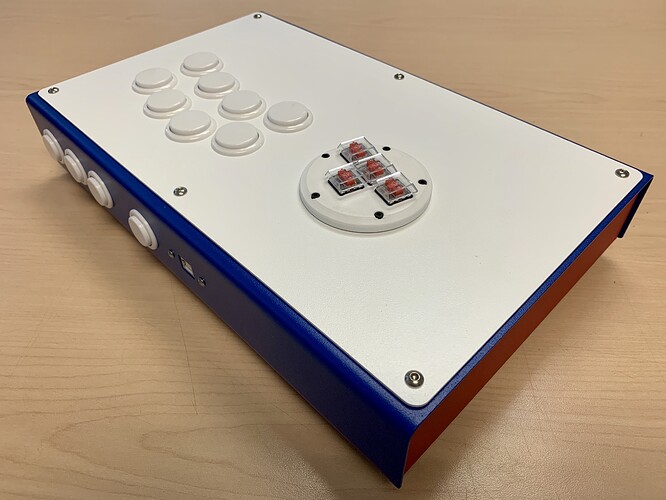
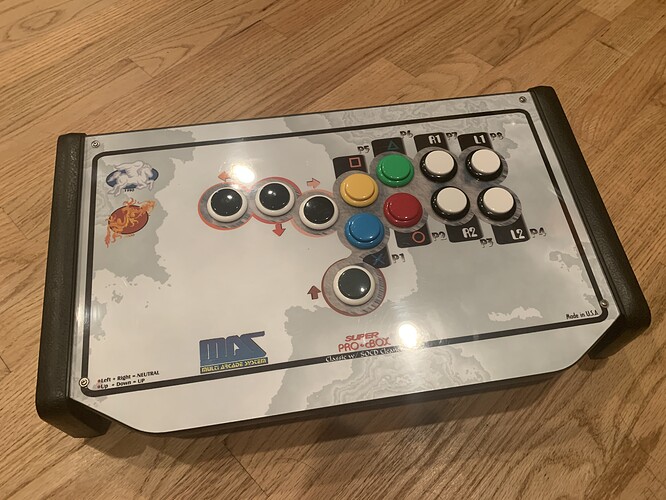
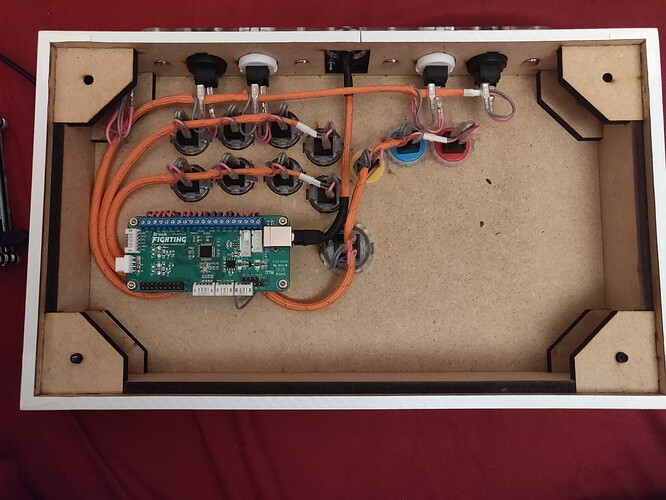
What case is this? It’s very nice
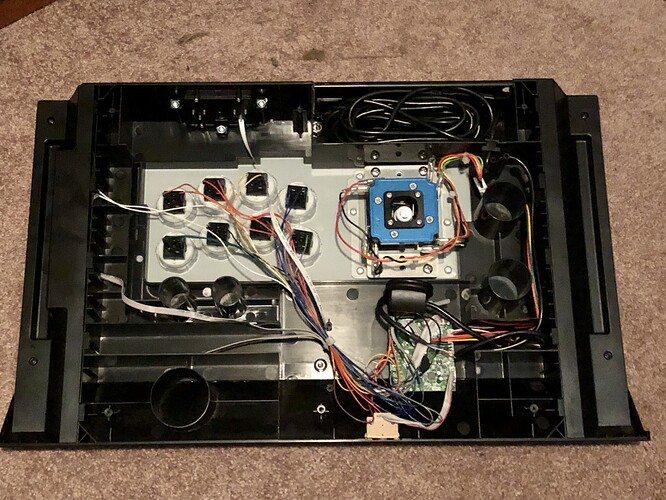
The whole thing is custom, my design and execution. Took me almost 1 year to get to the final version and I love it! You can check out my imgur page where it shows the assembly and more details of how its constructed. Its an ealier version but the construction itself barely changed. There is also an earlier post of it in this thread with the older, black etched, acryl top. I like the new version more, lets you see more of the hard work put into the cabeling.
1 Like
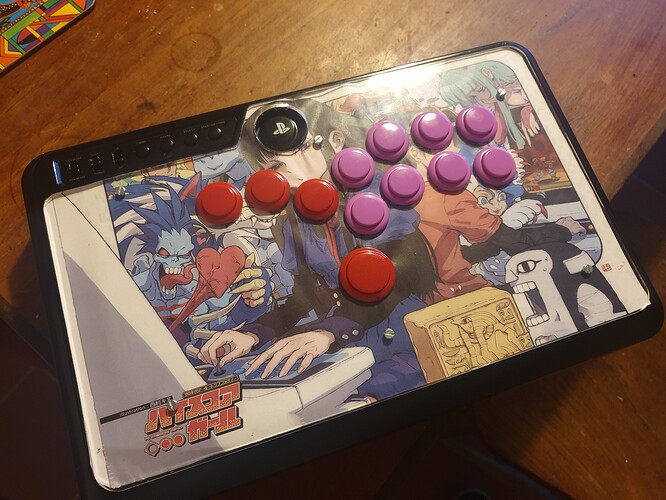
In its past life, this was a Mad Catz TE Round 2…
It has been reborn as a TE-S with…
I still need to sand/polish things a bit more…but it’s almost done.
Thanks to @butteroj for the great case parts!
10 Likes
Love it all murdered out bro!
1 Like
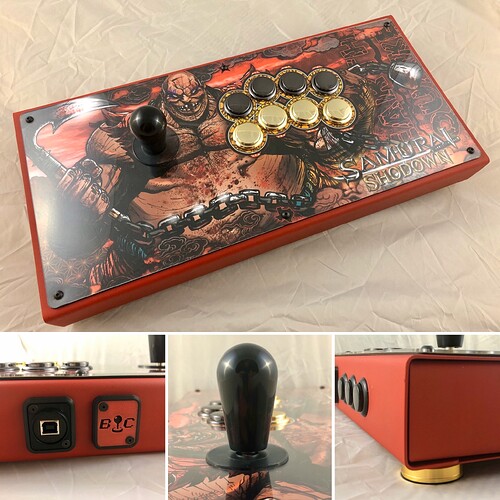
It’s been a long time, so here is one of the recent commissions I have completed:
3 Likes
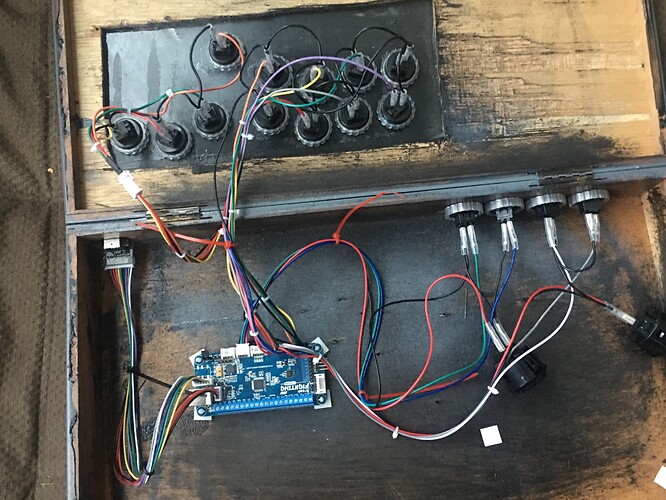
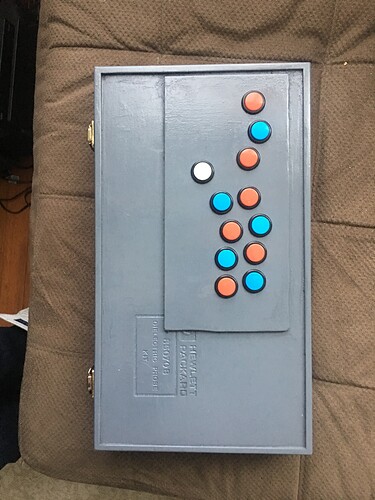
Had an old box, some sheets of polycarbonate, a 15/16 drill bit, and a little free time at work so I threw this monstrosity together.
3 Likes
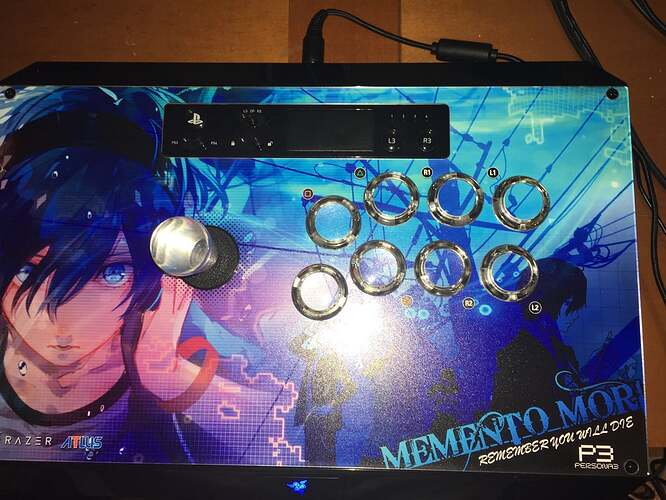
A modded Panthera done by @JoeSmith21351 over on twitter showcasing a Persona 3 themed graphic that I helped into making for him.
Two stick designs i just made for my Hori RAP N. Just ordered the retro art print, will post updates when I put stick together. If anyone wants the photoshop files let me know!

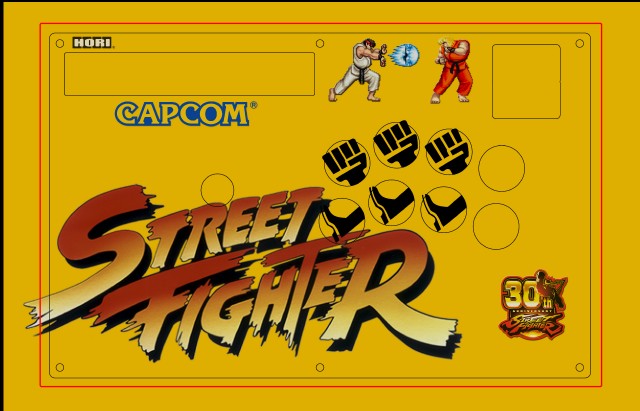
image hosting services
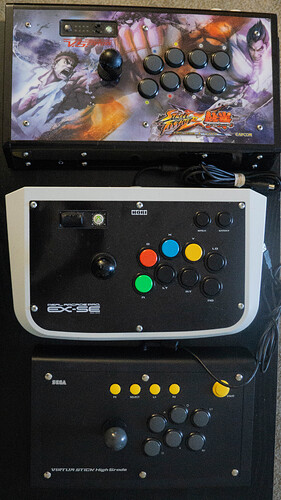
So I told myself I was not going to get more, I was done. You guys were right. LMAO.
Just to let you know how much I spent for all 3 was under 200.
VS Stick - Quality is about 6/10 50$
HRAP EX-SE - Quality 7/10 50$
VSHG - Quality 9/10 85$
3 Likes
Just a couple of the recent builds…
8 Likes
That’s a beautiful TE-S! Reminds me of the Namco Tekken Hybrid one. I never thought about trying to smooth out the edges of the plexi, besides looking good it also saves you from wrist pain lol.
What do you use for polishing the plexi, some kind of compound? I have some small scuffs on my TE2+ stock plexi and I’ve been wanting to buff them out.
1 Like
I love seeing your posts, always awesome work and unique stuff! If you don’t mind me asking, what stick is that in the Fighting Edge? It looks like a Korean style lever but with a square gate and no collar? And what’s that ultra comfortable looking battop on the earthquake build?
Thanks!
I first loosen screws holding down the plexi panel, lift the panel, and run blue masking tape under the plexi edge over to cover the side edges of the stick. Then I tighten the screws and apply tape to the plexi panel itself, exposing only about 1/4” of edge that I want to sand.
Next, I wet-sand 200-400-800-1000-2000 grit stages. Wrapping the paper around a block helps to maintain a consistent angle.
I then finish up with Novus Plastic Polish w/ a microfiber cloth. All three stages, from 3 down to 1 (cleaner). Novus works wonders on scratched plexi panels.
1 Like
Thanks brother! The lever in the FE is a Sanjuks V3. It’s a delring bodied Jlf/ls56 hybrid of sorts from Korea. The bat top on the Earthquake stick is my own design and SLA 3d printed. I like bats but hate how tall any off the shelf bats are so I made this one 57mm tall with a 12mm recess. It’s also 34mm wide.
1 Like
Built myself a hitbox after seeing the total price of getting one in Europe. Started with a Venom PS4 stick which I then gutted. Got two sheets of plexi laser cut in the standard hitbox layout. All sanwa buttons and I moved the USB port from the compartment in the left to a removable port on the top right. The stock PCB didn’t have the type of SOCD cleaning I wanted, so I swapped it out for a Brook PS4+ Audio Board which means there’s also a handy 3.5mm jack above the usb. The top left panel has controls for start, select, touchpad and turbo stuff, however it was on it’s own board with it’s own harness leading to the stock PCB. Luckily, I found a diagram of the harness, so I was able to slice it open and wire it into the new pcb. Just have to make myself a template and I’ll be able to get cleaner art sorted out for it.
This was the first time I’ve ever modded a stick, other than swapping out a lever entirely. Was a lot easier than I though it’d be.
I want to give a huge shout out to Biggz for answering my dumb questions and for making the original post on converting a Venom to a Hitbox.
4 Likes
does anybody have a scan of the design of the qanba obsidian evo 2017 edition? thanks in advance
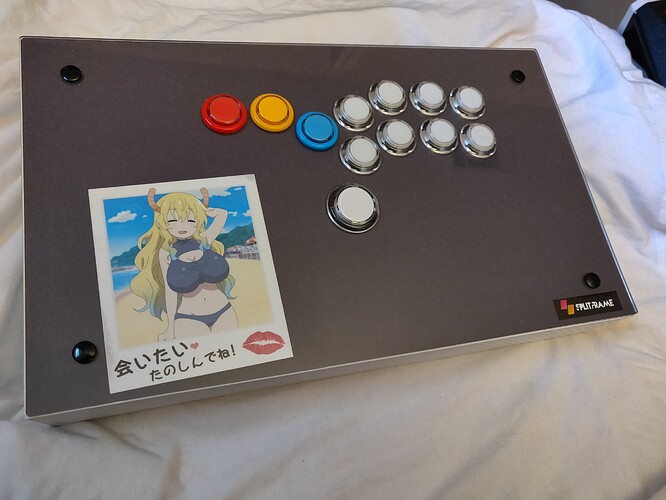
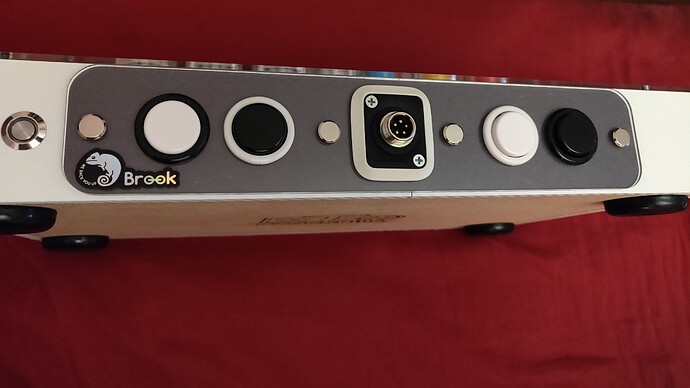
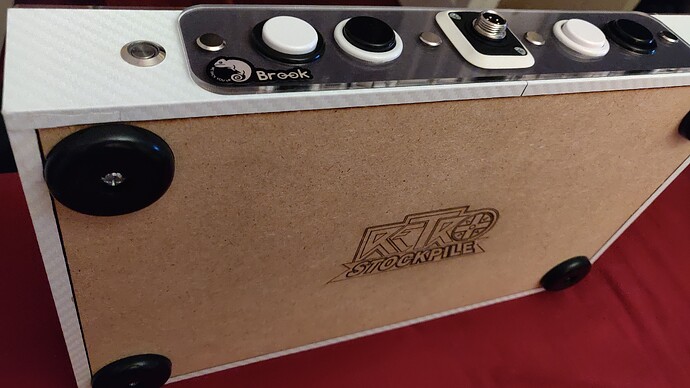
I posted a few months ago when I first got this hitbox enclosure, and well I finally got it all put together last month but I forgot to show it off here. Still gotta work on some proper artwork, but I slid some stickers under the plexi temporarily. I also want to cut a plexi bottom panel to make all the guts visible. I’m pretty happy with how it turned out so far, considering this was my first attempt at building a fightstick… I just wish I had the skills to make the whole case too!
The build specs: Retro Stockpile hitbox enclosure, Brook PS4+ board, 8 Sanwa action buttons, 3+1 Seimitsu directional buttons, 4 Seimitsu accessory buttons, custom Paracord sleeving and pro cable, also drilled a hole to add a latching push button switch for tournament lock. (In the last pic, that bottom grey wire was in the wrong spot, it’s meant to be in the middle connector for the touchpad button; I just stripped the wire, folded it over, and shoved it into the corner of the JST connector instead of soldering or buying a harness)
2 Likes


