…What the hell is a noon?
edit: Oh, noob. You should change that before someone thinks it’s a slur or something, my guy.
…What the hell is a noon?
edit: Oh, noob. You should change that before someone thinks it’s a slur or something, my guy.
It could have been a loon, which is either a psych patient, which is also true of me, …
… or a Canadian One Dollar Coin. .)
But seriously is there any kind of box that can fit a PCB have two sets of wires sticking out one from the PCB to the council and one from the stick to the PCB, and assuming my lifestyle doesn’t include babies, which is pretty safe to assume, what kind of box can reasonably prevent accidental touching things leading to shocks as well as accidental wire pulls, and being rained on, and having cats think it’s their new toy. I would prefer something I could do myself with just a pair of scissors without significantly ruining its protective ability.
by the way this is going to be seen on twitch, which I know I have enough bandwidth to do, so I can assure my potential opponents / doubters that I’m not using a cheat stick. Transparency is a plus if it’s not too much more expensive than opaqueness.
and coming in the mail is my biggest help I know how to deal with screw-on handles to plug in the DB 37’s. I won’t be touching them anymore until they come in the mail. They should be here by Monday
That is the vast majority what is out there.
There no item that exist that you are trying to describe.
With the actual hard, waterproof cases you going to have to cut and drill, there no way around it.
Also, Why do you even need waterproofing?
What are you expecting? There nothing that exceeds 9 volts in theses things.
Most common is 5 volts, and the only PCB that I know uses 7 is the Stock PlayStation 1& 2 Dual Shocks (for the rumble motors).
Anyways you wire up everything the way you supposed to and there no chance of a electrical short.
Sorry, I was panicking. So are you saying that the most delicate parts are the conections between the PCB and wires, and between the other end of the wires and the bulk connector that contains the individual joystick signals.
So assuming I don’t do some obviously stupid things, like exposing it to the outdoors, or asking a cat to make it a chew toy, or anything that if anyone else did it except the owner would be considered vandalizing, then I can put it in a shoe box for all anyone cares. ( Except there might be mold if basement is damp, so something sealable)
It’s probably most important to protect against things that are bound to happen when it’s actually used in it’s intended way, like me getting DB37 screw-held covers/skins to prevent fingers accidentally pulling individual solder points. I just had to find a way to do it with requiring extra labor to desolder and resolder.
Luckily I found pairs of front and back plastic hollow skins. Mouser has them for lots of specific connectors. One on Amazon costs $10. But 3 cost $18 on mouser with semi-rush shipping. Next month, I’ll get a ten pack for $3 apiece plus $4 shipping ground shipping if time is on my side.
I understand there are more artistic ways to do it. But until then, get them clothes as soon as possible, especially them gloves to protect the fingers (wires). (coming at slowest on Monday) Maybe if times get better, get better clothes, but with 12 possible boxes I know I eventually need, shoebox is a frugal, yet practical way to do it.
I assume unless I hear anything from anyone except crickets, i fforgot to weigh in other factors.
But seriously is there any kind of box that can fit a PCB have two sets of wires sticking out one from the PCB to the council and one from the stick to the PCB
If you want to freely swap out the PCB:
As in using different pad-hacks/PCBs for various console support, then you’ll want to use a project box design. I believe you’re already using a DB25 connector in your arcade stick, so this might be a good option for you.
Some good links for this are:
Unfortunately, most of the photos in those links contain dead images. However clicking on them and viewing them directly on photobucket, or copy/pasting the image links on google cache or the wayback machine might allow you to view the images!
If you don’t want to remove your PCB:
Any plastic case will work. Just mount the PCB inside the arcade stick’s case, then cover it with a plastic case that has 2 holes drilled in the side.
Keep in mind that if you’re using this approach – your PCB is already being protected by the arcade stick case. So adding an extra case around the PCB is an optional step that may not be necessary in your design. Usually this step is done when manufacturers expect the user to open the arcade stick, but don’t want them having access to the PCB. An example of this is the Razer Panthera.
Yes, I’m using swappable PCBs, A Paradise Cthulhu, a Genesis 6, a Genesis 3, and eventually add a Brook Universal USB, and no other systems not covered by either multiconsole adapter.
The DB37 skin by the soldered to connection is WAY more important because you fingers actually touch that area and can do more damage at that area.
I know I’m reciting what I know not because it’s something new or revolutionary, I’m just discussing things to tell you at what level knowledge I’m at. I have a decent cheap ambidextrous layout.
The reason why Beeshu failed was because the SF mentailt at the time was, to be ambidextrous, one needs 12 buttons in a 6 button game, which would make amvi models less price competitive again. My design make ambi designs as price competitive as in the 2 button days, pre SF2.
and if games still had the CRT assumptions of both precise stick AND button gymnastics.
Unfortunately they dumbed down the right hand stick advantage in SF2, and ramped up buttons, and in order to make them tangible, they give you the formula for basic combos all the way up to 50%+ combos that literally ALMOST NO ONE would get on their own by feel without inside knowledge when the speed demon drawing monitors clock in at 8-9 ms, when most previous picture processors are only noticable on light gun games with sub microsecond accuracy, and can be cured by software calibration.
The change from CRTs to high draw time monitors changed fight games. When I played SF4 with a SF2 mentality, I did better than the top 40 percent online, but at a local tournament I ate butt sandwich.
I was the local celebrity who got a free entry. The other 2 were local WCG Ultimate gamer contestants, only one of them won one matchup in a double elimamation, and they because they faxed each other in loser’s 1st round One of them HAD to win.
All 3 of us were Jacks of All Games. We just have decent natural talents and good instincts. We just lost to people who studied SF4 4+ hours a day, 5 days a week.
That’s what the move from CRT to LCD did.
Wut?
No, they failed because they made cheap, poorly made products with gimmicks no one wants or asked for.
No one else has this problem.
Street Fighter 2 can be played fairly welk with just the specials given in the book. Combos are not told, but are easier to feel out and discover on CRT.
I Bet most people wouldn’t have their 50% + combos if they didn’t give the beginnings of them in the tutorial.
In other words, they changed the game around SF4 to deal with non-instant TVs. I never played SF5 and if it made itself less SF2-like. Before, there were many joystick whiffs (we’ll find out if I can 100% will dragon punches on Genesis like I did in 94 with the rght stick but not the left). Now more whiffs are button whiffs. I’m given the combo and anything above 3 usually is a button whiff. I’ve dragon punch my famous friend when he jumps in 4 out of 4 times in a row where he had to change his strategy, and that crippled him. Before execution was either slow or whiffed.
As for Beeshu being cheap, they had the clicks where the Nintendo NES Advantage didn’t.
The reason is not because they"re junk. They filled a void in the market, and when the only conceiveable choice was mirroring 6 buttons, they saw the writing on the wall. By the way $40 was expensive in the NES days.
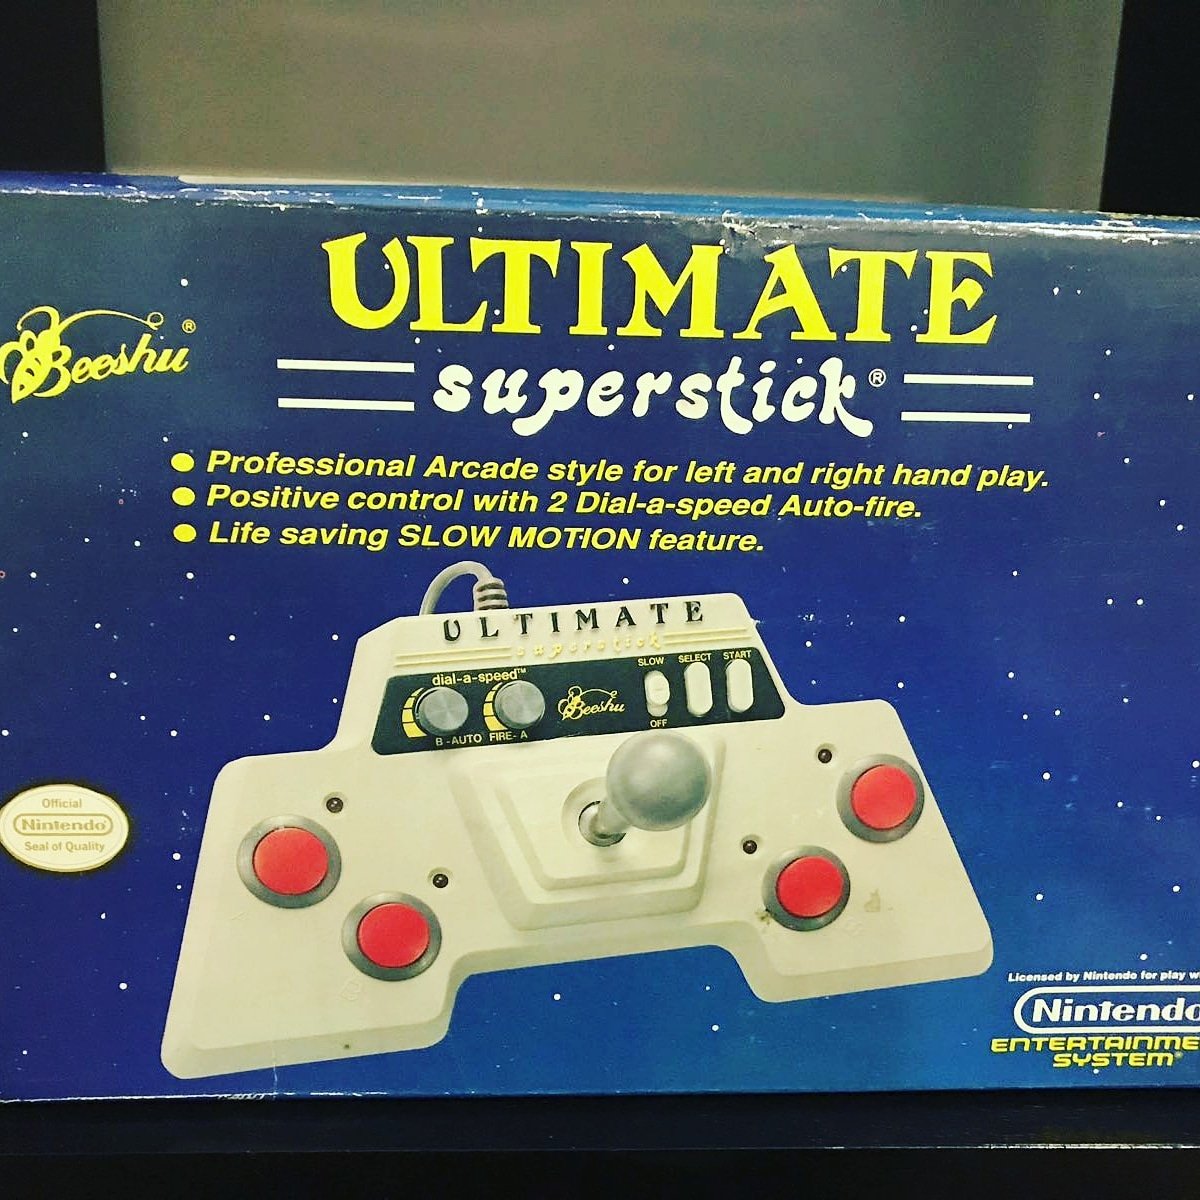
Every review I’ve seen says the Beeshu Superstick was the best ranked. Has ANY respected reviewer at the time said the SUPERSTICK (not other models) were junk? Yes the Rocketship for SNES was awful.
If my theory way incorrect, why no SNES Superstick?
Beeshu used rubber dome contacts like everyone else
No, they were a gimmick with features no one asked for.
Never saw these reviews that aren’t just a paid advertisement
Can you name a better joystick that was available off the shelf at the time in a US store that sold Nintendo stuff?
Any US market third party? Most were blatent Advantage rip-offs. Done even had similar color schemes and layouts.
Beeshu was so good, that after they got a Turbo Grafx license and a Genesis license, Nintendo retroactively gave a license to the Superstick. All the other non-Nintendo-brand Advantage rip-offs did not get that acknowledgement.
Really, the Superstick was better than the Advantage. Can someone show me a better construction, even one that is lefty one, let alone a right handed one / ambidextrous one.
There was done, it was all garbage.
They were actually the worst.
Actually those sticks were unlicensed.
I don’t believe you
The Advantage
Even though DarkSakul sees ambidexterity as a cheap gimmick, and stick quality may be a matter of taste, his claim that Nintendo Sega, and the Turbo Grafx Company, whether NEC, Hudson, or the post NEC US distributor, disapproved of the Superstick is blatently false.
Here’s the visual proof that they did approve of it.
That isn’t proof of anything other than Beeshu they made cheap gimmicks.
I taken theses sticks apart, they are literally the worst sticks made. All Rubber dome contacts, especially the cheaply made joystick.
I can literally build a better stick out of a Cheap Pac-Man plug-n-play
It’s nice to see talk about projectbox controllers again. I resently got a db25 cable and if I could get pins for the crimp style db25s my dad brought me home from work I’d redo mine to redo the tutorial.
I assume you mean by a “project box” a device that transmits raw imports into an interface that converts it to whatever systems input language you need using either a multi system PCB or pad hacking an existing proprietary PCB.
A note to anyone using mouser.com if you order a DBxx port for this project, you have to buy some skin for it or else you risk your individual fingers accidentally pulling the individual wires from the individual pins of the port.
Also looking at the previous comments it’s funny how buying a box to protect your project box PCB led to a bunch of other topics. I do segue a lot. Trying to stop the habit now.
By “project box” he simply is referring to a housing for a pcb. Usually an enclosure with 2 ports. One to interface with the console, the other to connect to the inputs of a fightstick.
It was very common before multiconsoles became the norm.
Some of the best ones I’ve seen used a genesis cartridge case as the enclosure. I really do recommend something like this for your “sinisterstick” (1 for each pcb)
Here is actual examples of actual project boxes
https://www.amazon.com/Waterproof-Electronic-Plastic-Junction-Enclosure/dp/B06XSQZ5M6/
You could also use something like this if you want something quick and dirty, and probably easier to cut with a good utility knife or hobby knife.
Thank you. Also “Junction Box” seems used a lot too.
Do you have to do any work to make them simultaneously a) gave 2 holes, and b) make the box waterproof.
But of you don’t eat or drink near it, you can always enclose it in a larger suitcase for when you do travel. The contents inside won’t get each other wet if it’s only a joystick and the PCBs.
Indoors, a (decorated in a system theme, if ambitious) shoebox would work just as well.
Just as with the fightstick itself you really want to be more concerned with protecting the pcb from rattling. That’s how weak connections break.
I’ve never know anybody to be overly concerned with waterproofing.
In most cases, yes, you will need some kind of tool to cut the holes for ports into the housing. Especially if you are using db15. If your using something that is soft plastic then scissors or a razor blade should be fine. Something a little more robust like wood would require drilling or a dremel.