Yeah it comes large rolls, its laid across the MDF and suction bed and trimmed for length. Then its a 20 minute process heating.
I honestly have no idea, I assume the price for a roll is prohibitive but asking a local firm that did cabinets/kitchen/exhibition (like mine) is probably your best bet. I wouldnt imgine it costing much, a bit of labour and minimal parts.
Thanks for the tip ZeroSumHappiness. I’m learning a lot as I’m doing this. I’m currently trying to figure out the design for my next cab as well so I’ll be sure to put some of the learning points into action!
doomy, what I meant was can you get vacuforming plastic as a closed cylinder that you would then place around the object (in this case the curved top part), heat it (probably with some radiant heaters) and seal the ends to the vacuum so you get a single seamless piece surrounding the curved top? (I like seamless looks.)
Not sure if you can, I do know that if you want both sides and seamless then youd just do the top and bottom. IE thermoform it twice. The residue is then sliced off and. Ill try finding a pic
Oh well, it’s bought now! I know what you mean about the price but I wanted one with with HDMI, VGA, DVI-D and 16:9. I like the picture quality of my other LG so I went for this one.
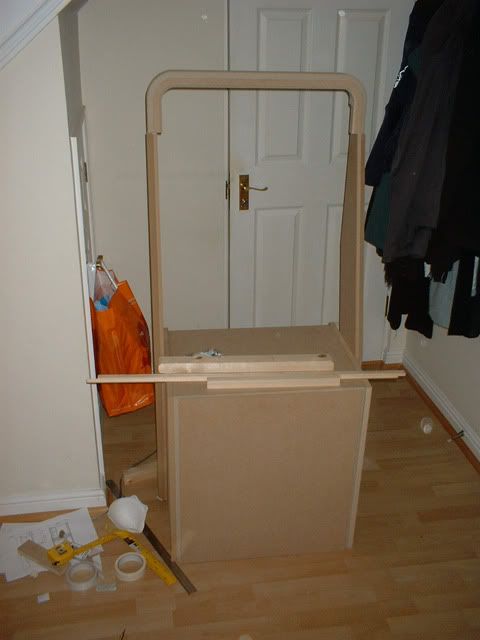
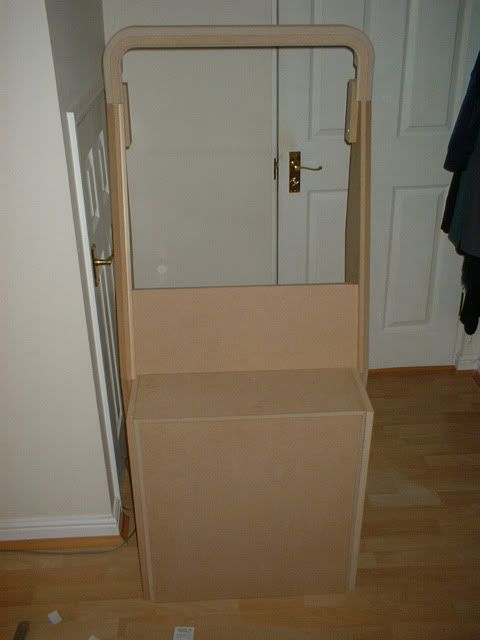
Well sselemit said he wanted lots of pics in the first response to this thread, so here’s a few more:
The sides are on and the top is balanced precariously on them but it gives the general idea. I noticed the the sides are bowing out by about 1cm or so. I’ll be making some braces shortly anyway for the speakers and the monitor so that should sort it out.
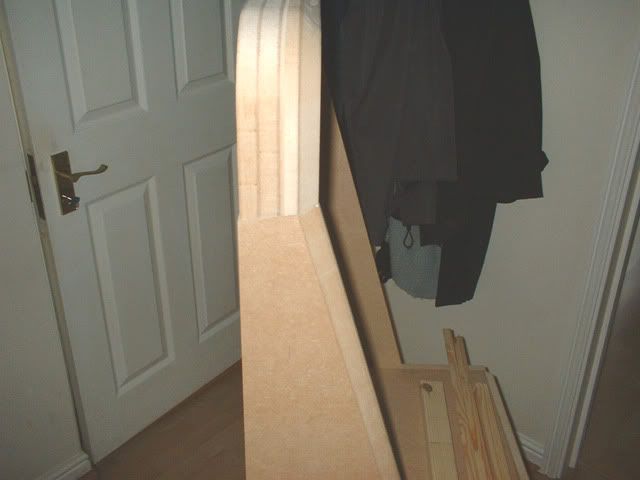
In profile. I’ll need to cut the cabinet legs when my levelling feet arrive. I still have to disassemble the base to attach them and cut the sides out as well.
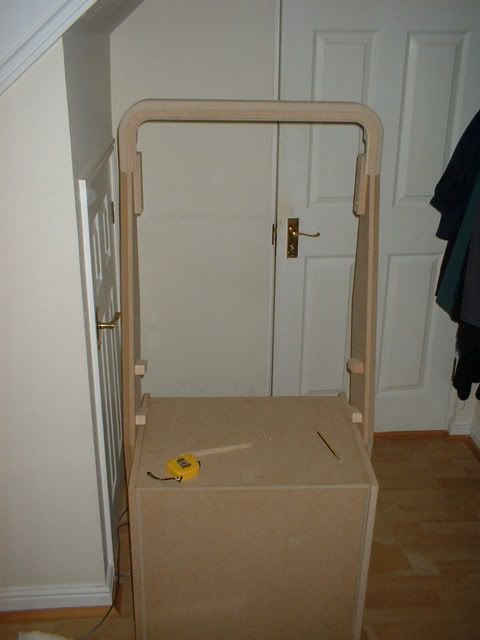
Heres a closeup of the top piece. I had to cut it at that angle to get the bevelled angles to line up. I seem to be a couple of mm out in the width but oh well.
I really like the sound of that thermoforming. I did a search but I reckon it will be too expensive (I’ll have to transport it as well so it would be inconvenient also). I’m still going to look into it. Failing that, I’ll use a spray gun and finish it with satin poyurethane on the base and feet and gloss on the sides and edges of the control panel. I’ve bought some black vinyl for the front section (around the monitor/speakers) and the control panel. I did this on my MAME machine and it still looks like new and a very flat fnish; beats painting it.
The monitor will be completely integrated. I’ll make my own VESA mount for it. I’ll be placing the speakers under the monitor and use some speaker cloth on a frame to hide them.
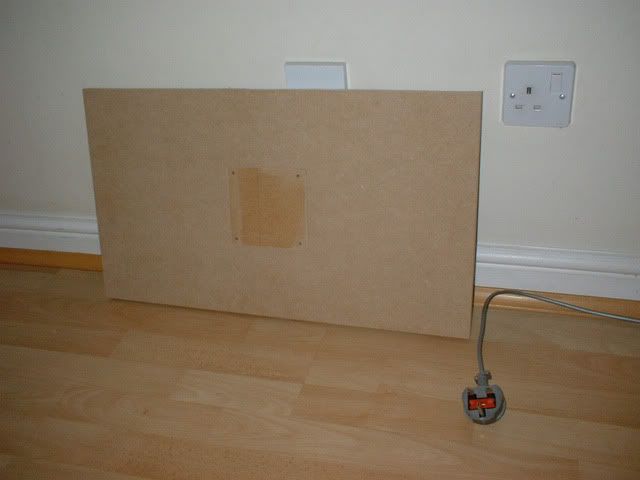
Some additional pitures, more to show the sequence of events than anything else. I’ve also cut the back panel for the monitor but need to wait for my glue to dry before I can attach. The top is now lined up correctly on the outsides. The inside of the left side of the top is about 1.5 mm too thick so I’ll need to make some slight adjustments. I’m also wondering whether to slim down the sides … could be risky at this point. I’ll need to get everything fitted anyway to find out how much could be removed.
I’ve left sufficient space to slide the marquee behind the front of the top piece.
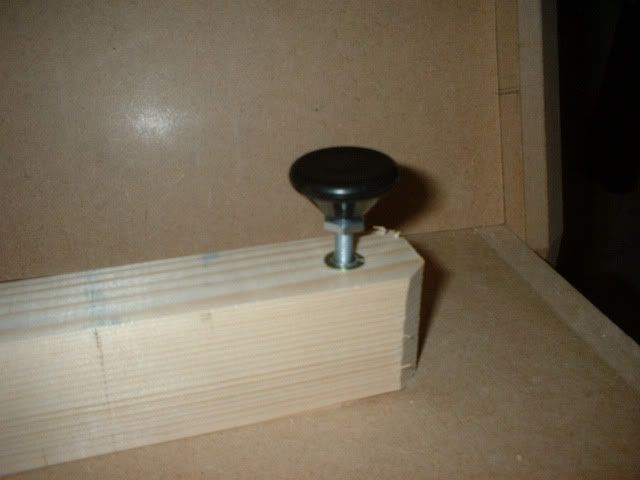
Thank you all for your comments! Doing lots of work but progress seems to be slow. Here are some pictures of the VESA mount, the board under the monitor where the speakers will go (yet to be finished on the top edge), the inside bevel on the side and a test fit of my levelling feet on a bit of scrap (turned out to be a bad idea as I’ve stripped the thread and can’t get it out - I’ll order some more).
I’ll be building a full control panel in the original Vewlix style. I plan to make it so that it can be removed an replaced with a Vewlix style PC control panel as it will be used for both the XBOX 360 and my PC (hence the monitor). I’m just concentrating on the main part of the cabinet first.