got the terminals off, my work has a broad flat iron tip (seriously, its like half an inch wide). Just reflowed the pads, then did some seriously dexterous shit to heat it and pull the terminals at the same time
as far as I can tell no damage was had, it just looks a little worn.
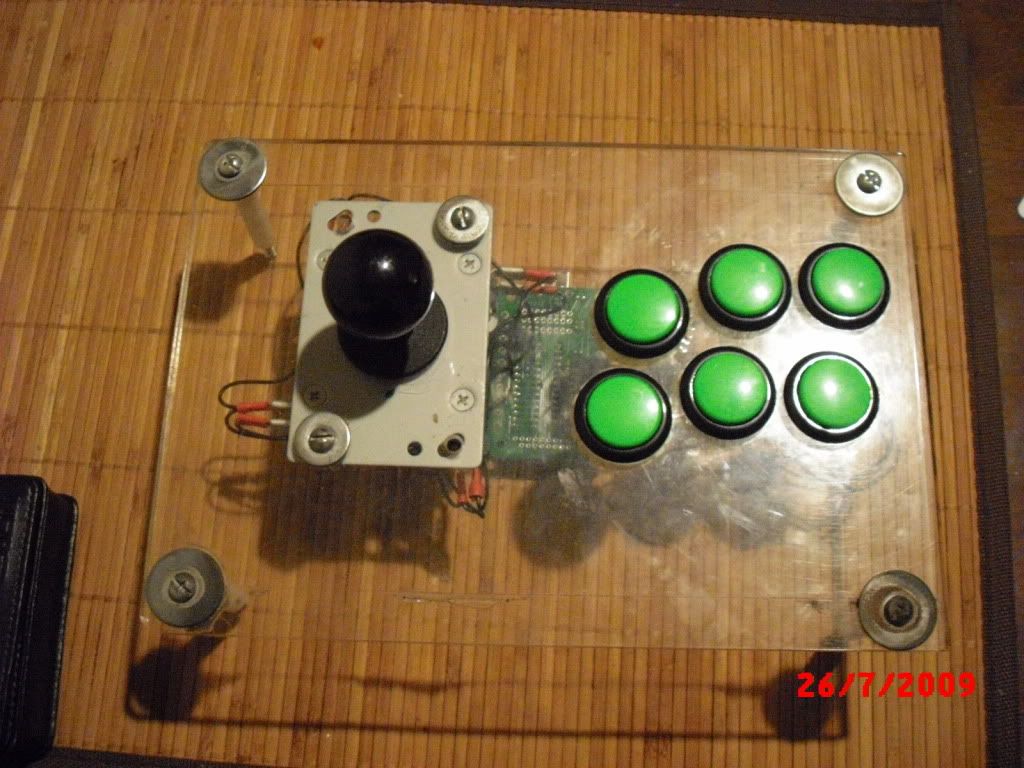
That one is fine except for the fact that it is missing the connections between the two PCBs for the directions and buttons, as well as the GND and +5v connections.
Stupid question, I have the Cthulu that works on the PS3 / PC but want to get it to work on the PS2 / otherwise. Do I just get the chip, or rather, are you still selling them?
FAQs, first post, yadda yadda. The upgrade is a new chip and diodes; if your board doesn’t have diodes on it, you’ll have to solder them in, but that’s about as easy as it could possibly be. If your board is a more recent preassembled one, it will diodes on it already, so all you need it to pop the chip out and pop in a new one.
I installed the Multi-Cthulhu in my 360 TE stick last night and I’ve run into a problem. My PC doesn’t recognize either the Cthulhu board or the 360 board, all 4 of my jewel lights stay lit when plugged into PC. When I plug it into my 360 all 4 lights around my xbox jewel flash constantly. I’ve been going back through and checking my connections. Anyone know whats going on?
I haven’t verified that the letters/numbers on the madcatz pad matches the correct unlabelled holes, but I’ll assume they do. If so, then it looks great, but I’d make one change to make it more helpful:
The four wires connecting the Imp to the Cthulu are currently pointing where the USB jack is. Since all Cthulhus have USB jacks on them, it’d be better to move those connections to the grid where they can easily be connected on assembled board.
D- should go to row 3, column D
D+ should go to row 3, column E
VCC should go to row 3, column V
GND should go to row 3 column G.
(no, the row doesn’t really matter, only the column. )
Minor addendum as well:
You have start and select going to the Imp. The ONLY time you want to do that is if you do NOT have a dedicated Home/Guide button, and if that is the case, then make sure to note somewhere to short the unlabelled jumper on the bottom of the Imp.
If you do have a dedicated Home/Guide button, then forget about the jumper on the bottom of the Imp, and dont bother connecting Start and Select to the Imp.
Just a note: if any of you are planning on placing an order with me, please do so before Sunday midnight. I’ll be moving into a new house over the next few weeks, and I just won’t be able to handle orders during that time. Both LizardLick and GamingNow.net have orders in the works and should be well stocked during that time. I’ll be doing my best to get out ChImp betas to some testers so cross your fingers and hope they all find them satisfactory. If anyone has any ideas or suggestions to make it better than what’s currently planned, feel free to speak up.
Yes I am using an IMP. My best guess is that its the connection on the madcatz usd cable to the IMP. The Madcatz USB cable has 5 wires green, red, white, black and then a thicker black wire. Currently the thicker black wire is not attached to anything. Should it be? The guides I followed were very clear up until connecting the Madcatz USB cable to the imp.