And I just wanted to show it off a little bit somewhere. If anyone has any questions on this or wants to do something similar let me know and Ill help out as much as I can. First a little history. I build emu-boxes for people - do NOT bother asking for ROMs. Well I wanted to build one for myself finally. I had to take it to that next level though, so I continued wit hthe ‘Planet’ Theme I started on a previous box. However a close friend died so I renamed this one after him (AlphaMeridian).
Since I was building a gaming box, I figurind that dumping the guts into a video game case would look the best. I started off looking at the N64 case, but it was just too small for everything I wanted to cram inside of it. I thought about the X360 as cases are easy to come by…however it looks too much like an HTPC already, and didn’t seem like I was doing much, so I looked into used PS3 cases. Did some math and figured that I could get the guts I wanted inside a PS3 fat. I hopped on eBay and found one for like $15 shipped.
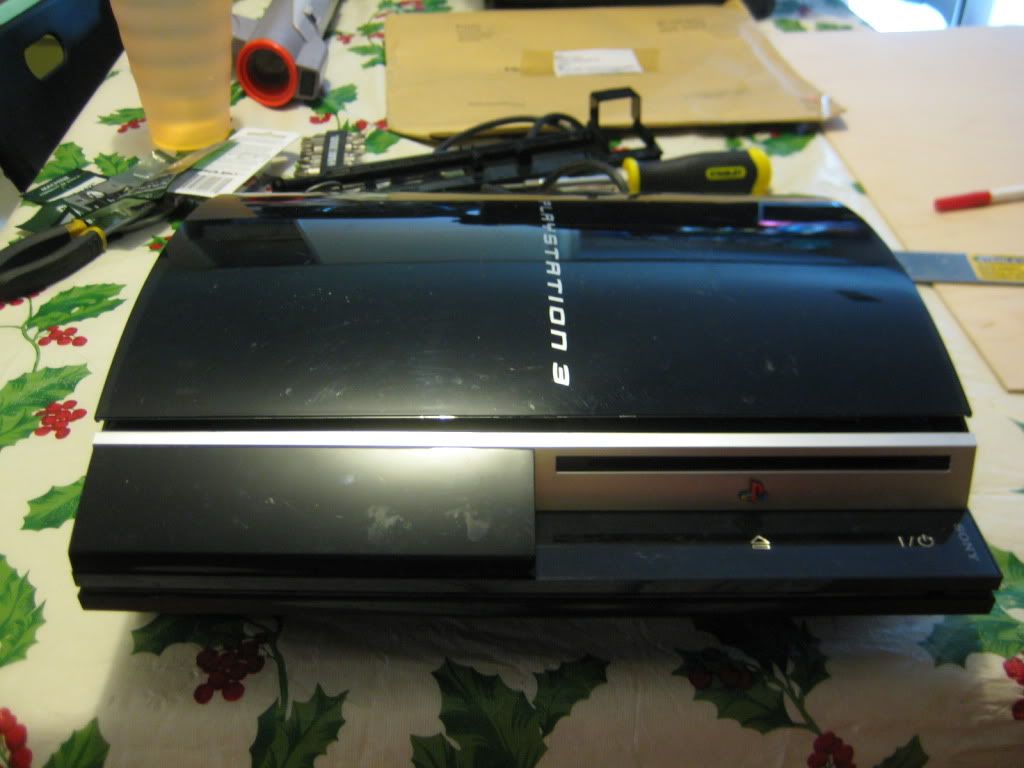
As a used case it was banged up a bit and was filthy, so I took it completly apart and put it in the dishwasher…yes the dishwasher. Worked like a charm. I then took some measurements and did some planning before I started doing any ‘damage to the case’. I settled on first installing a wooden ‘floor’ to use as support. This would allow me to drill as many holes as I wanted without protruding out the case, and it owuld be easier to work with. After taking the dremel to some wood I got from Hobby Works, the bottom looked like this…
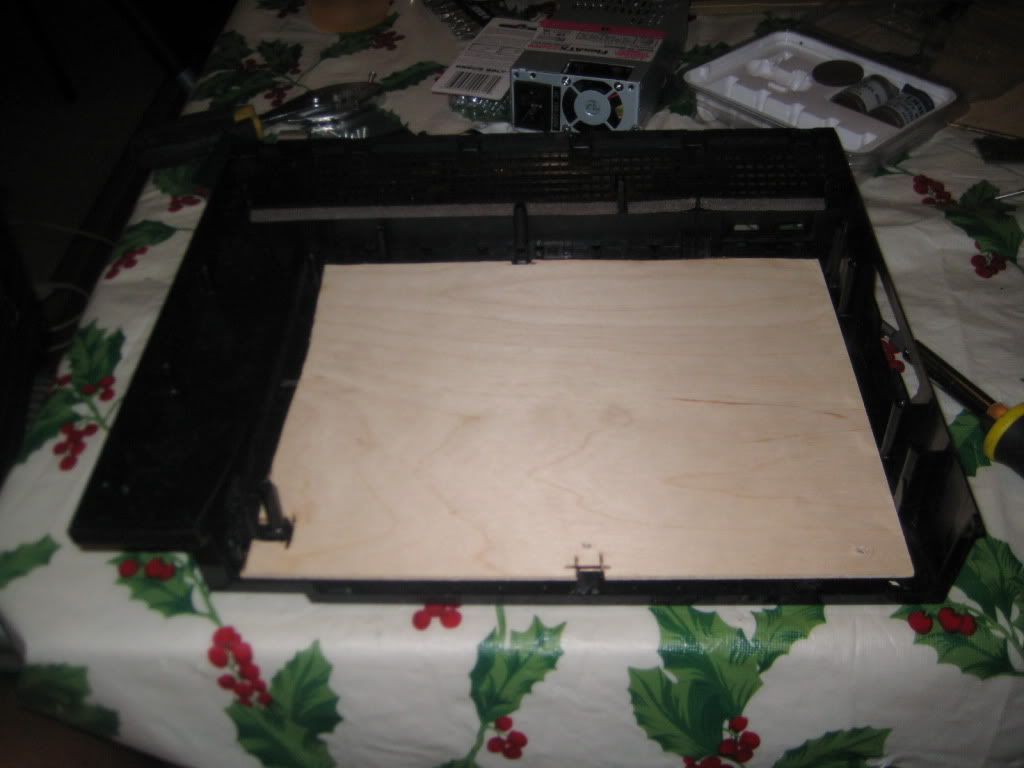
I did a couple more cuts into the wood later on, but this set hte stage. The wood is in their securly, and didn’t require any screws to install without any movement. I love hte dremel. There are several componenets that I need to fit inside the case:
Motherboard - ASRock E350M1 AMD E-350 APU (1.6GHz, Dual-Core) AMD A50M Hudson M1 Mini ITX Motherboard/CPU Combo
Power Supply - Athena Power AP-MFATX22 220W Mini ITX / Micro FLEX ATX / ATX12V Active PFC Power Supply
Harddrive - Western Digital Caviar Green WD15EARS 1.5TB 64MB Cache SATA 3.0Gb/s 3.5" Internal Hard Drive
DVD Drive (SLOT LOADING) - LITE-ON CD/DVD Burner(Slot-load) 8X DVD+R 8X DVD+RW 6X DVD+R DL 8X DVD-R 6X DVD-RW 8X DVD-ROM 24X CD-R 24X CD-RW 24X CD-ROM SATA Model DC-8A2SH
Memory - Kingston 4GB (2 x 2GB) 240-Pin DDR3 SDRAM DDR3 1066 (PC3 8500) Dual Channel Kit Desktop Memory Model KVR1066D3N7K2/4G
I started with the Power Supply as it was arguably the most limiting factor in the install, and would provide a good ‘starting’ base with cutting hte PS3 case plastic with the dremel.
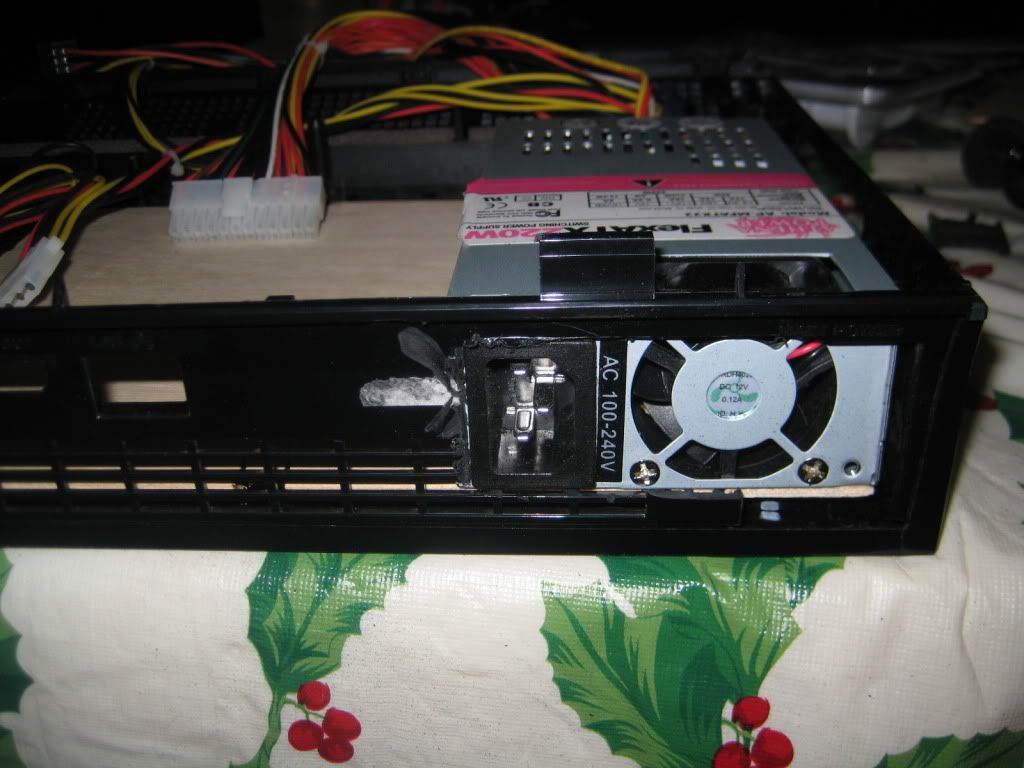
I had some issue with keeping the power supply locked down, so I used a hack I’ve used elsewhere of using bolts like a book-end.
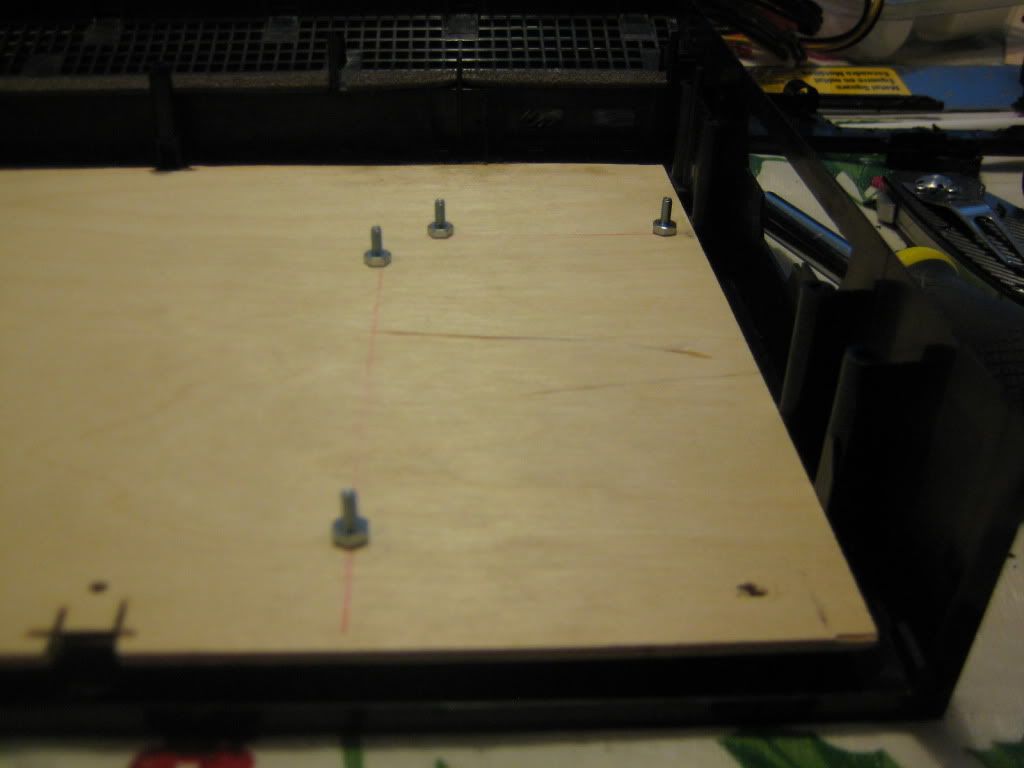
Afterwards I did a little clean up of the plastic work and proceeded with the most important part - the motherboard. The spacing of the tray of PERFECT for dropping the motherboard in, so I drilled four more holes for the motherboard, put in 4 #4 bolts with double nuts to raise the height just a tiny bit. However, there was one MAJOR issue I was unaware of. The back plastic for the Fat model has a slight ‘lean’ to it that just didn’t like the work I was doing, and the dremel I had didn’t like cutting metal (well the bits I had), so this became a two part mini-project. The first part was simply cutting up the back piece, being careful to leave enough supports from the original PS3 case to close it without needing anything ‘funny’ (more on this later).
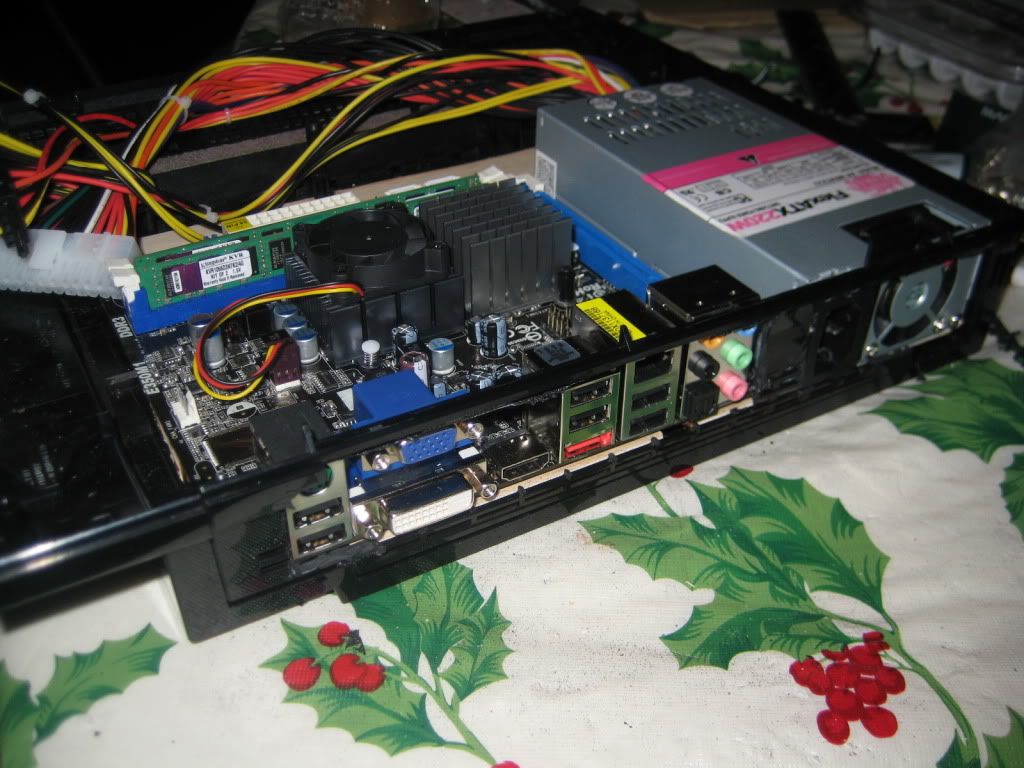
Later on I would fabricate my own ‘metallic looking’ back plate to insert and prevent rampant dust flow. YAY at this point, everything is going smoothly.
However, this is where I come across the ‘issues’ wit hthe design.
- How the Kcuf am I suppose to mount the harddrive case in here.
- The front drive panel is at an angle, how the kcuf am I suppose to mount the drive at an angle.
- Once its all said and done, I need to maintain air flow…hmm
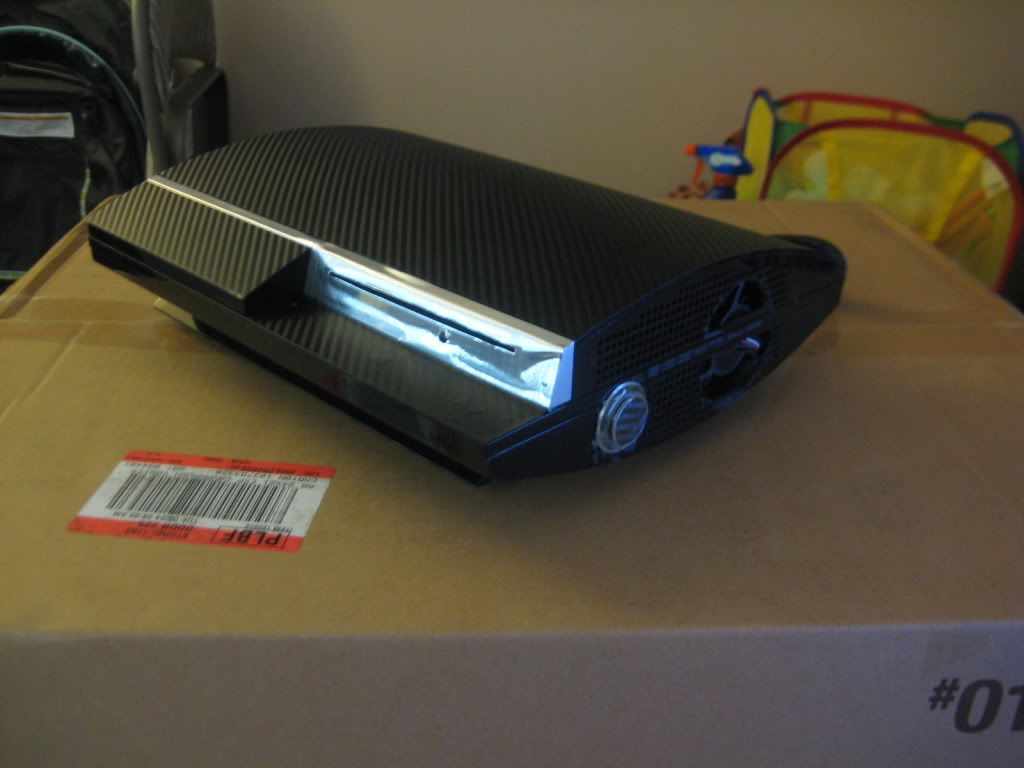
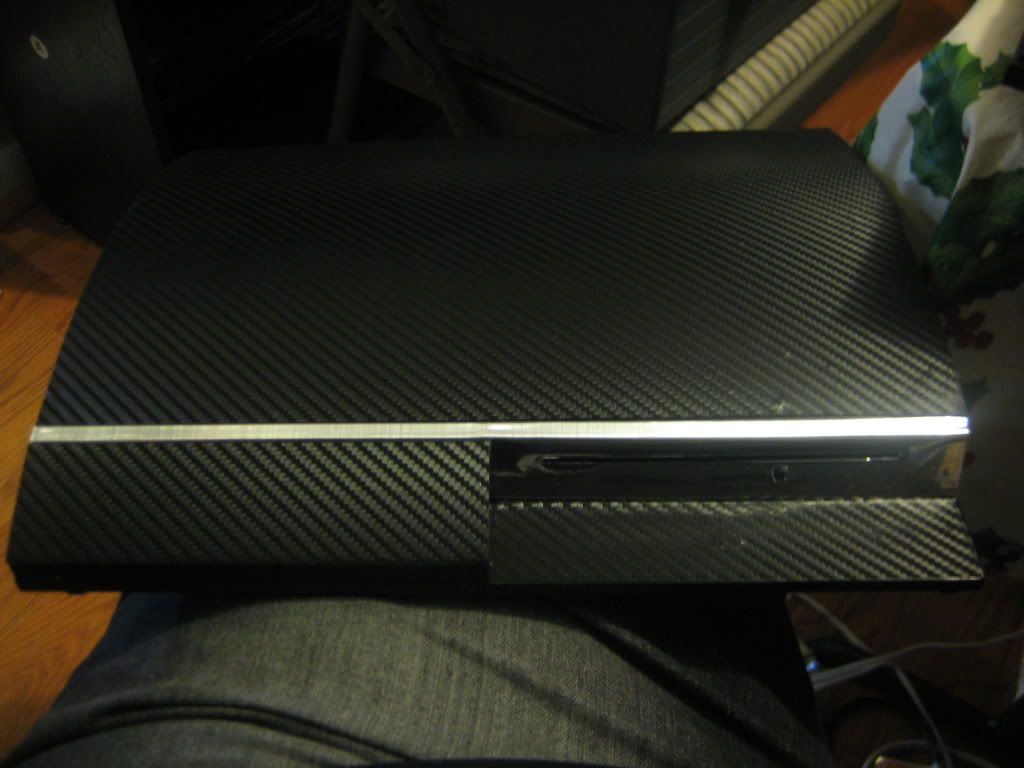
So I take a break and marinate a bit more before reaching for methods. I’ll cover the DVD drive frist as its the part I’m the least happy with. To solve it, I cut the bay a little bit for the slot loading cover to fir thru, and then GLUED the DVD drive ot the top part of the case. “Why not just mount it to the top of the case using some bolt/all thread solution?”, well therein lies two problems, one getting the 30 degreeish angle and two, if I screwed into the top of the case, there are no garuntees I can cover the top of the case wit hthe ‘Playstation 3’ plastic cover. So after purchasing a vinyl sticker kit (it adds horsepower :arazz: ) and using a ton of glue…
… and …

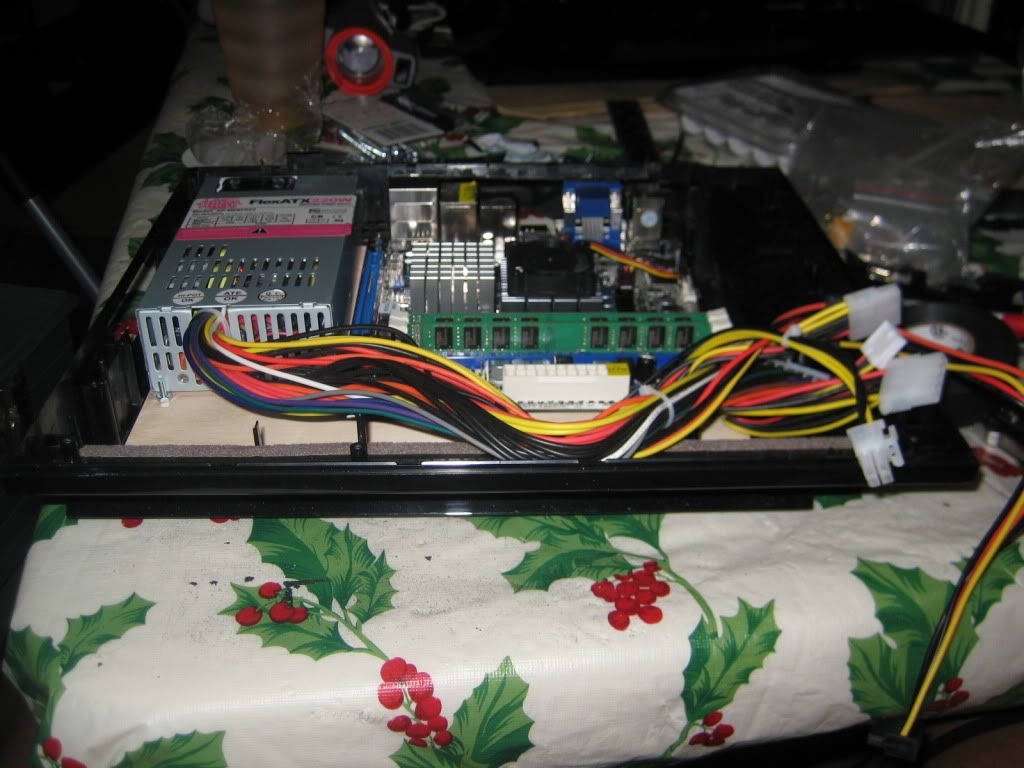
The final result looks alot better (first pic) then waht the inside of the case looks like for this portion. The other problem was mounting the harddrive. I couldn’t find any good premade solution, so like any engineer, I made one. I went to Home Depot and got several strips that look like something from a Eitech boxed set, and 'bent them around the harddrive, then I covered the bottom in Electric tape (Super 33 4 Life). the final result would sit over top of the power supply and use a spring like mechanism to push itself as high up as possible, allowing as much air as possible to flow.
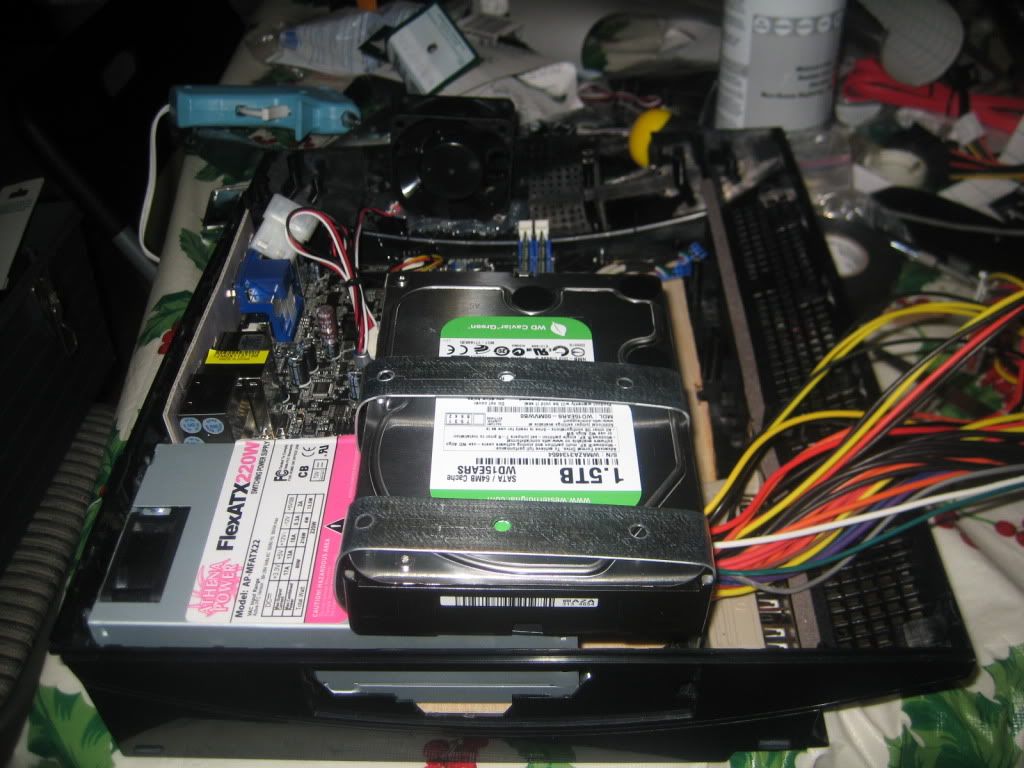
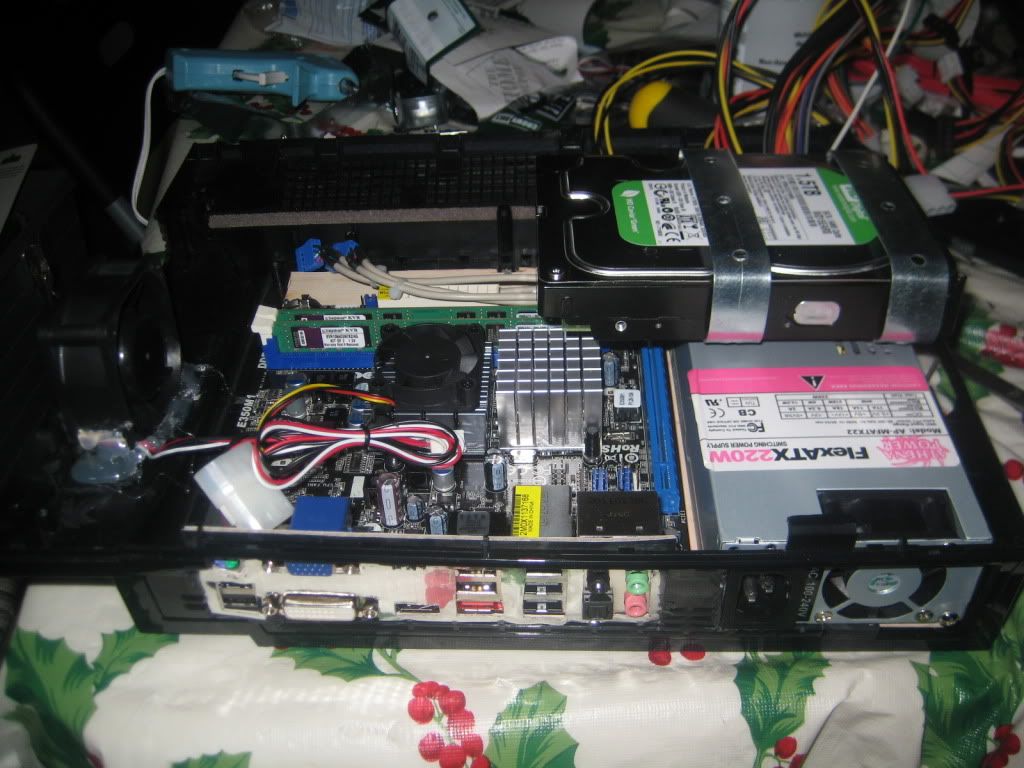
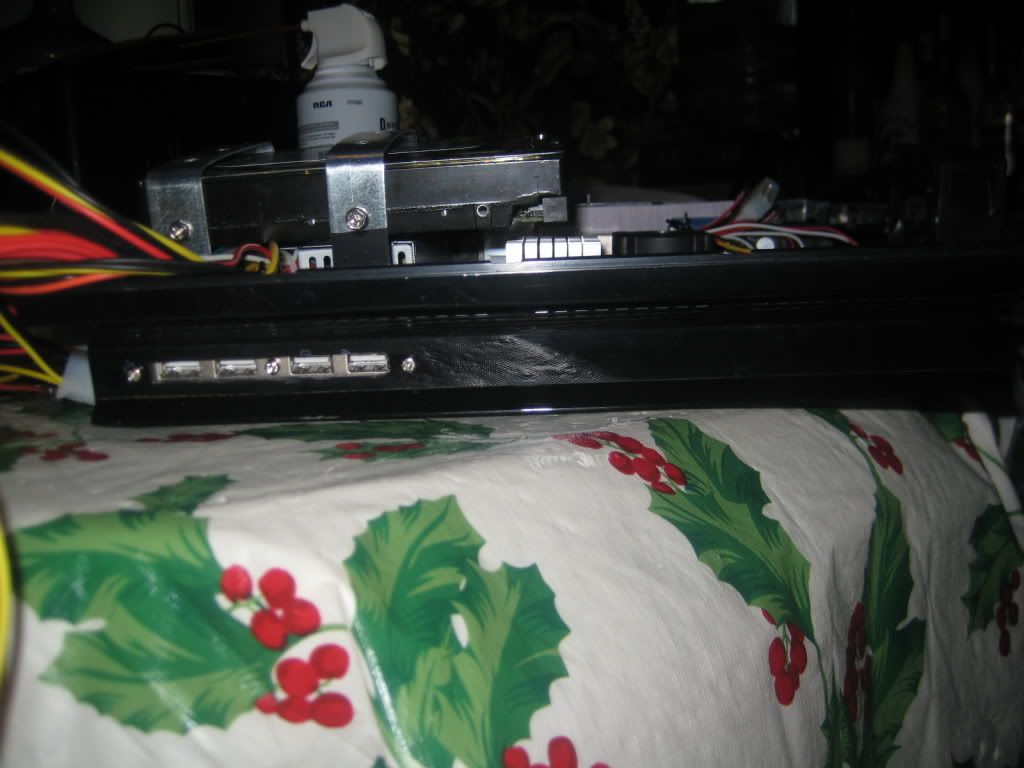
In the above pic you can also see my ‘rear’ solution for the cut out for my outputs. DELICIOUS! To aid with cooling, I also added a fan on the left side, along with a power button (Seimitsu, still debating dumping an LED inside…I feel I should, but it might take away form the look. You can also see in the above picture, two USB cables/plugs - I also bought a 4 port USB connector to replace the opening for ‘two’ USB ports that were default. Whats the point of an Emu-box that can’t play Simpson/Xmen the right way?
I am actually pretty proud of how that part turned out. Once I put it all together, this is what it looks like.

…to be continued…
- :bluu: