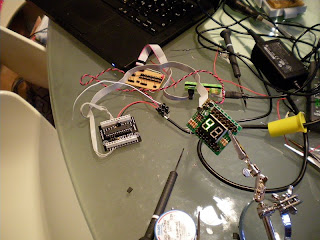
I’m so glad to present you the finalization of the E-Limitator PCB. It’s not purely dedicated to bemu games, but since some guys here into arcade cabs, too, I think this project is worth to mention.
You all might know the problems that occur when you use an 8-Way-Stick for 4-Way-Games. If you don’t push the stick exactly in one direction and two microswitches (or leafs) are pushed the same time, the game character might stay where it is instead of climbing up a ladder (Donkey Kong) or go down (Pac Man and other maze games). The switching mechanism is often not that easy to use…most of them have to be switched from under the panel.
The mode can be switched with a button and a RGB-LED shows the current setting.
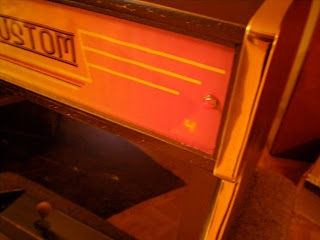
There are the following modes available: 2-way vertical, 2-way horizontal, 4-way and 8-way.
The motion filter E-Limitator analyzes and filters the users intended movement of the game figure. This way the ease of play of 2- and 4-way games with an 8-way joystick improves noticeable.
The PCB kit (just the pcb with parts…not assembled!!!) can exclusively be ordered at
Assembly instructions: http://www.arcadeshop.de/images/specs/elimitator_install_en.pdf
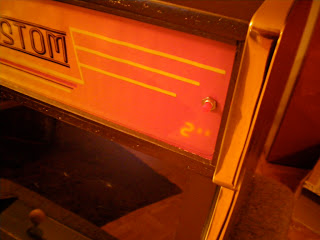
Beside the RGB Display we applied an 7 segment display to show the current mode.


Hope you like it 


 The Jammaplus link doesn’t work… you should just copy and paste the article here…


