So I went the Rustoleum route, not realizing it wasn’t true Vinyl Dye. It seems like a mixed bag as a few people have had great luck, others not so much. A lot of people earlier in the thread were really happy with it. I started this morning & it was running a little on the front & back but not the sides. I got about half way through, waited for it to dry a bit and sanded it down. I painted the start, back, and guide panel as well - those turned out great.
Unfortunately it just started pouring here (hooray Florida) so I probably won’t get to finish it today. The plan is to lay down a few more coats, let it dry, then add a Matte Clear Coat (Valspar).
When painting an SE, do you NEED to remove the PCB before starting the dyeing process? That’s the only thing stopping me from actually dyeing the thing, I was hoping that I could just cover up the open parts of the case with a masking tape or something of the sort. Knowing myself i’d probably mix up all the wires or make the wiring incredibly messy and hard to manage.
Um, it’s a good idea. You don’t have to paint the inside, but it’s still a good idea. There are solvents and chemicals inside the paint that may cause corrosion to the PCB components.
Wow, that’s a long process. As of right now, I’m kind of short on funds due to bills and saving up for a new computer, so I’ll have to finish this probably after.
I’ll definitely post pictures when I start it. Much thanks for the help Moonchilde!.
Mind posting pics when you finish? I’d like to see =)
Yeah sure. I probably won’t get to paint Sunday. It’s been raining practically everyday this week so hopefully I’ll get a chance to. I’ll take some pictures before I add the last couple of coats (sanded) and after. I think I’m going to wait at least a day before I add the clear coat.
Since there were some drips & thicker parts I sanded the whole case down after the first day of painting when I got interrupted by the rain:
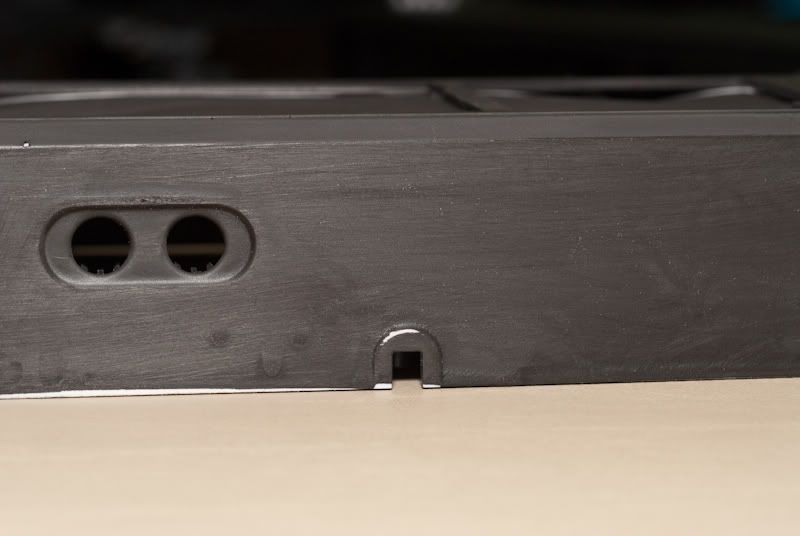
Close-up of the sanded case. The front & back were the worst:
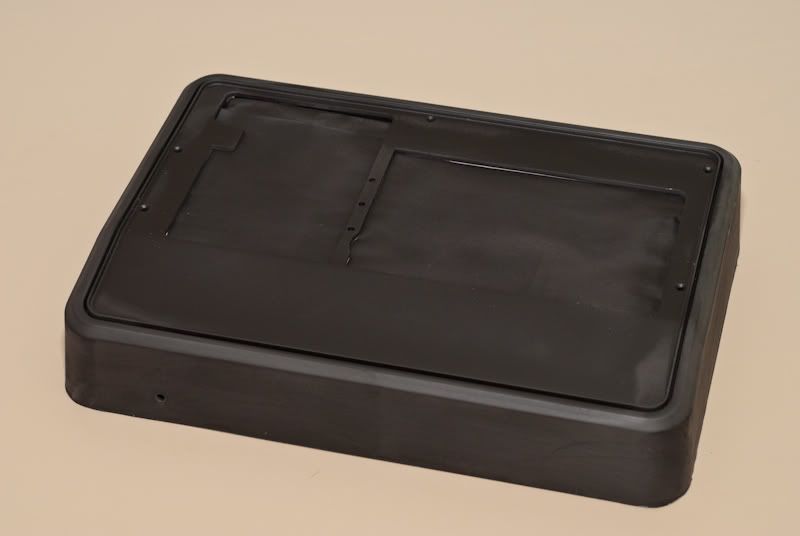
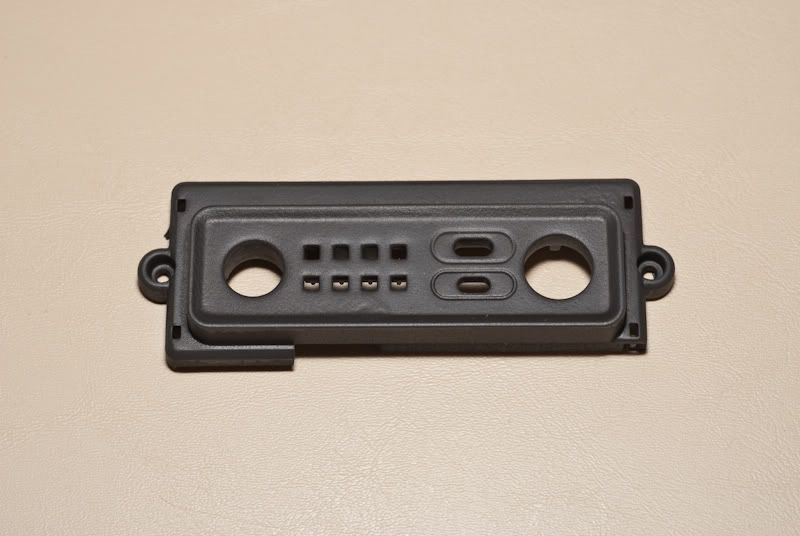
The guide panel actually came out pretty nice. This is pretty representative of what the case looks like now. The buttons weren’t even so I re-did those today but didn’t photograph them:
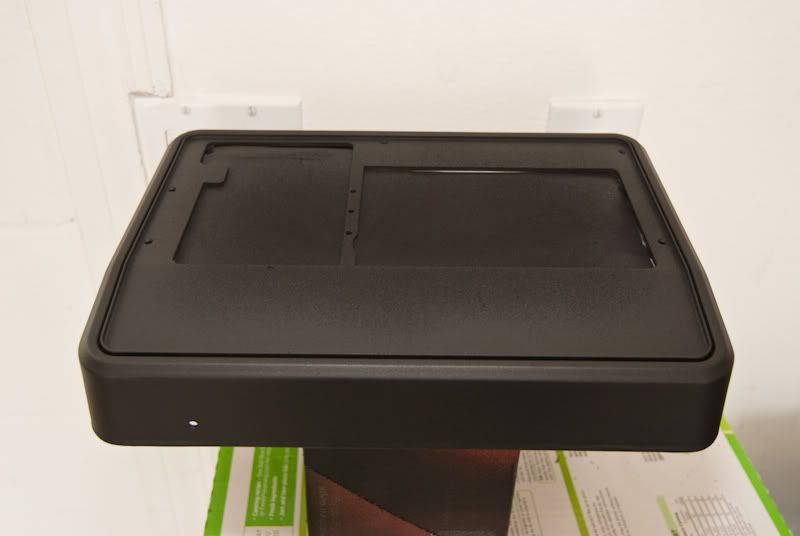
Here is the case after today’s painting. I only concentrated on getting the edges nice since the center is going to be covered with the panel. I probably added another 4-5 light coats onto it. Much more even, a few tiny drips but nothing I’m going to freak out over.
I realized my mistake the first time was I went way too heavy on the paint the first time around. I had to sand off a lot of dried up drips on the bottom of the case. All in all the Rustoleum isn’t as bad as I had feared, but if I could do everything over I’d definitely try and seek out real vinyl dye. The next step is clear coating. That shouldn’t be too bad & only take 1-2 coats.
The second job looks much better. Using very light coats is key to getting that stuff to look nice.
Oh, I’ll note one thing for you. On the Turbo panel, be sure to sand the paint off the sides of the holes where the buttons go. What you’ve done, is created a surface the buttons will rub against which will wear them and the paint out. They may not even fit proper now, and I recall that being an issue when I painted my SE.
I should be getting some VHT vinyl dye in the next day or so to paint the sides of my TE. Do I need to sand these first? If so, what grit sand paper should I use?
If sanding isn’t on the can, I’d still sand it with a green Scotch-Brite pad and dish detergent, followed by a thorough cleaning. This is still paint and the prep used for paint only makes it stick even better.
Vinyl “dye” ain’t dye either. It’s a thinner paint with a higher amount of a chemical etcher (acetone). As a matter of fact, many manufacturer now call it “vinyl coating” or “vinyl paint”.
IMO, a test panel isn’t necessary. Sanding/scuffing your material before a coating of any sort, is always superior than not scuffing it. From painting a car, welding metal and even gluing stuff together. The reason your can of vinyl dye say nothing about sanding, is because it was originally intended for…vinyl.
Um, VHT is a pretty good “dye” and isn’t like all the garbage coatings out there. Vinyl can also be hard or soft, it IS a plastic after all. As you know, vinyl dye uses plastic solvents to soften up the plastic to allow the color to penetrate. Cleaning prep is a must, but not sanding. All sanding will do is fuck up the outside of his case and he’ll have to do a bunch of high grit sanding and buffing to get it how it was.
If he was priming and painting, then sure, lightly sand the outside to allow the primer to get into the small scratches and allow better bonding. But he specifically ordered VHT Vinyl Dye.
does vinyl dye work on plastic epoxy putty? i accidentally slipped the drill a little bit when cutting a hole into my hrap and had to fill part of it with putty. im gonna sand it down a little when it dries. just wondering if vinyl dye works with it or would i have to go the other route and apply primer and regular paint? i want a flat black. thanks.
I have filled button holes in a white case that I dyed black it colored the the putty black but the shade is off to get the best results I would recomend dying then painting with a krylon plastic paint to even it out the color and have a sturdy case color that will hold up against scratches.
but if not you will have to prime and paint like painting anything else
So I used the Valspar clear coat (from Lowes) on the Rustoleum & it completely jacked it up. It has almost a frosted look to it. Fortunately I tested it out on my start/back buttons first & not the case. I’m hoping it’ll dry normally, but it looks like I might forgo the clear coat.
I got it in the mail today, and of course the weather turned poor just in time. But anyway, the can says to give it a light rub down with a red Scotch Brite pad, so I guess that’s halfway between sanding and not sanding.