I just wanted to share my mod of the NubyTech 15th Anniversary Street Fighter Stick. The thumbs link to bigger versions.
After gutting the original PCB, the XBox/PS2 connector and the XBox memory card jack I got to work.
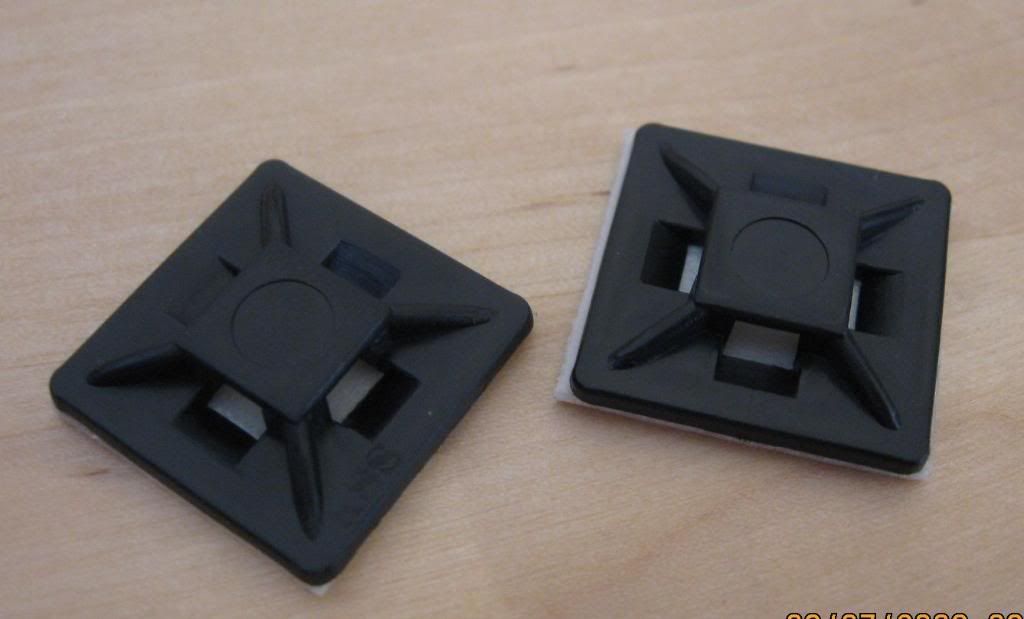
I picked up a bag of Tie Mounts - 3/4" nylon self-adhesive zip tie mounts. I wanted to go this way because I didn’t want to drill extra holes into the chassis.
http://i190.photobucket.com/albums/z244/jizzmirk/Arcade%20Stick/Thumbs/Adhesive_Mounts.jpg
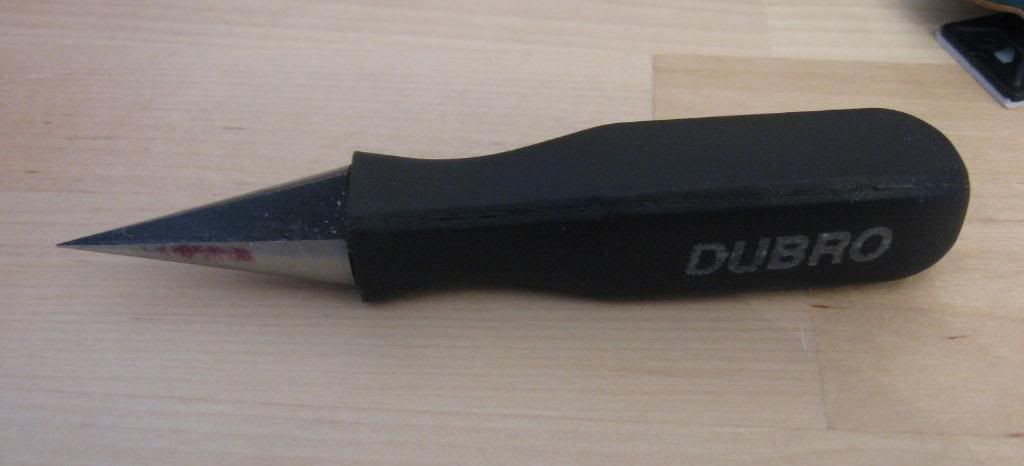
I used a body reamer (it’s used to create holes in RC car bodies for mounting) because I didn’t have a drill bit small enough.
http://i190.photobucket.com/albums/z244/jizzmirk/Arcade%20Stick/Thumbs/Reamer.jpg
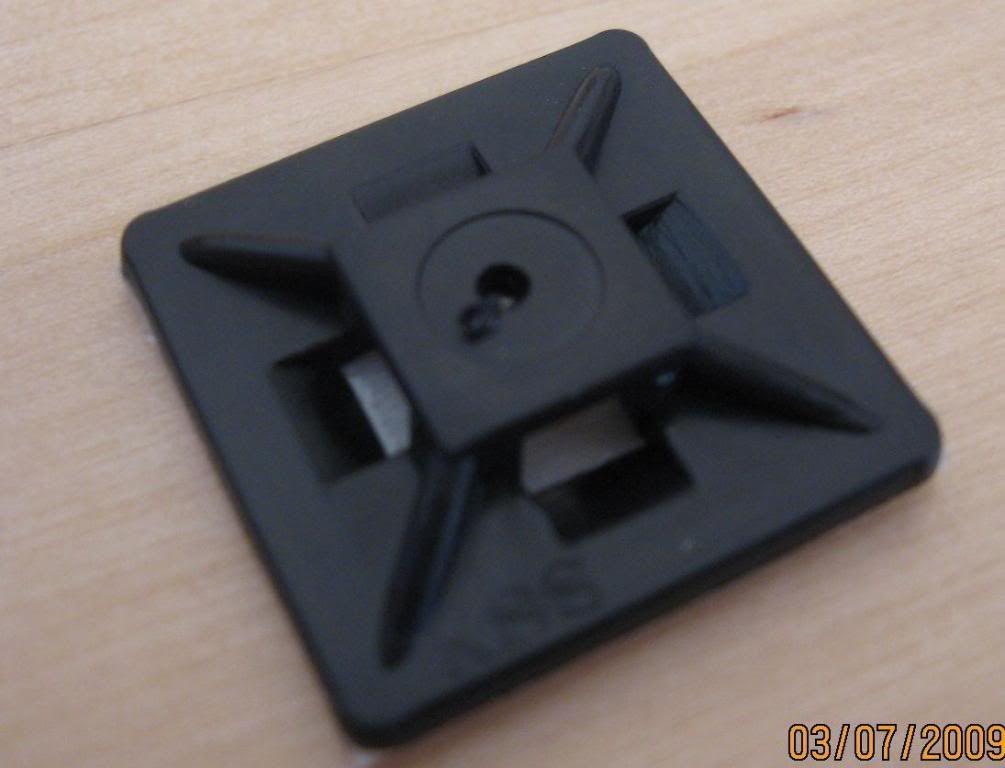
I reamed holes into the tie mounts
http://i190.photobucket.com/albums/z244/jizzmirk/Arcade%20Stick/Thumbs/Mount_Prepped.jpg
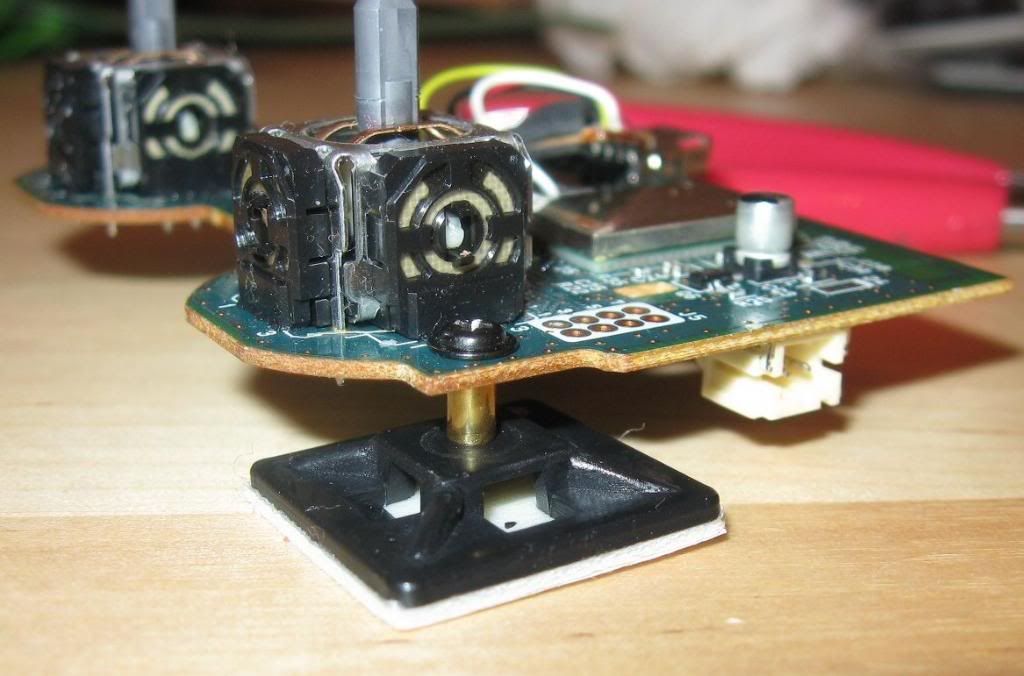
Here’s the hardware that I used. The black screw came from the Anniversary Stick - it was used to mount the XBox memory card jack. The silver screw came from extra steering servos - they screw the servo arm to the servo horn. It was the only screw that I could find that would fit into the upper left and lower right mount holes in the SIXAXIS PCB. The brass sleeve is also from spare servo hardware.
http://i190.photobucket.com/albums/z244/jizzmirk/Arcade%20Stick/Thumbs/Hardware.jpg
Here is the PCB attached to the nylon tie mount. The lower right is right next to the right analog control. The upper right one gave me a little scare. The flange on the screw used for the upper left mount hole made contact with one of the capacitors and pushed it aside. I used the brass sleeves to prevent further contact.
http://i190.photobucket.com/albums/z244/jizzmirk/Arcade%20Stick/Thumbs/LR_Mounted.jpg
http://i190.photobucket.com/albums/z244/jizzmirk/Arcade%20Stick/Thumbs/UL_Mounted.jpg
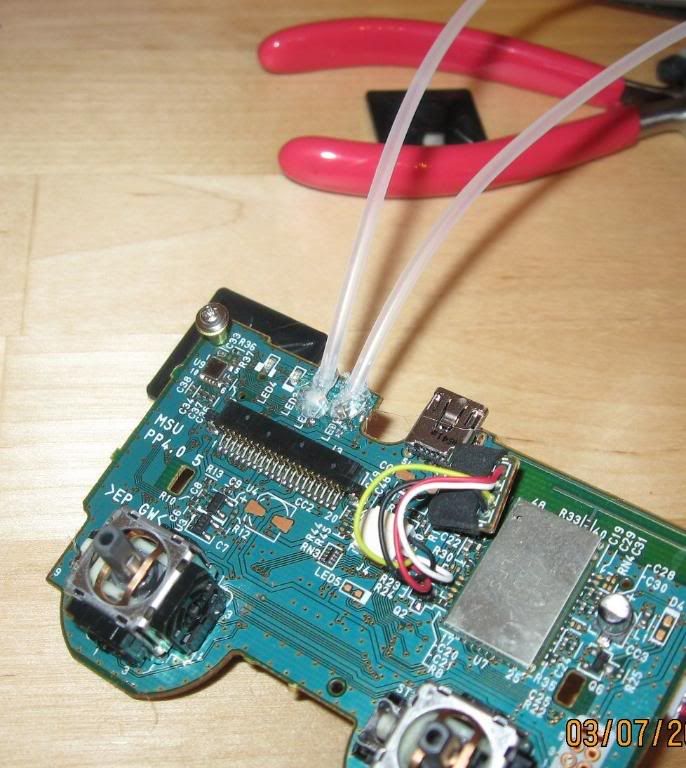
Because I can’t see the PCB when the bottom cover is attached, I decided to use an old optical cable to run a fiberoptic power indicator. If you look carefully, you can see the red light at the end of the fiberoptic cable. I hot glued the fiberoptics to the PCB, but in the end I only routed one of the lines out of the chassis because the light from the LED that is on bleeds over to the second fiberoptic cable.
http://i190.photobucket.com/albums/z244/jizzmirk/Arcade%20Stick/Thumbs/Fiberoptic_Glued.jpg
http://i190.photobucket.com/albums/z244/jizzmirk/Arcade%20Stick/Thumbs/On_Indicator.jpg
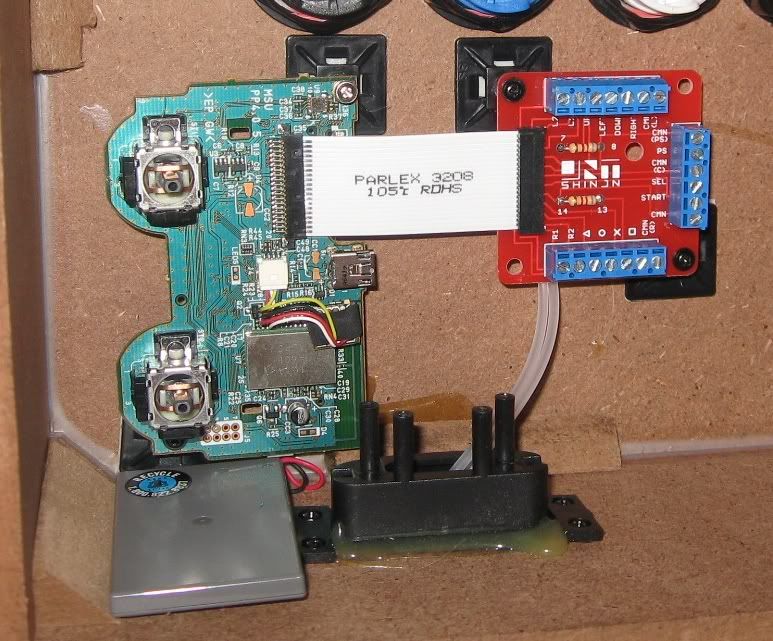
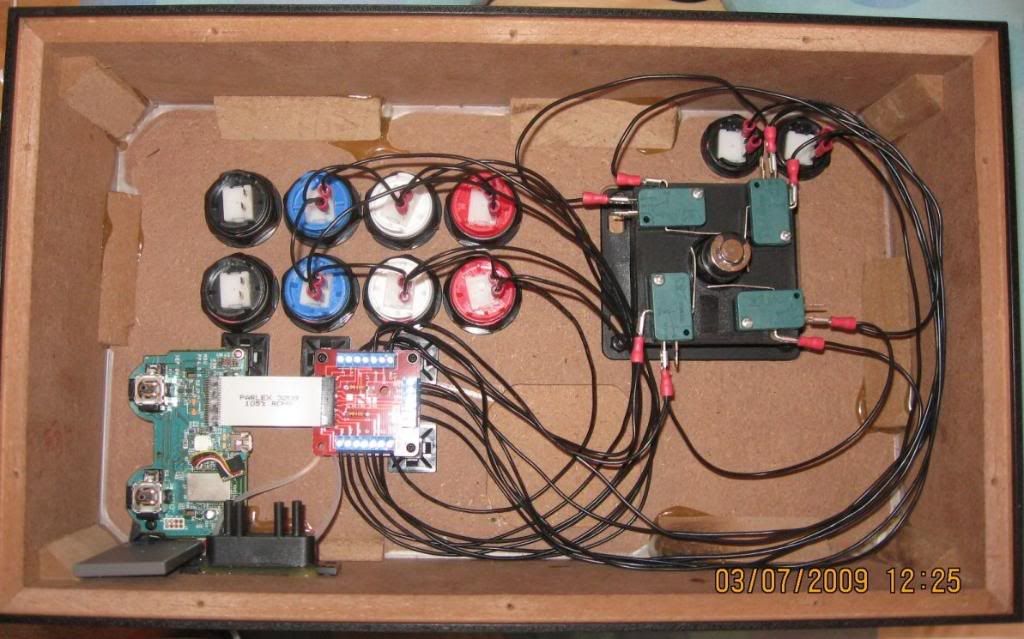
The last three pics are the PCB and AXISdapter mounted and then wired. The buttons and controller are the stock Bao-Lian parts and I’m still waiting for their HAPP replacements. Once those come in, I’ll be able to properly bind the wiring.
http://i190.photobucket.com/albums/z244/jizzmirk/Arcade%20Stick/Thumbs/PCB_AXISdapter.jpg
http://i190.photobucket.com/albums/z244/jizzmirk/Arcade%20Stick/Thumbs/PCB_AXISdapter_02.jpg
http://i190.photobucket.com/albums/z244/jizzmirk/Arcade%20Stick/Thumbs/PCB_AXISdapter_Wired.jpg
Any questions or comments are welcome.
-j