Hi,
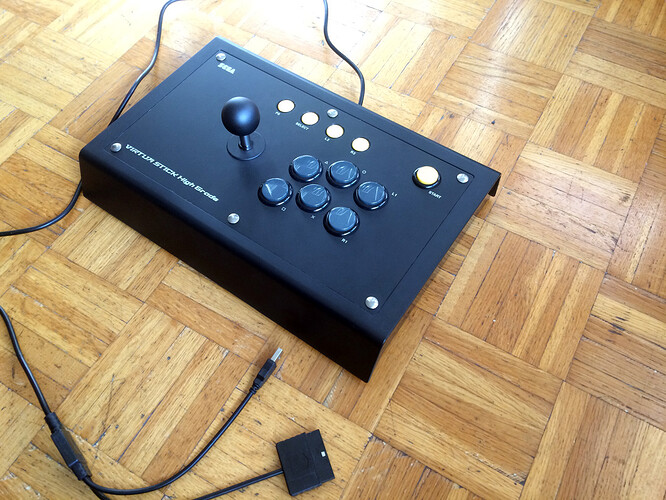
I recently purchased a PS2 and wanted to mod my arcade sticks to have them function on every machine I use (i.e PS2, PS3 and PC. I have to test on PS4 at a friend’s place). It has been an opportunity to purchase a Virtua Stick High Grade as I love it’s design. I’ve been having fun modding it and I think some knowledge in this post will help fellow people (Especially the wiring on the encoder ; ).
I purchased a kit on aliexpress which contained a PS2, PS3, PC encoder as well as all the wires (with quick disconnects) and cables necessary to mod.
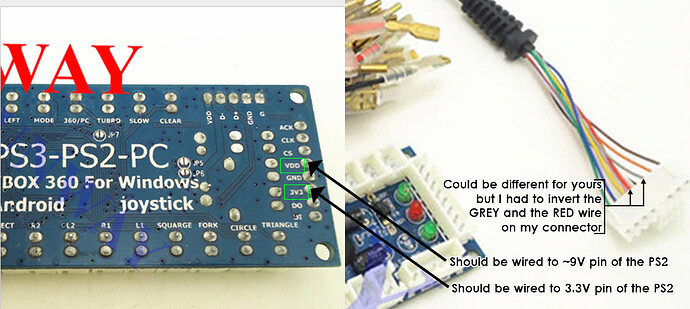
Now the trick: The encoder is NOT wired properly for the PS2. There are a lot of negative feedbacks stating that these encoders WON’T work on a PS2 and they are TRUE unless you re-wire the encoder. I found some source on internet on the issue but very seldom.
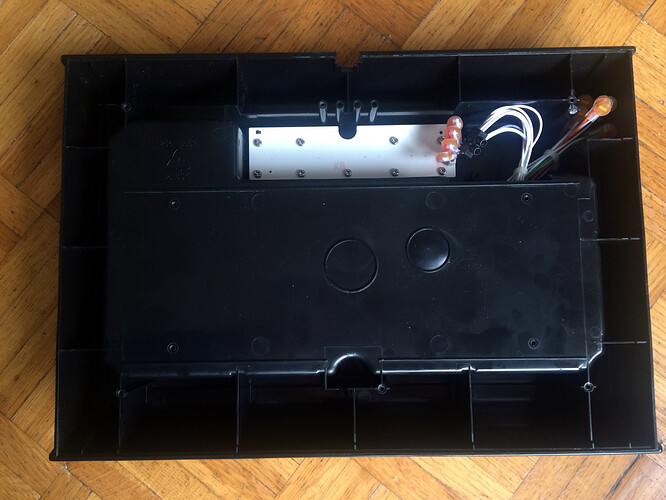
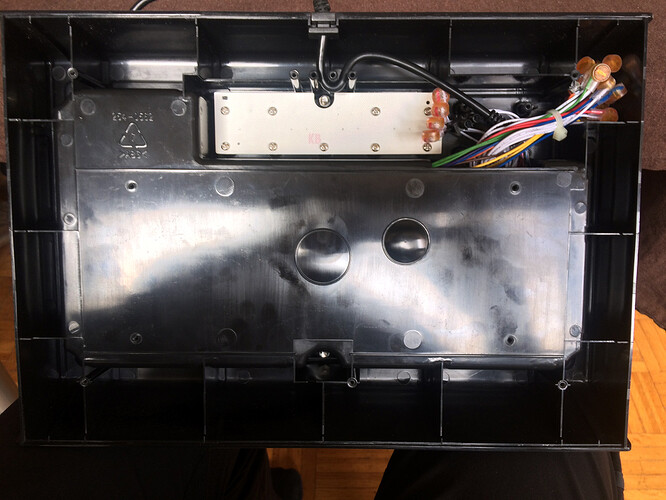
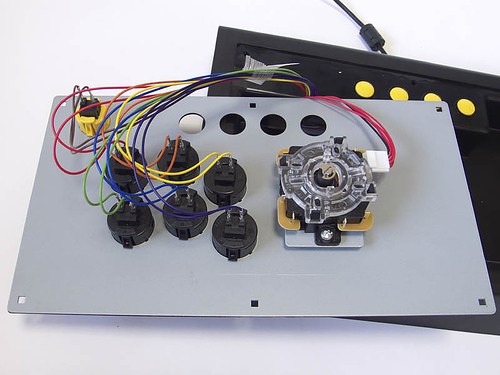
Opened VSHG
 !
!
Encoder and wiring
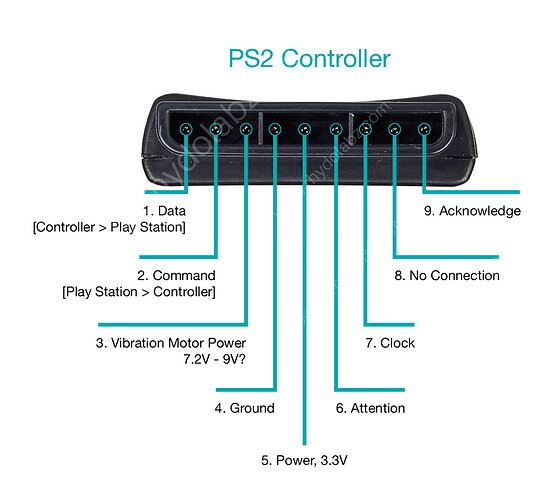
Original PS2 controller wiring
Everything is written on the pictures, I had to exchange the GREY and RED wires.
Then after testing the encoder on PS2 it was powered on successfully. (Also tested on PC with USB as well of course.) Note that if I remember correctly you have to plug BOTH the usb AND the PS2 connector on the encoder board to have it powered by a PS2. I seem to recall that if I just plugged the PS2 connector and not the usb one, it stayed off. Could be wrong but it’s worth mentioning I reckon.
Now that I know things worked, mod began.
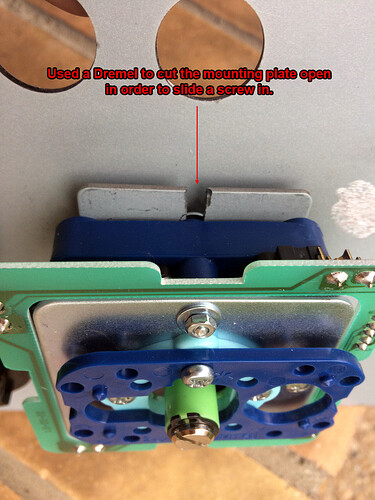
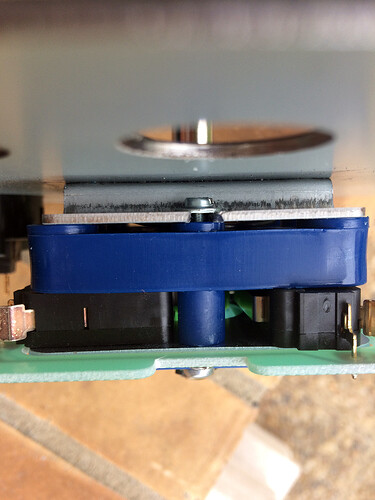
Dremel to insert screws and be able to Install a seimitsu stick in the VSHG and side view.
Now plug everything and test on both PC and PS2.
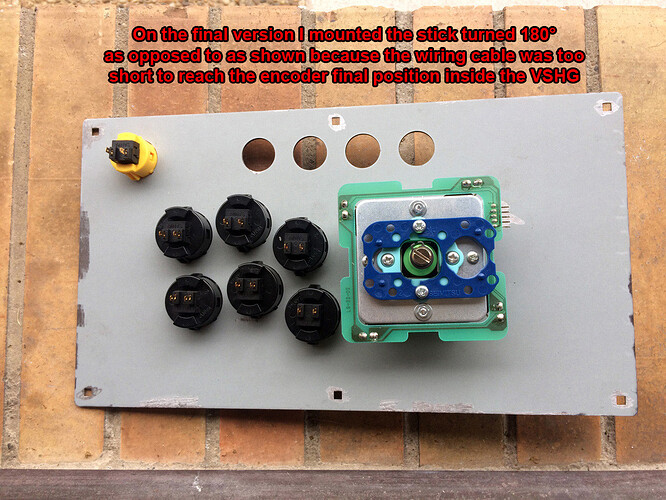
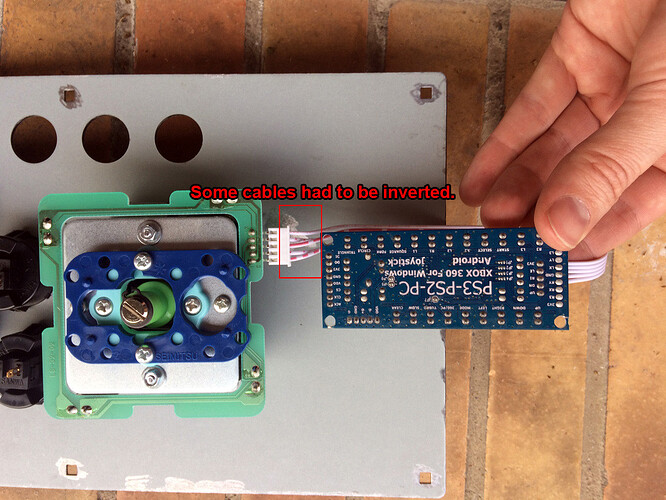
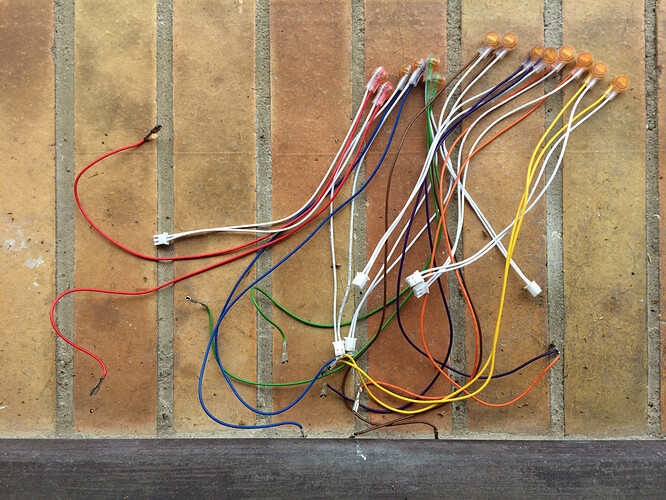
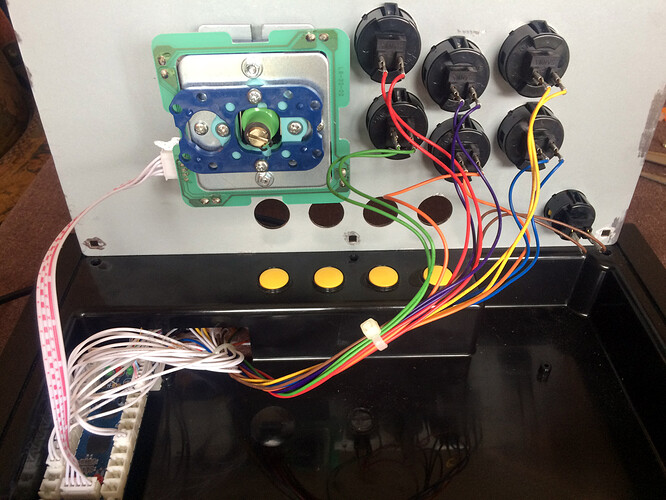
Note that the wiring on seimitsu and sanwa sticks are different. You can see on the picture that some wires are exchanged. Also note that after taking the pictures I had to mount the stick 180° from the shown position as the wire was too short to reach the encoder
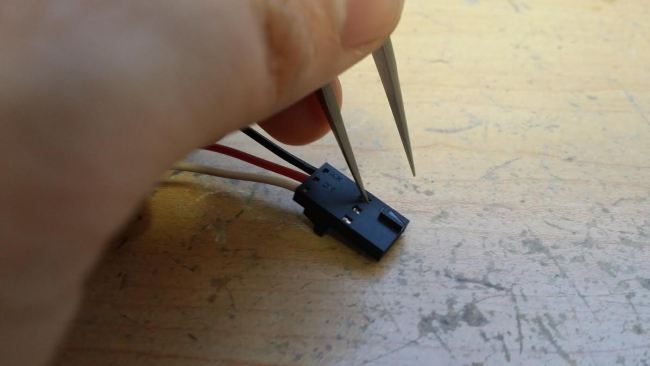
To remove a wire from this type of connectors (in order to exchange their position): you have to press the retention ear as shown, then remove the wire carefully from the connector
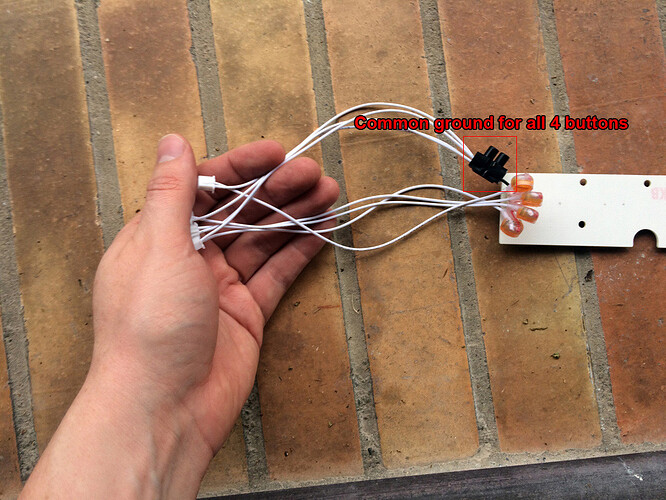
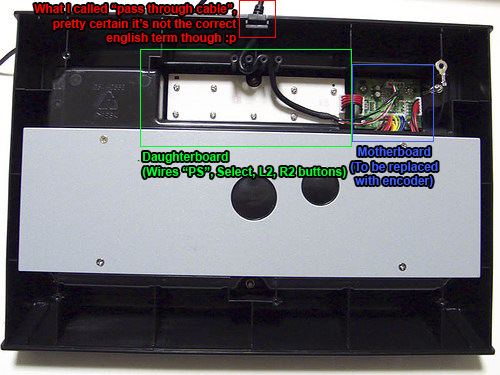
Now the daugtherboard. VSHG has a daughterboard with rubber pads enabling the PS, Select, L2 and R2 buttons to function. For now I decided to keep these (possible mod of these in the future : )
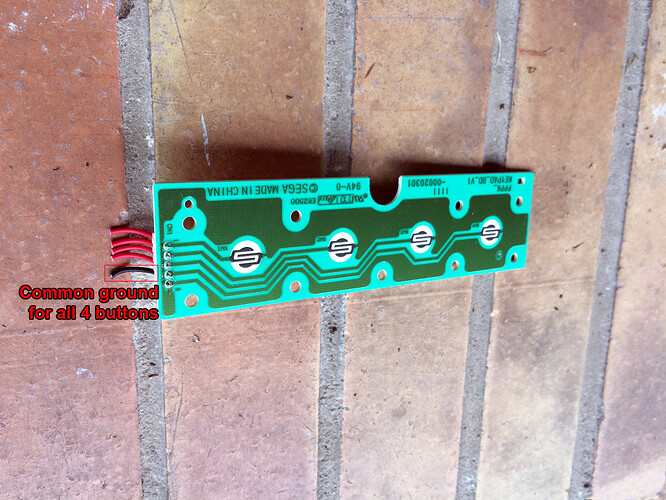
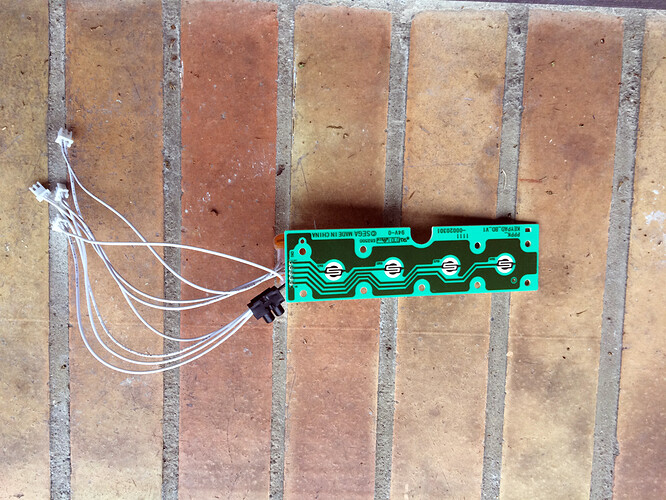
On this daughter board there is a common ground for all 4 buttons, hence the domino wiring shown here. Note that I did not have much knowledge about circuit and electricity when started this project. One of the problem I encountered was after wiring this daughter board, plugging everything to the encoder, and testing on PC, each time I pressed one of the daughterboard button, a strange behavior occurred, like a plethora of inputs being sent. A friend helped me troubleshoot this: so far I only had to wire arcade buttons and it does not matter if wires are reversed, i.e the ground and the voltage coming from the circuit board can be connected to either pin of the button’s microswitch. Here it MATTERS as it’s a common ground for ALL buttons, so I switched the position of the wires in the plastic connectors encoder-side in order to have each ground and voltage where it should connect. Everything worked fine after that.
This is when the daughterboard is screwed back in the VSHG
I had to extend the wires, I used ‘quick connectors’ (not sure of the term). You put the wire you wish to extend in any of the two holes. The extension wire in the other one. Then you press the orange part until it’s fully in (without pressing too much as to crush the thingy : )
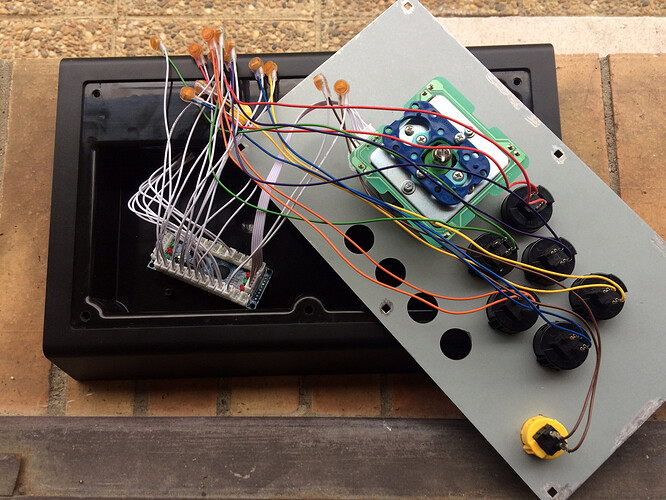
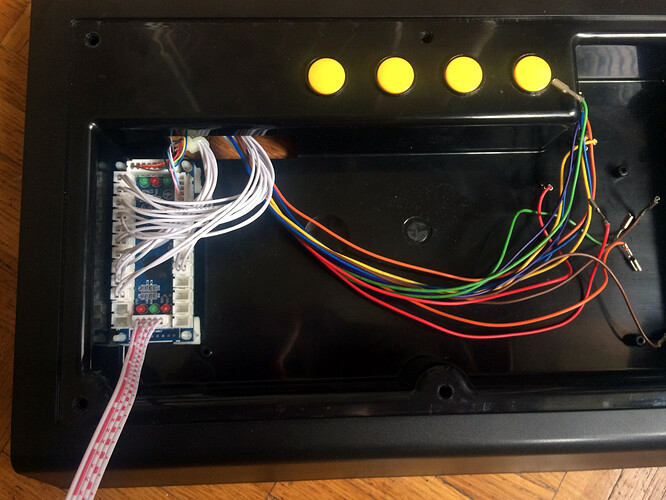
Test wiring of everything (once again, the final wiring is slightly different than the one shown here, for instance the square/triangle/circle/cross buttons are placed 90° on a VSHG, I rotated the wiring to a regular arcade stick button placement)
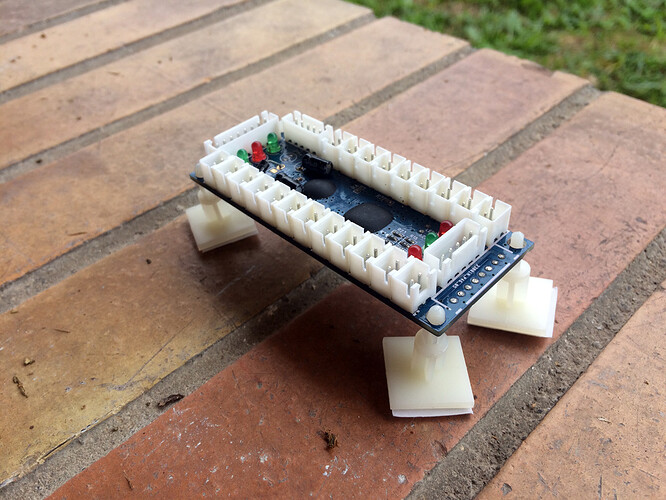
Encoder with it’s plastic feet ready to be inserted in the VSHG
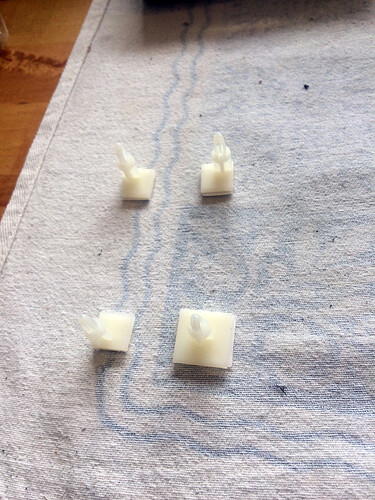
Had to cut some parts of the plastic feet in order to gain some space
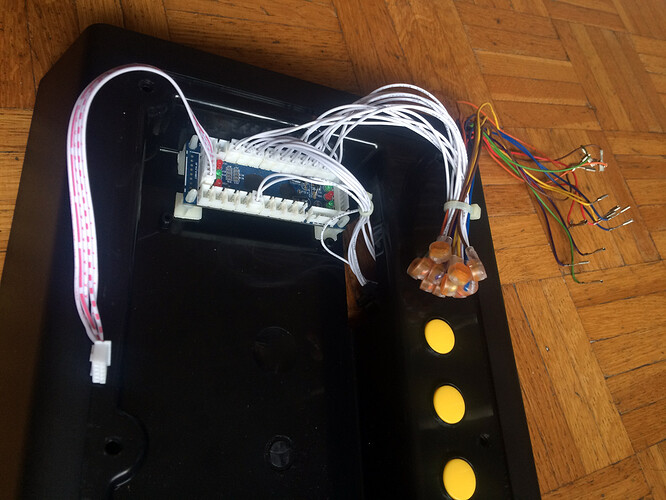
Wiring and sorting out cables/cleaning (once again the final arrangement is slightly different, I rotated the stick 180° for instance, buttons wiring as explained above were rotated as well)
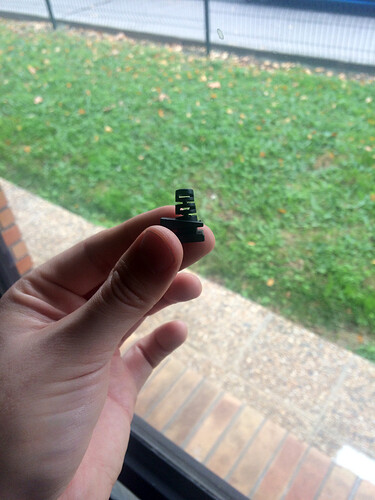
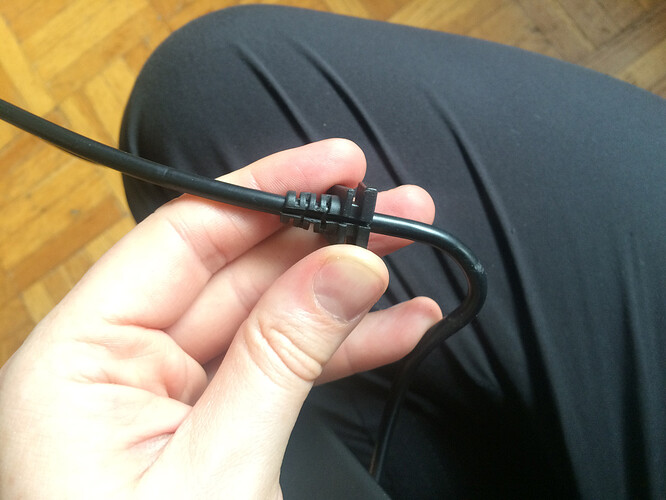
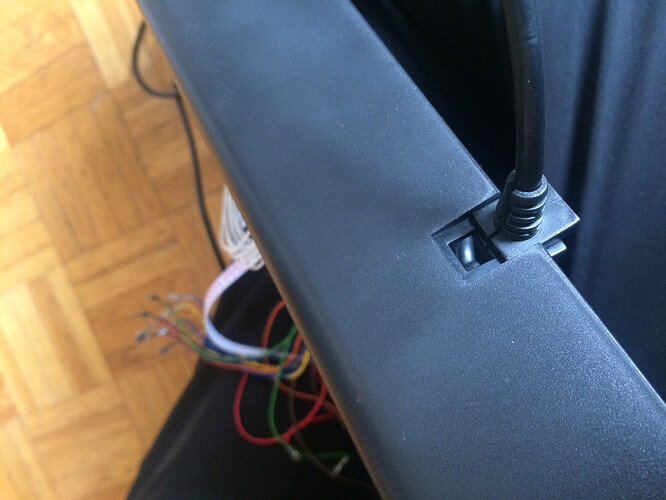
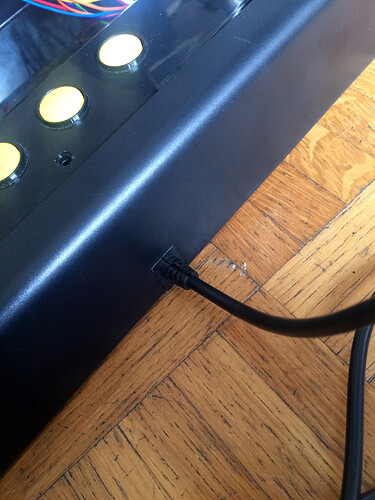
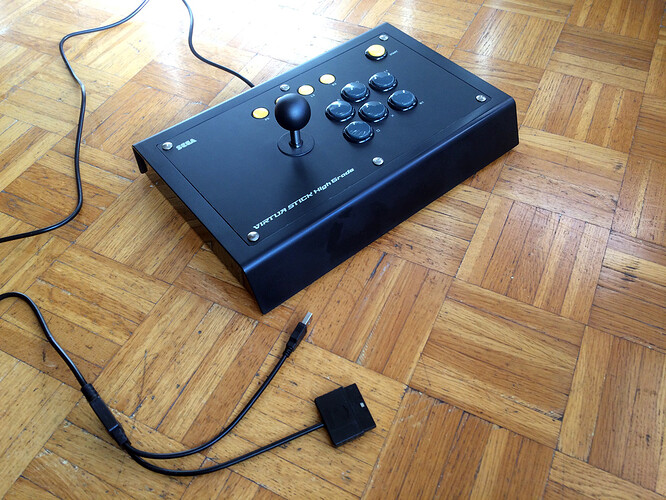
I wanted the cleanest slickest possible look from the outside so I Dremeled and precision cutter the shit out of the original VSHG “pass through cable” to recyle it and use it on the new PS2+USB cable.
Full wiring when everything is tidyed up
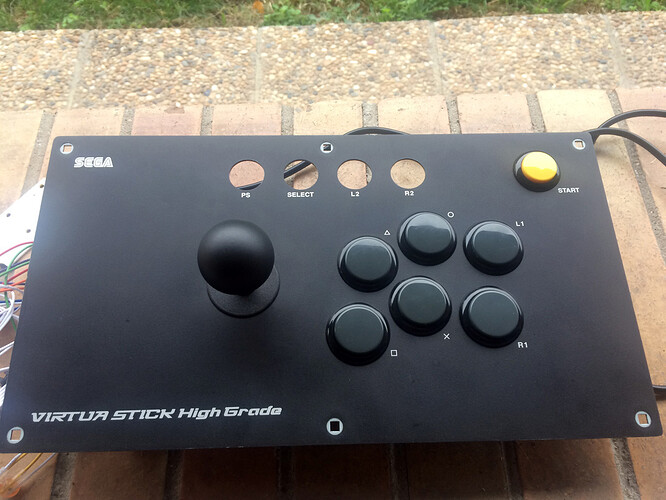
Front View with a Black Aluminum ball top, and a black 24mm sanwa button with the original yellow plunger. I love the feeling of the aluminum ball top with a seimitsu stick, for me it’s right between the softness of the sanwa stick and the hardness of the seimitsu stick.
Finished. Tried to keep the visible mods subtle, once again to keep the slick and clean design of the VSHG.
As far as I can tell, I don’t feel any lag. I’m quite the hardcore shoot’em up player (DoDonPachi, ESPs, any cave really ; ) and quite the technician with fighting games so I reckon I would feel an input lag due to the encoder.
Hope this topic will be useful to some, maybe just entertaining to others : )
Yours,
–Jay
