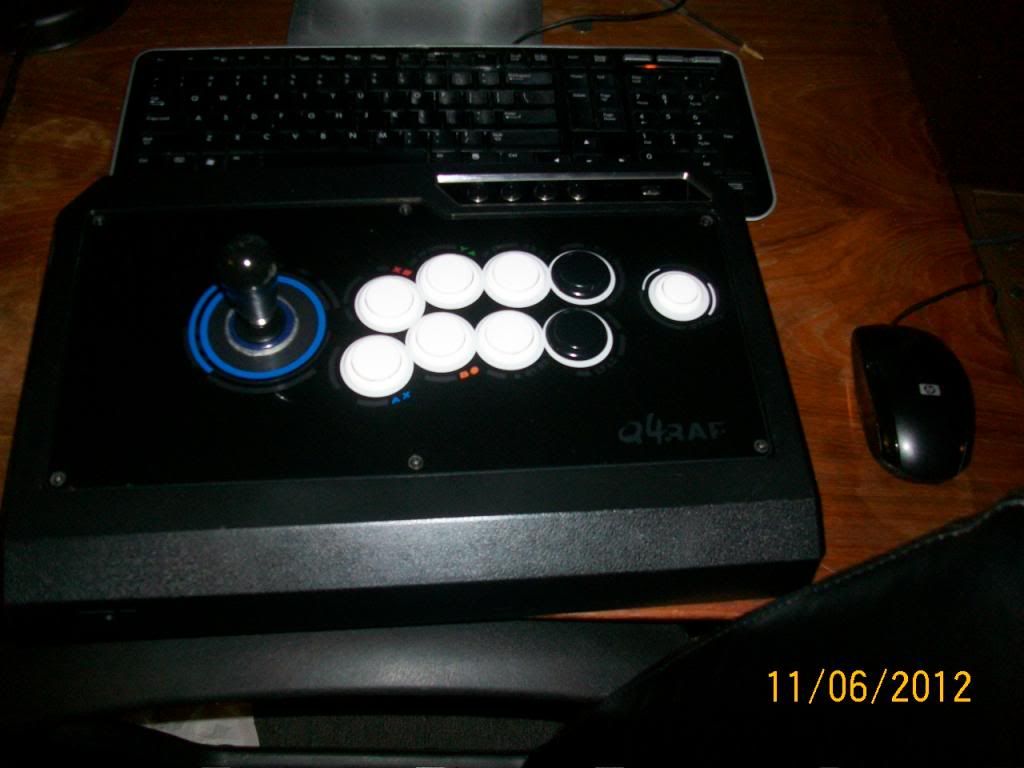
Here you go… Directions for mounting a Fanta in a Qanba Q4…
Tools/Hardware used: #6-32ct 1in countersunk screw (x4) #6-32ct Nylon Lock Nut (x4) #6 flat washer (x8)
Packing Tape
.25inx3.5inx3ft board (cut to .25inx3.5inx2.5in)
12in bar clamp w/soft rubber surfaces (x2)
3/8in forestner bit
35mm forstner bit
35mm hole saw for metal #6 countersinking bit
5/32 multi-purpose drill bit
Circular Saw
Drill Press
Process (assuming you already have the stick opened up):
Place cut board over previous mounting area and align so the only thing preventing the board from being flat is the 4 indents (the board should be 3.5in left to right)
Mark the 4 indents on the board and cut with the 3/8in forstner bit (the board should rest flat against the panel now
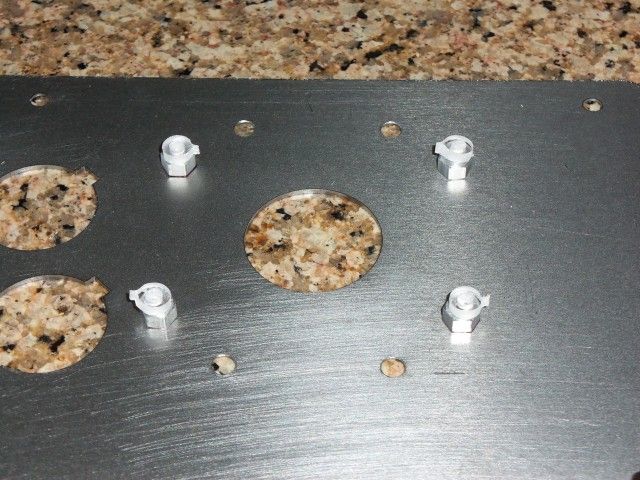
Using the drill press and 35 metal hole saw open up the joystick hole in the metal panel to 35mm
Trace out 35mm joystick opening on the board as well as the plexi (ensure you tape off the cutting surfaces top and bottom on the plexi to ensure a more clean cut and avoid cracking.) Align the outlines and press together using hand clamp.
Using the drill press and the 35mm forstner bit bore the joystick hole in the plexi and the mounting board.
Re-Align the board to the top panel and slide the lever into place (The lever will be installed so that it will be wider than tall.) Once you have the lever squared to the top panel mark the mounting holes from the lever onto the board.
Clamp the board and metal panel together and use the drill press with the 5/32 drill bit to bore through both.
Clamp the metal panel face up on the drill press and use the countersinking bit to and countersink the 4 mounting holes.
Place 2 of the #6 flat washers between the board and the panel on each of the mounting screws then slide the lever into place and secure with the 4 nylon locking nuts. Go like this from the nut to the screw head: Nut, Mounting Bracket of the Lever, The mounting board that you made, the 2 flat washers that were installed for proper mounting height, the metal panel, and the screw head (which is now flush with the top panel since you countersunk the holes)
I respect the process but holy damn thats alot of work.
I like it like this
Also when cutting that stock plexi you should note to have it in some kind of wrap at the very least so you can prevent the plexi from getting scratched up.
And when using the hand clamp dont put the clamps directly on the plexi as that will cause it to have rings(sometimes) so use a scrap piece wood or something between the clamp and the plexi.
Ahhh yeah I don’t have access to wrap, so I just used masking tape. I’ll add that. Also the bar clamps I used have soft rubber surfaces, so I should also make a note of that.
P.S.
I’m a big fan of your work! :china: I wish I had a machine shop though! I’m extremely jealous.
shit I wish I had a machine shop too, then I wouldnt have to wait until I got to certain number to get metal cut and it would just be sexy.
Masking tape is good also just as long as it is something to keep the bare plexi from being touched since it will scratch easily. The only thing I did not like about masking tape is that it will trap the shit out of any dust particles which could leave little tiny spots so you have to make sure it is really clean beforehand.
As for the rubber surfaces, mine do too but sometimes it will still leave rings on the plexi(i learned the hard way >:() so I always just put some scrap wood something there just in case.
After you make the 35mm hole, how do you ensure that the holes for the screws you put on the Sanwa plate are the right position to ensure they will make the plate straight on the K-stick?
I was going to use an LS or even a hori plate but I didn’t want to cut away at the housing on the lever. So I just turned the lever and mounted it on the JLF plate.
Okay, not my best photos, but they will have to do.
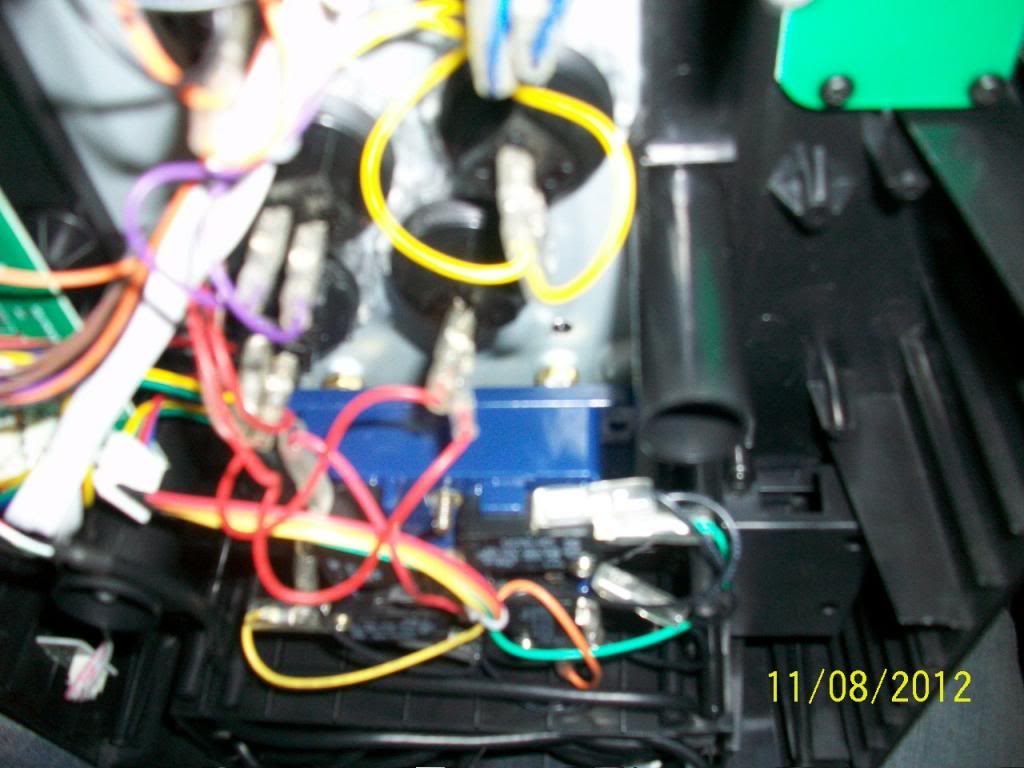
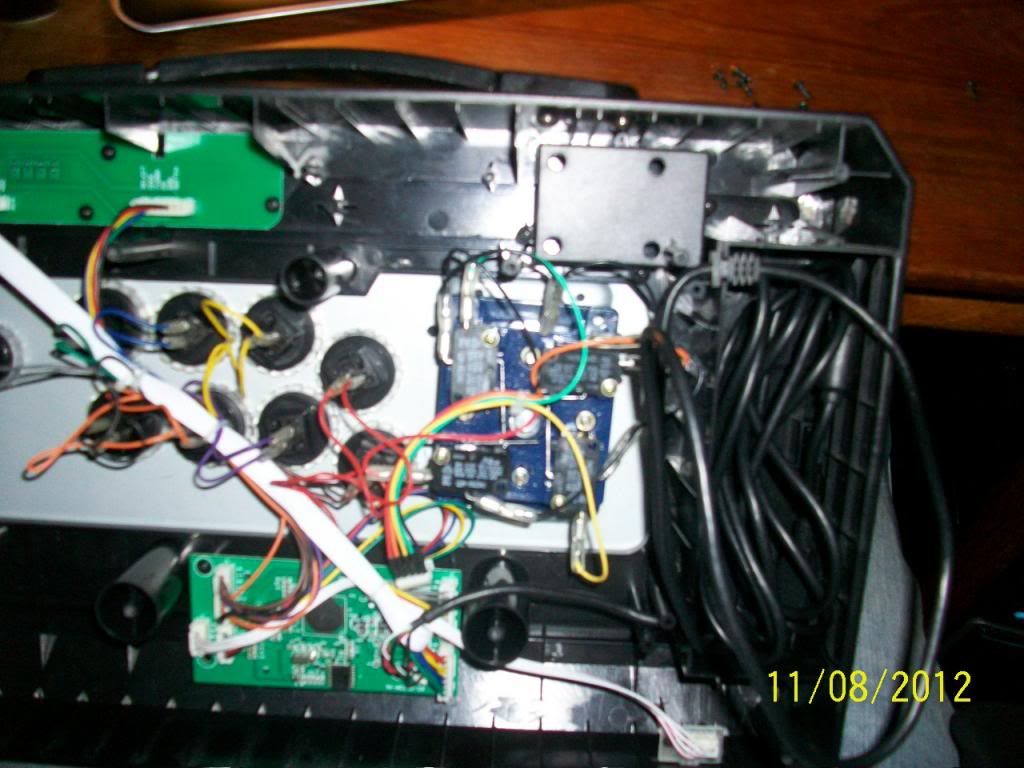
I hope you can see the bolts between the panel and the k-stick. There is no metal plate there.
I opened up the joystick. Then using the Seimetsu holes in the top Qanba plate, I put 4 screws into holes that I screwed into the top housing of the joystick and bolted them. This is what is holding it there.
Then I screwed the joystick shut through the original holes.
A pretty complicated and ad hoc process.
On top of all that, I don’t know if you notice but the joystick is a little sideways. It doesn’t affect gameplay (surpringly) but needless to say I don’t want the thing on there crooked-- I want to mount it straight.
That’s why I want make sure the holes are straight on the Sanwa plate before I try to mount the joystick on there.
If you don’t want to take the time to actually measure it out with a square and a ruler you can line it up like this and use a sharpie to mark where your hole will go.
You could also just make your own mounting holes in the top panel and countersink them because the plexi will just cover it up. You can also create a spacer like this one and plane it to height or just use washers. For exact mounting height.
Yep yep. I’ll take some pictures of the inside of mine and the inside of my buddies.
Mine is done with the sanwa mod and his is done by screwing holes through the top panel.