Guide: How to put art under clear Seimitsu buttons

I’ve been getting a few people asking me how to put art under the buttons for sticks. I had free time so i decided what the hell, let me make a shitty guide :wink:

Tools you will need:
-some sort of small sharp blade like an exacto-knife (i used a swiss army knife cuz thats all i had)
-a thin screw driver or pen to pop off the buttons
-a pencil
-sharp pair of scissors
-a glue stick

  1. Mount the art under the plexitop.

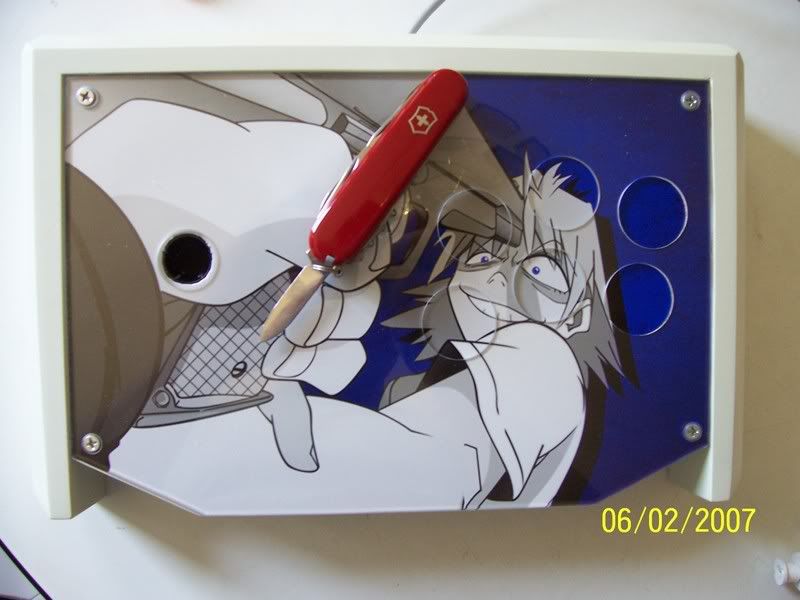
  1. Slowly and carefully cut the art out with the blade by cutting as close to the plexiglass edge as possible

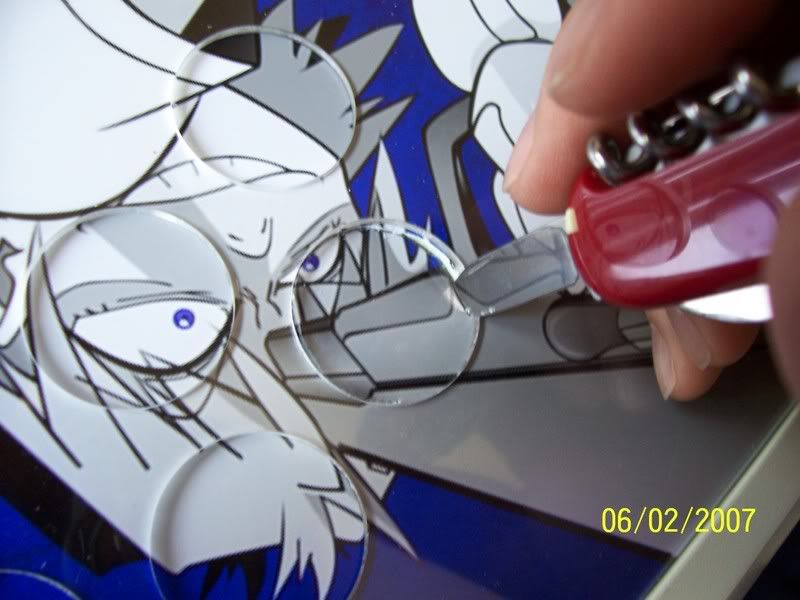
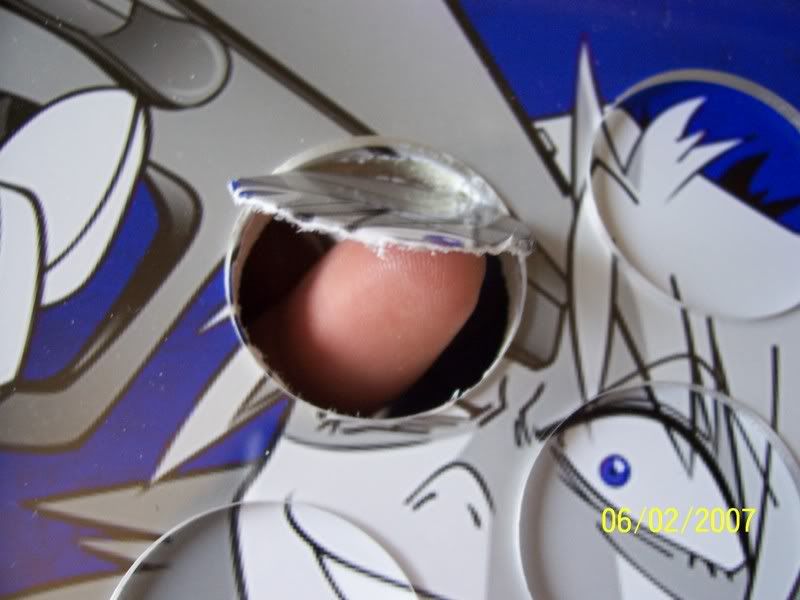
  1. Pop the art out when its fully cut.

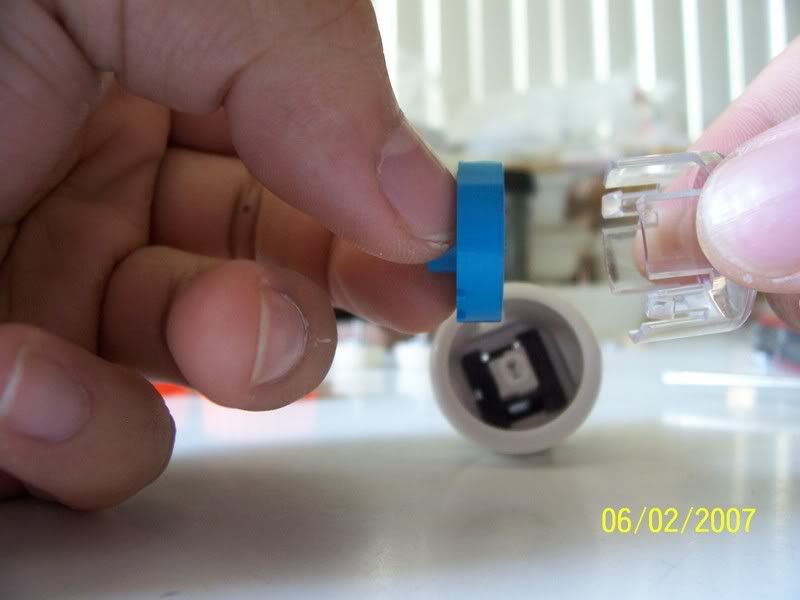
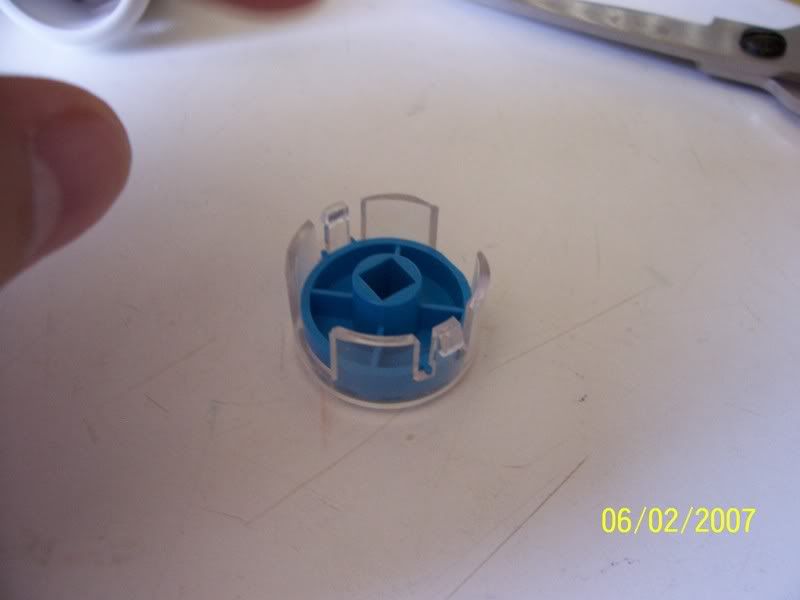
  1. Now take the button and pop off the top by taking a screw driver and pushing in the small tabs on the 2 sides and then pushing it upward. It should be able to be pulled out now.

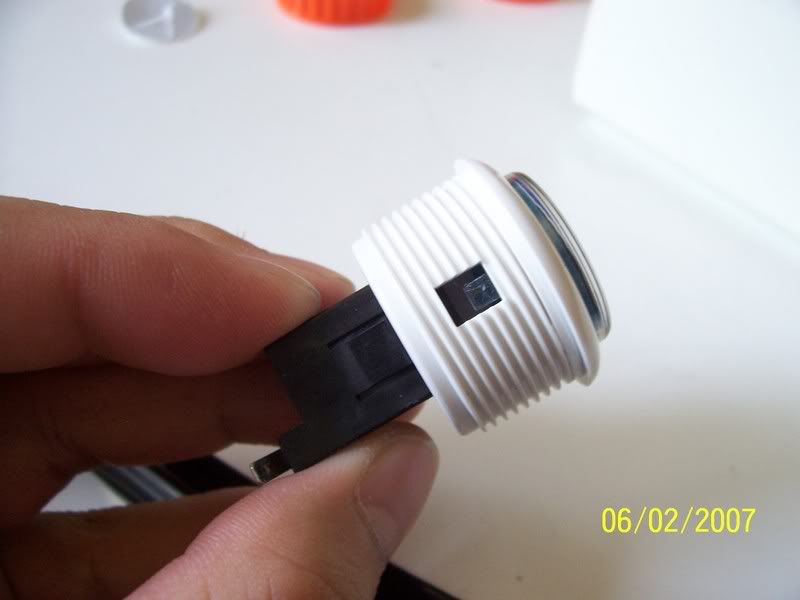
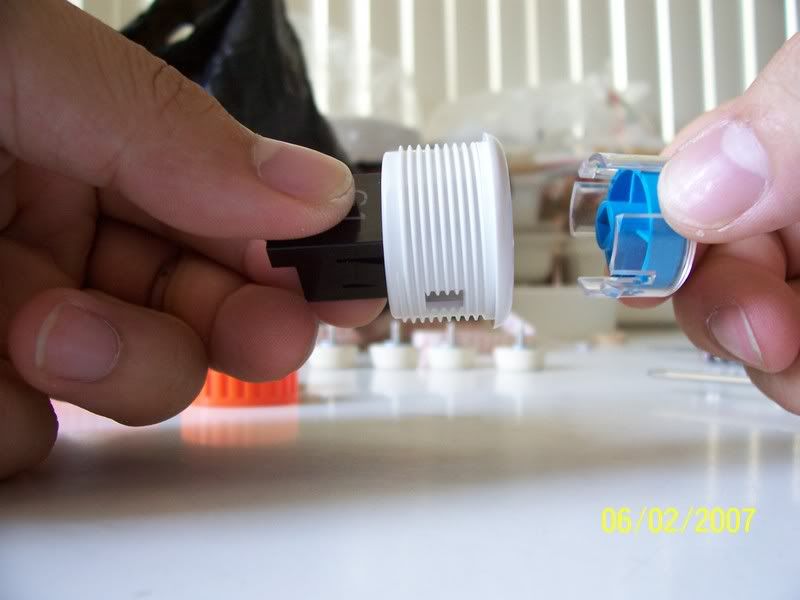
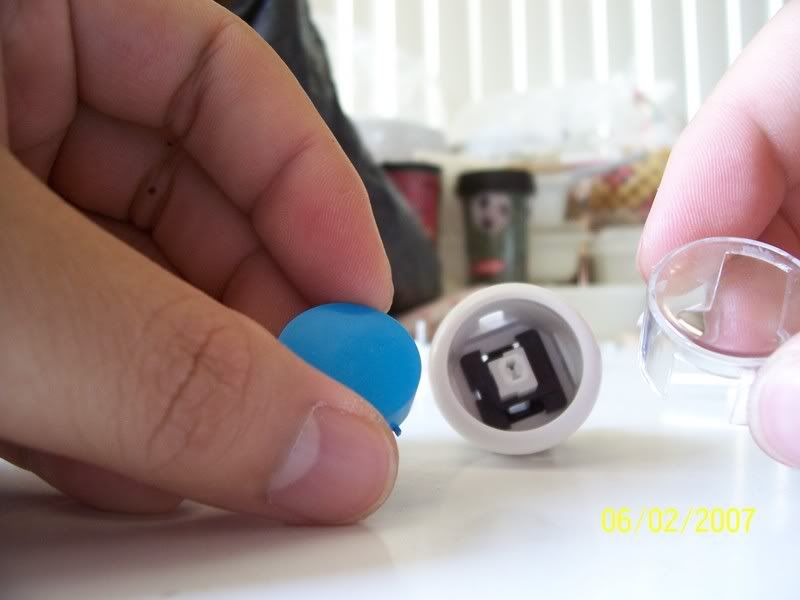
  1. take the colors button inside the clear out out.

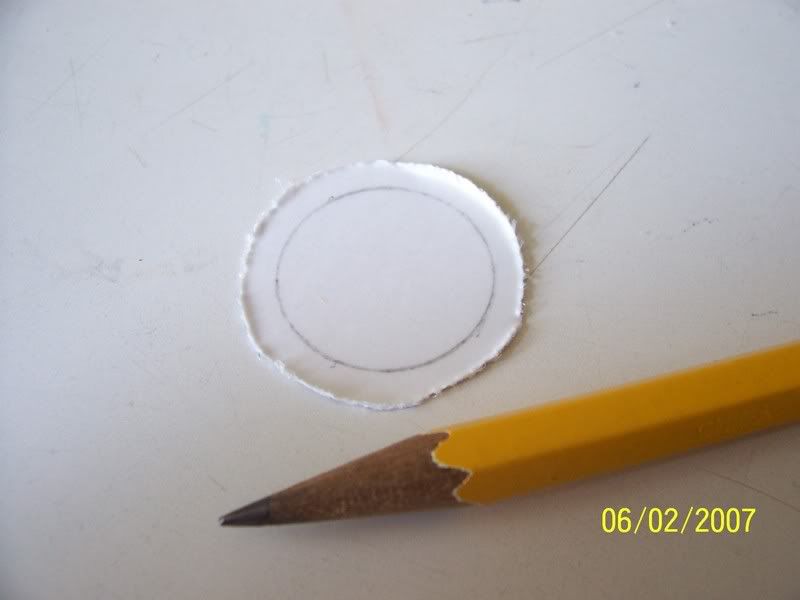
  1. now take the smaller button and try to put center it on the art hole that you have cut out from the top art. Take a pencil and trace a circle on the back. When you cut it out try and cut along the inside of the circle to it will fit better inside the button.

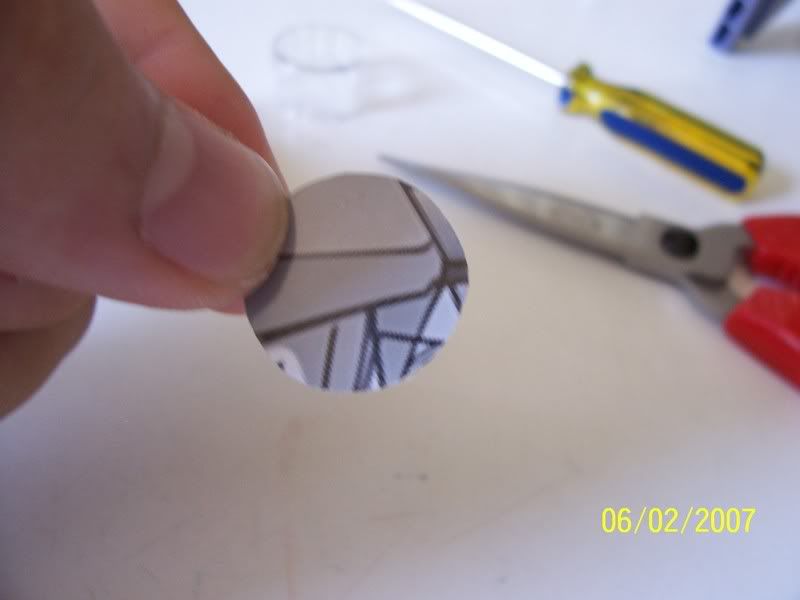
  1. Now take the image and put it inside the clear top. You might need to take your fingernail and slowly push in the perimeter in case its not an exact fit.

  1. Now put the smaller button back inside the bigger clear top and snap it back into the button and you are done! If you want to you can use some sort of glue stick and put some in the smaller button to prevent the art from moving around inside from all the hardcore playing :slight_smile: (Thanks to RoBoBOBR for this suggestion).

I am not saying this is the only way to do it. This is what I have tried and seemed to work. Also I’m not taking the credit for putting art under the buttons as I’ve seen it on a lot of previously made sticks and I liked how it looked, so decided to try it myself. Also i apologize in advance of the grammar is shitty. English isn’t exactly my best subject.

great tutorial urth. i just did this this morning at like 2 am for the first time ever. granted, my methods were a little different on how to cut the art and inserting. didnt think about using a pencil and tracing a circle.

good job. :smile:

Very informative. I’m not sure why you’re worried about your grammar; it’s fine. Anyway, I’ll have to try this out one day. Looks cool!

Very nice!

To cut perfectly round pieces of paper you would need a tool like this:

http://img75.imageshack.us/img75/8576/tagliacerchivw7je9.jpg

if you’re concerned about the mark left by the point (hardly noticeable anyway) put a small piece of plastic unter the point.

very nice tutorial, if i can make a quick suggestion…a finished product pic would be good. I’ve seen it before but something to look at while scrolling up to check out before stuff would help. Also, is it hard lining up the button/picture when mounting it? What are your tips for that?

Thanks

whoa great tutorial :tup:

im putting this in the Essential thread :lovin:

This will help people I am sure :). Nice work.

This is awesome, now I don’t have to ask stupid question about the “artwork-trick”. Thanks urth.

wow, very nice. now i can put any artwork i want without having to worry about the buttons being in the way.

If I could rep you, I would, but I’m so repping this thread. Nice!

repped

Very very good guide, thanks for your help!!

good job! :tup:

Someone put this in the Essential Joystick thread!

thats cool…
never thought it was that easy…
sticky this so ppl dont ask about it all the time if it gets lost…

I should add that it’s better to glue art to inner plunger thingie. That will prevent art rotation(and believe me, these art pieces can rotate). No need to use some heavy-duty glue, regular glue for paper will do the work just fine.

Quick question,

How easy would it be to replace the pictures and such? Obviously if you glue it it’s goin to be tough but if we didn’t… More specifically, how easy is it to take out those buttons from the board for the sake of replacing the images?

depends how tight you cut the image, but a good butter knife can take the images right out of the buttons. If u use a little glue its actually even easier to take out because the image with be stuck on the smaller inside button and that comes out very easily as you can see in the pictures (the blue button).

What model buttons are these? The PS-14-GN buttons at LizardLick dont seem to have clear tops…