Control Panel Rebuild - JLF routing questions/thoughts

So I’ve been using the search button (which thankfully chose to work this morning!), and I’m thinking that I need to hunt down a pattern flush trim bit (third one down at this link):

http://www.mlcswoodworking.com/shopsite_sc/store/html/smarthtml/pages/bt_flush.html

I have a Rockler store here locally, so I might pay them a visit.

So anyway, here’s the workpiece - a 5/8" piece of MDF or plywood (haven’t decided), and a 1/8" piece of plexi. 4 Sanwa JLF sticks, 24 OSBN 30 screw-in buttons, and 4 Happ Ultimate pushbuttons (player 1-4 start).

Oddly, my goal is to get the dust washer underneath rather than on top of the control panel. Rare these days, I know…

So Timoe did this nice tutorial on making a jig, then proceeded to never show off his Sanwa jig:

http://forum.arcadecontrols.com/index.php?topic=51235.0

I guess what I’m asking is that if I can get away with top-mounting the JLF plate, have the dust washer underneath, and still have the thing looking good, what’s the best way to go about it? I have the center-point marked on my overlay, so I was figuring that I’d take my “spare” overlay that the printers damaged (see my other thread), sandwich it between the 5/8" wood, and 1/8" plexi, clamp it, and drill all of my pilot holes. or, drill just the holes for the stainless bolts that will hold the two together long-term, then bolt them together, THEN drill all of my pilot holes. either way. So that gives me a marking point for everything on both plexi and wood.

Do I then follow the tutorial once I have a JLF show up to make a jig, and somehow do the square-inside-a-rectangle cut, and come back with a router bit to carve out where the mounting plate will set?

Throw me a bone here guys - I really screwed this up last time, and I want to get it right this time through. I want to get the stick depths perfect, and if I’m going to make a JFL jig I want that to be perfect so I can re-use on the 3 sticks I’m in progress building (oops, did I say that?)

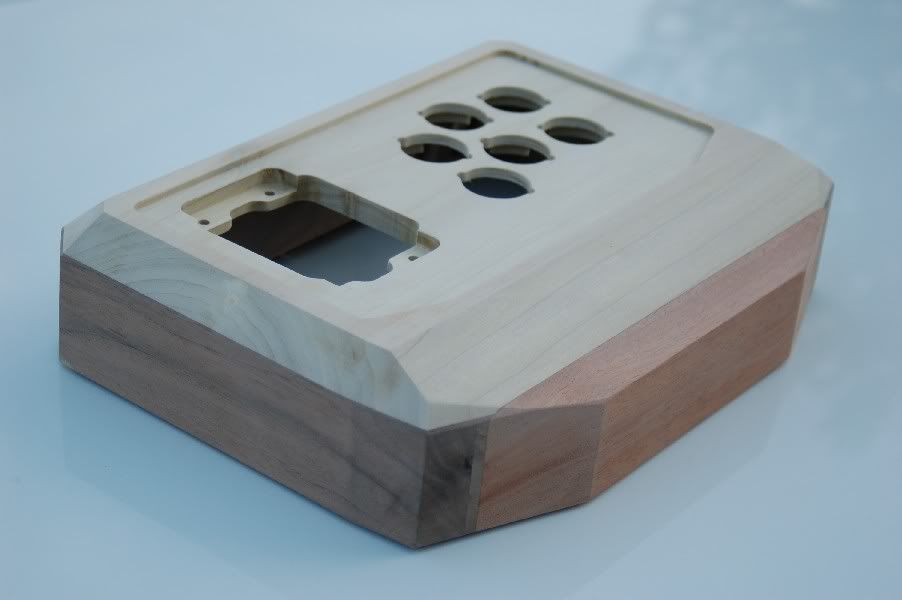
Essentially, I want 4 joystick holes that either look like this, or the appropriate bottom-mount matching design:
Not really sure what you mean but this how I do my panels. I mark on the MDF where I want the holes to go. Center punch and drill a pilot hole so I can use a holesaw to drill out the 24mm and 30mm holes. Then I tape down the acrylic piece with double sided carpet tape and use a 3/4" spade bit to rough out the holes. Then use the flush trim bit to route out the holes so they are nice and even with the MDF holes. You can run the flush trim bit along the outer edge to even that out too.

I do it this way because MDF is a little more forgiving to my sloppy woodworking skill. And I have never cracked the acrylic piece doing it this way. If I try to drill both the acrylic and MDF at the same time, I have cracked many a pieces.

Not sure if this is what you are looking for though, maybe Tim can help you out.

No, I’m referring to where the JLF joystick sits in the wood. I can do buttons all day long. :slight_smile:

Oh, and I’ve meant to do this about your avatar for awhile now:

http://neatorama.cachefly.net/images/2008-03/big-butter-jesus-statue.jpg

Big Butter Jesus

bump…

Have you tried pming him about it? That I know of he is the only one that attempted to put the dust washer under the CP. Only question that I would have about it is by having the dust washer under the cp will it over time go ahead and damage the art?

I’m pretty sure he puts it beneath the art AND beneath the wood.

http://forum.arcadecontrols.com/index.php?topic=66008.msg882424#msg882424

I might have this worked out in my head, but the one piece of information I can’t find anywhere all of a sudden is what the length of the shaft protruding from the top of the plexi should be. I know I’ve seen it all over the place, but now that I’m looking for it, I can’t find it!

I got a pattern flush trim bit from Rockler this afternoon. I think the order of operations is this:

  1. Make the pattern. Cut up a bunch of short pieces of 1/2" mdf or plywood and carpet-tape it around the stick and mounting plate so that it creates a snug fit.

  2. Remove the stick. Drill starting holes for the jig saw to cut most of the stuff out of the middle.

  3. Cut most of the material out of the middle.

  4. Use the pattern bit to clean out the hole. That gives me my pattern to use for the sticks.

To use that pattern I’d then drill a pilot hole dead center through both plexi and wood. From the bottom, attach my pattern. Taking whatever the mounting depth should be, subtract from that 1/8" (thickness of the plexi), and set the router to route out that depth. Use a forstner bit to get things started a bit, and then run the pattern bit in the hole - probably using a bushing to allow me to fully clean out the hole. Once done, use that pilot hole to drill out a 24mm hole, and do the same on the plexi.

I think?

Nevermind, I found it:

So I need to measure shaft length minus threads and go from there.

Not so confused now, thanks to Zombie CPT:

The closest I can come in imperial measurements to the 23mm or 24mm threshold is 15/16", which is 23.8125 mm. My plexi is 1/8", or more easily read, 2/16".

15/16 + 2/16 == 17/16, or 1 1/16". That comes out to 1.0625". The length of the shaft, 1.28, minus 1.06, leaves us with .22 inches of wood. So we can either go with 1/4 inch, .25, which would leave us with .03 inches (0.762mm) added to the exposed shaft putting us over at 24.57mm, or, go with 3/16 inch, .1875 of wood which would subtract .0325 inches (0.8255mm) from the exposed shaft, putting us at 22.99mm, under by some ludicrously small margin.

So yeah, 5/8 inch piece of wood, or for the sake of easier math, 10/16, we want to route out 7/16" leaving 3/16".

I have read this thread several times and still have no idea what you are asking.

Are you asking:

  1. How deep you should router out the top panel so that your JLF mounting plate rest flush with the rest of the panel?

  2. Or do you want to know how much deeper after question one you must go so that the mounting plate plus dust cover lays flush with the top panel? That way when you place your art and plexi everything is flush and level?

Final question. Is it for a panel that will rest on top of a box, or a panel that will res IN a box? If its the first one, you dont need to do all the depth layering you have shown in that first picture. All you need to do is router out the depth of JLF mounting plate and cut out a square hole. If its the second one, depth you need for the plate will be (thickness of your mounting plate + thickness of your plexi + thickness of dust cover (I believe this is neglible). Everthing else will just have to routered to the depth of your plexi.

I dont know if I helped or not, but I hope it works out for you. It would help if you could draw a picture of what you want the end result to be.

Dude you do suck at math, j/k. 1 1/16" is 1.0625", not 1.4 whatever.

And I only worship zombie jesus, not this butter jesus you speak of.

I’ll change it to a picture question then. I want to do this:

If that’s possible. I’m using 5/8" mdf and 1/8" plexi. The last post or two I made was talking out how to accomplish that. I guess, yes, how deep from the bottom->up do I need to route. How much wood needs to be left. Thanks for the help on the math there Zombie.

[media=youtube]Gq01UYiMyHg[/media]

I went ahead and corrected my math above.