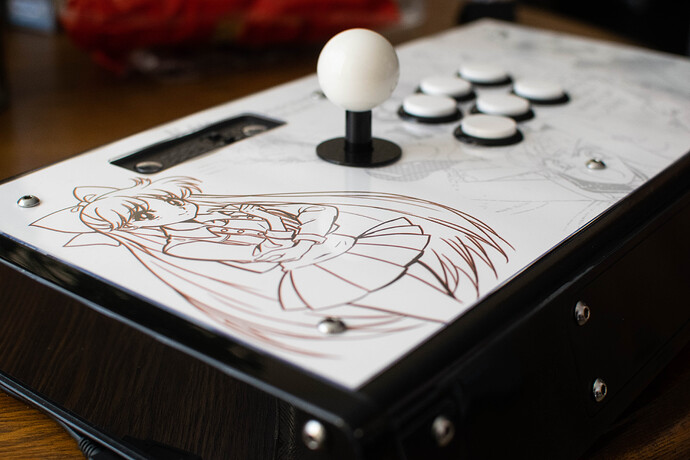
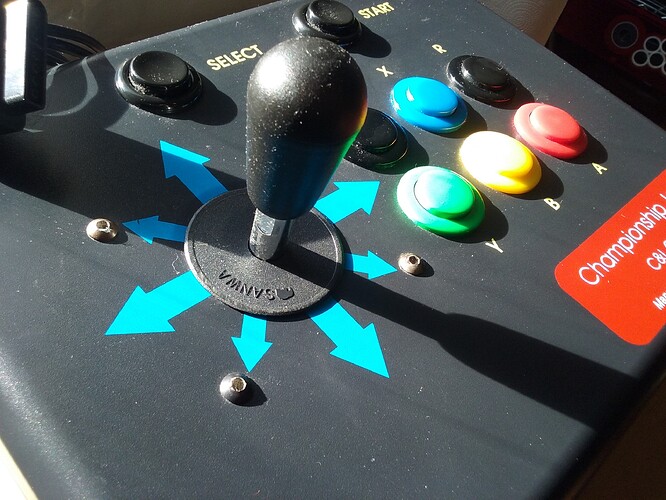
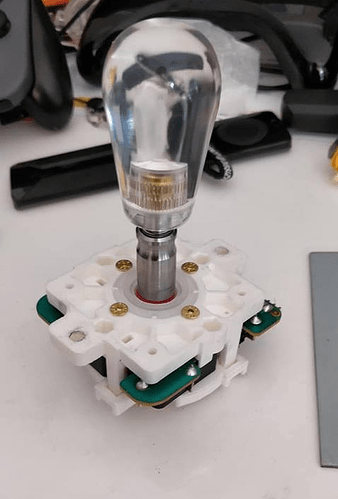
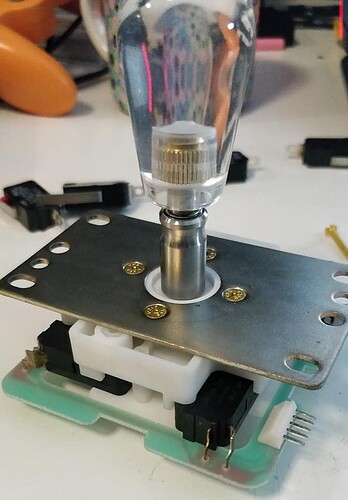
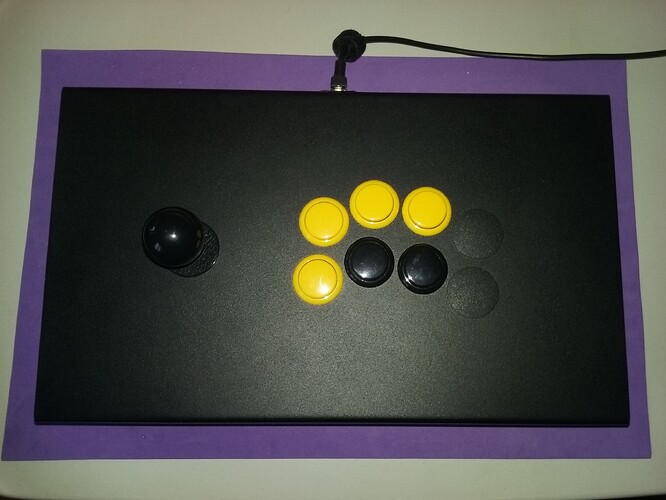
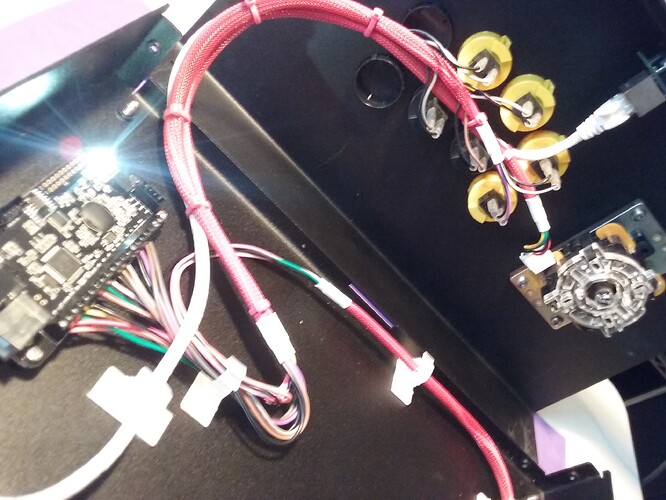
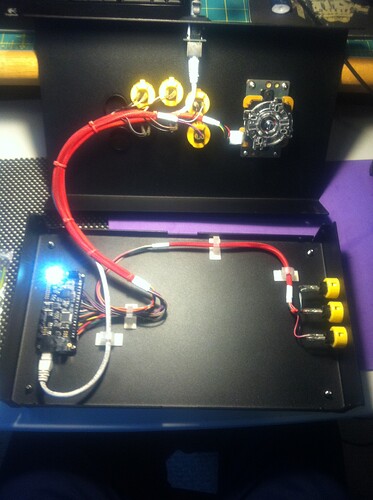
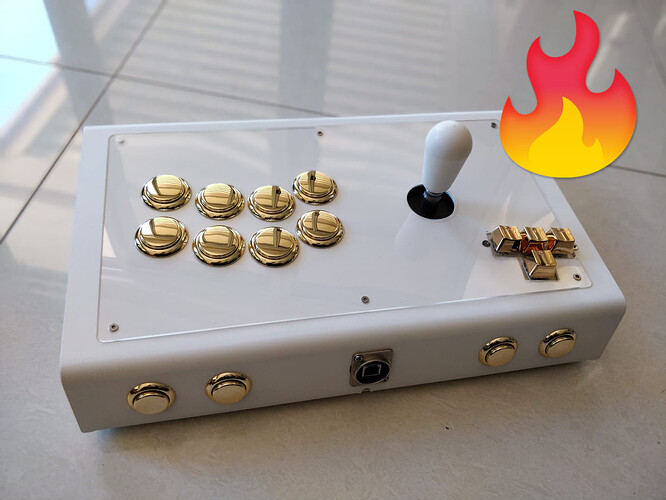
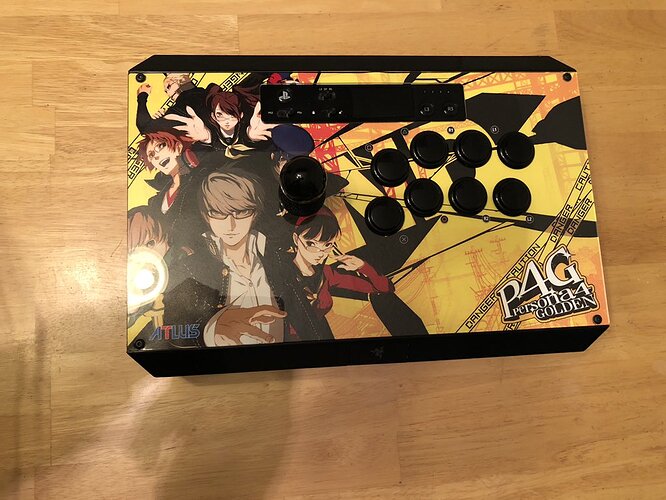
He must have a long shaft…
It just looks like a “nubbin” to me… that’s why I asked. Maybe it’s just a long plastic bat top but the actual shaft is the same length it would be if it was only a balltop, and it’s hidden by the top?
I was joking but it was a miss…
Don’t loose sleep over this, it’s just the Batball design that covers the shaft a little.
FightStick Friday
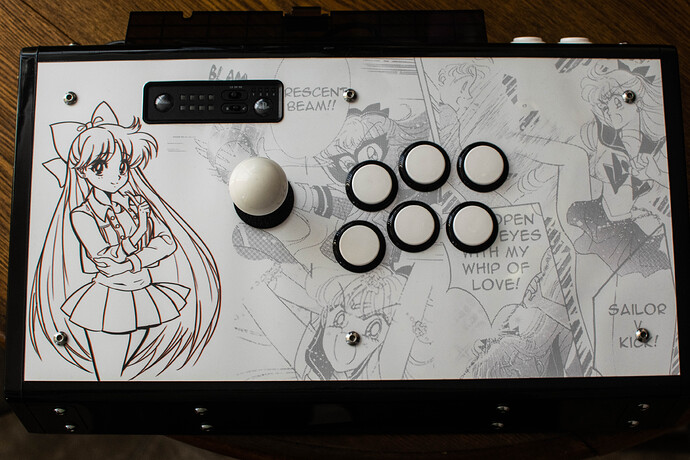
Alternative Venus Mask. It was something temp I needed for a 6 button layout. lmao.
Madcatz VS Stick Modded with Hori Commando Pro 4.
6 PAS MX Sanwa Switches. JLF might replace spring.
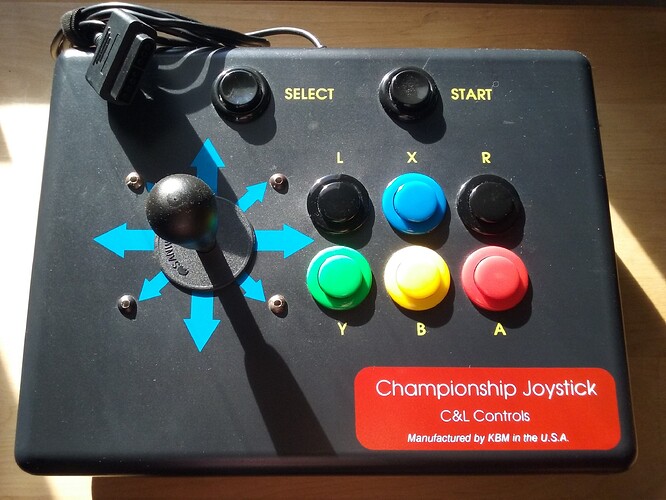
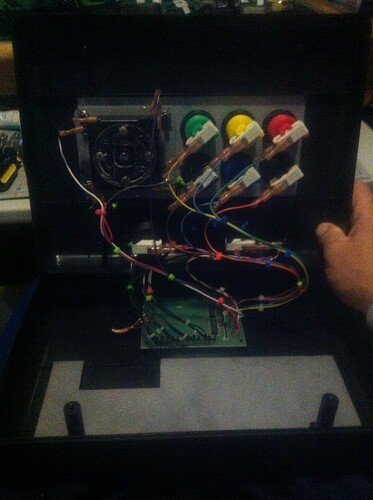
One of my old sticks that I left behind as time went by, figured it was time for a revival…a humble crossover mod if you will, nothing especial but it fills a nostalgic void just right!
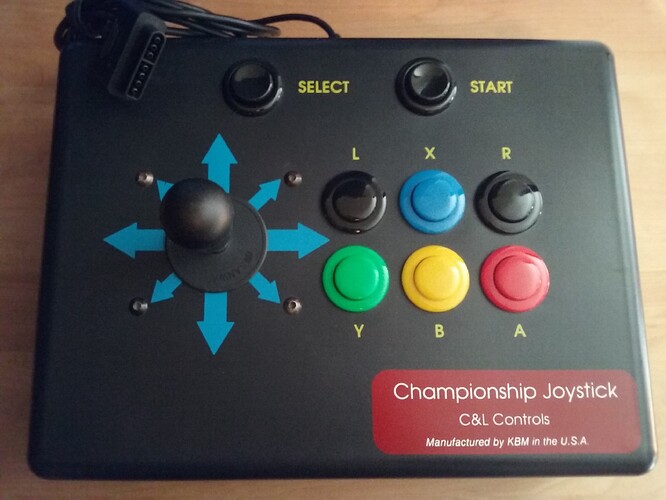
SNES C&L Controls Championship Joystick (Made in the U.S.A.)
Sanwa JLW Black Battop with Happ/IL Competition Buttons (SFC Colors).
The sun is a harsh judge, it looks dirty and dull but I assure you it isn’t.
Love this parts combo, back when all I knew was American parts, the JLW was my introduction to Sanwa, specifically this particular JLW with the thicker metal shaft.
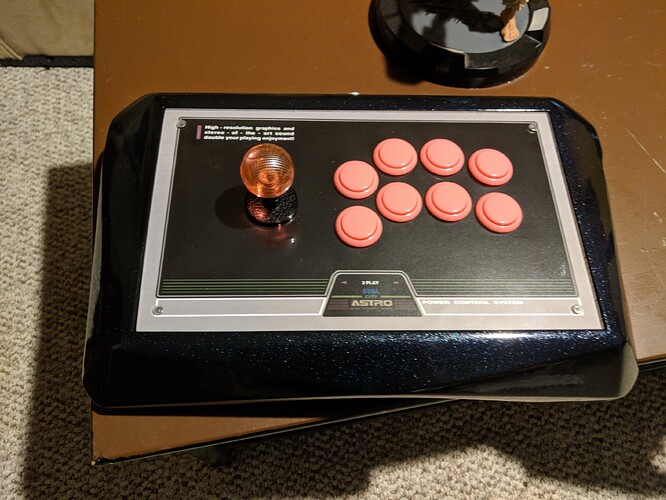
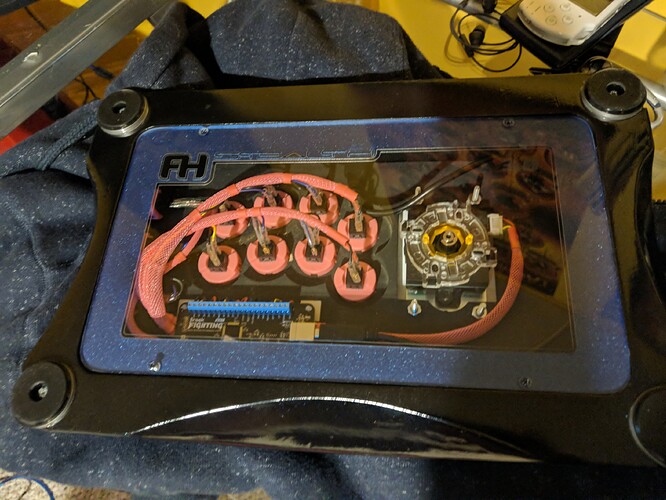
Took the Brook UFB and JLF out of my old stick, put them into a Foe Hammer Stealth and switched the buttons and balltop. Using a GamerFinger optical pcb, a 4lb spring and a Link shaft with the JLF. Decided to go with an Astro City theme while I wait for a friend to make me some SFV Sakura themed artwork.
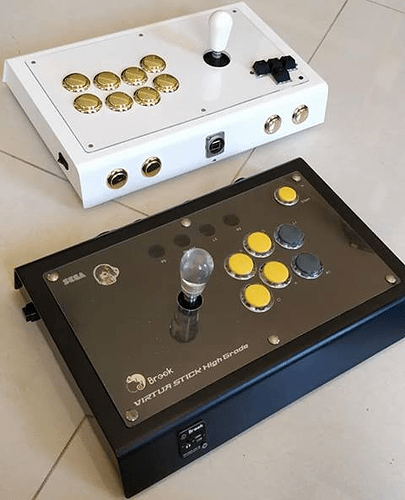
Always been a huge fan of the VSHG. Etokki seems like such a natural progression for me.
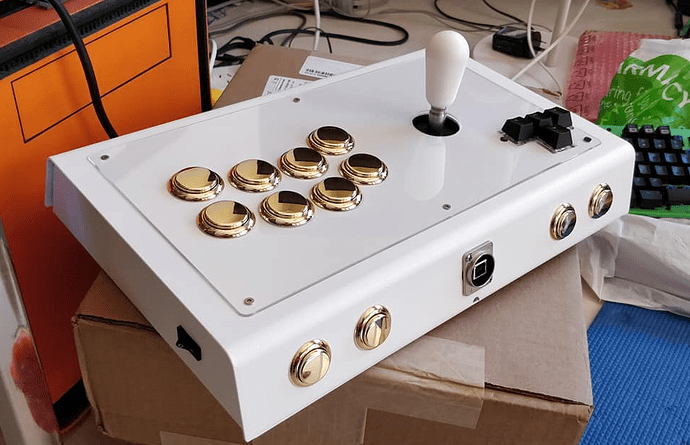
Picked up an Omni for cheap and decided to bootleg a white omni. Added my own little rendition of mixbox to it and then decked it out with a custom chaiwanese lever (Ottodiy V2+).
VSHG is modded with a different Ottodiy V5.
White Omni looks heavenly. I can’t agree with your approach on the VSHG and the mix buttons on the Omni but I can recognize good work when I see it, well done!
I recently made a Retropie box for my nieces and nephews, and gave them my old Madcatz TE stick to go along with it. They loved it so much, I also then gave them my older custom stick so they could mash around in old games together without having to fight over “who gets the cool controller”. It was a decent stick, just simple with the guts from a 360 controller to power it. This gave me an excuse to build a brand new stick for myself.
Just finished it the other day! This is a Jasens Customs Panzer 3i enclosure, Brook UFB PCB, Kaimana Mini LED setup, with a Sanwa JLF and Seimitsu buttons.
Looks great! Any inside pics, I’d love to see the kaimana mini setup!
The LED’s are mostly hidden. Jasens enclosures include an easy build board that you plug many of the custom connectors into. Normally the build board is quite close to the base of the buttons, which wouldn’t leave enough room for the LED modules. I built some spacers to go on top of the mounting posts, to give an extra 10mm or so, just enough to fit the LED modules underneath with the connectors on them. So consequently the build board hides most of the work underneath.
I’ll be honest, those EZ boards are a turn off for me. I have a Panzer OG, wouldn’t update due to those PCBs, I’m not fond of the confinement. Here’s my Panzer, nothing fancy.
Pardon the bad quality pics, one day I’ll get a decent camera.
Swapped the PS360+ for a Retro Board, one of these days I’ll stack a UFB on top of it. I just like it that I have lots more room but I wouldn’t mind having a plexi, I guess I can still add it, maybe one day.
Recently I’ve been wanting to use a longer stick since I love me my man spreading. The VS is the longest stick I own, only issue is that it was only a case, so rummaging around my arcade parts box, I call this the spare parts build.
I do have some 24 mm buttons, but it seemed like a pain to put in and eventually take out so I just made the start and back buttons the LT and LB buttons. I just took the cap off so I don’t accidentally press them. Didn’t bother to connect the control panel to the pcb
Parts:
- Sanwa JLF with 2lb spring
- Gunmetal Balltop
- 6x Seimitsu PS-14-G buttons
- 2x Sanwa Gunmetal buttons
- Zero Delay PS3/PC board
Everything works perfectly fine, although I would probably rewire the buttons. So the A button is actually the A button etc. I really like how the gunmetal parts look on this stick, so maybe you’ll be seeing a change in the future.
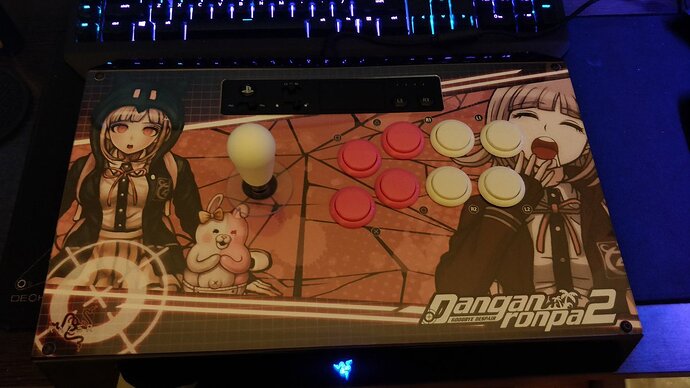
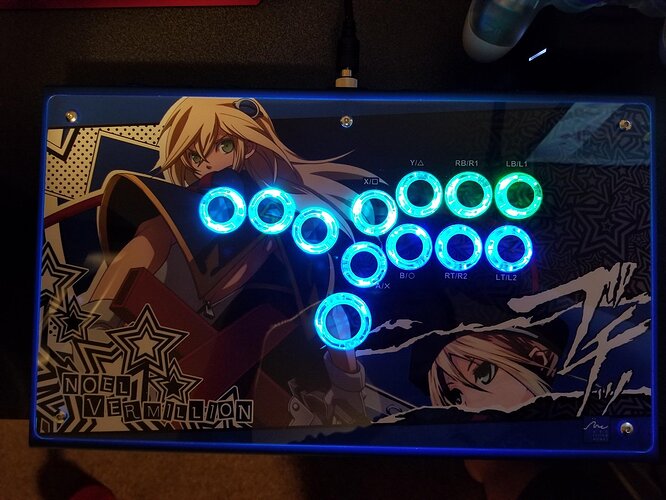
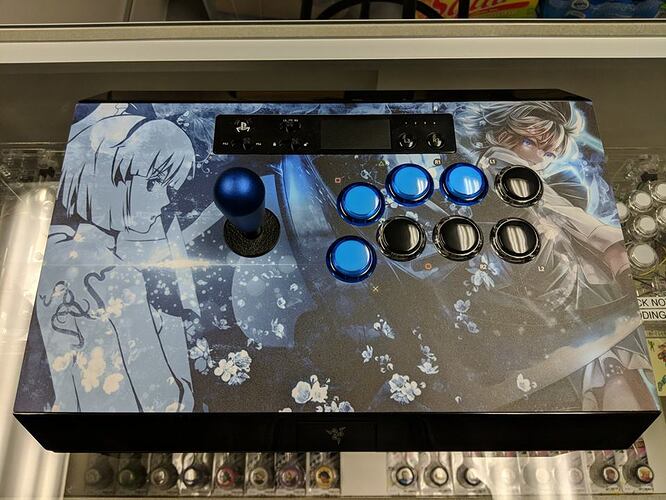
Been awhile since I’ve shown something here. with that in mind, A few pics that were sent to me by previous clients showcasing their mods with artwork I’ve done for them.
Idk why but I love that DR2 Panthera sooooooooooo much.
Sometime minimalism is best. I looks nice a clean 
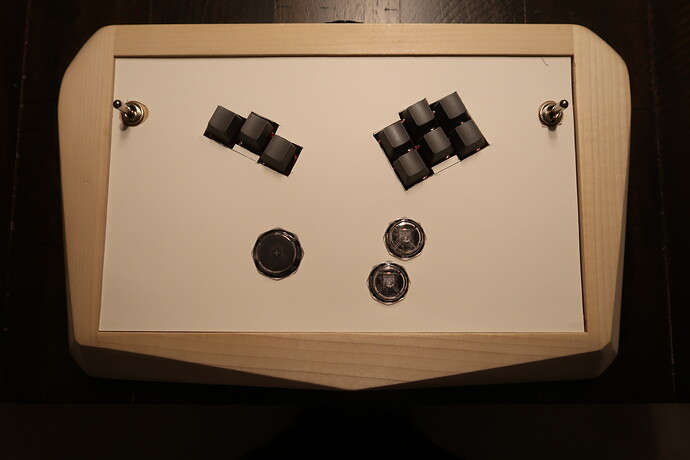
My custom fight stick, I will dub “the ErgoBox”. (after the keyboard layout that inspired me, the Ergodox EZ)
Case: I purchased from Foehammer. It is the Stealth DIY model. I just love the shape and lines, and I love that it is made from wood.
PCBs: Main PCB is the Brook PS4. I have a Gummods SOCD cleaner soldered to it as well.
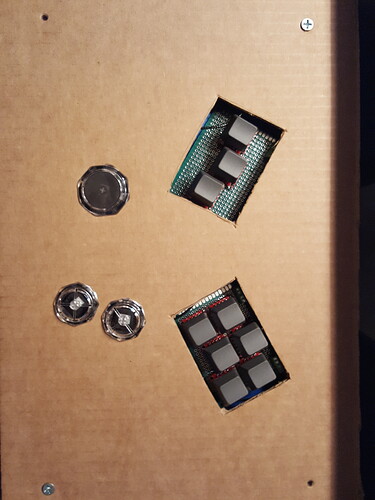
Key switches/buttons: The keys witches used are kailh speeds linear. They actuate at just 1.1 mm and with just 40 grams of force! They are soldered into Sparkfun’s cherry MX breakouts, which are then soldered into a 5x7cm dual side prototype PCB in the layout I wanted. I ran wires along the back side to ground all switches together for simplicity. The layout is offset 5mm to match the Ergodox EZ keyboard’s keyspacing. For the buttons I used Gamerfinger’s G3’s because they allow the use of mechanical key switches in the 30 and 24mm button housings, witch I swapped out to match the kailh speeds.
Philosophy: I used traditional fightsticks at first, then I went to hitbox. Loved the idea, but I ran into two things I disliked. The first is the ulnar deviation of my wrist to rest my hands on all keys. This is common to traditional keyboard users as well. My wrist would cramp after awhile and it would be uncomfortable. I made a custom hitbox layout turning the button groups like you see above, but though it was improved, it still lead into my second problem. The buttons of the hitbox, while close, still had me stretching my fingers apart to rest over the buttons, not a crazy amount, but enough to introduce stress and stretch. Also, I really don’t like using my pinkie if I don’t have to. I looked at the MixBox, but felt I still have two perfectly good thumbs not in use, AND, if it is optimal to use key switches for directions, why not button inputs as well! I looked at various ergonomic keyboards, and found the ErgoDox EZ and the Kinesis Advantage, which both inspire this idea and layout.
Use: The 9 keys you see are for left, right, and down with the 30mm button for up; and square, triangle, R1, X, O, and R2, with the 2 24 mm buttons for L1 and L2. Use just like the Hitbox, except with the right thumb controlling L1 and L2. I always was a Left thumb jumper anyway, so this offers no downside for me. I can cover all 6 attack buttons with strong fingers, and shortcuts with the thumb such as Block in Mortal Kombat, Dash in Dragonball, or V-trigger/V-Skill in Street Fighter V.
SOCD’s: The toggle switches control the type of SOCD. I have both overriding (left then right=right) and neutral (left then right=neutral). With brook fightboard, you can short the pcb for the override SOCD. a single toggle will work for this, but you have to reconnect your controller each time. That is why I used to SOCD cleaner from Gummods. When I switch there is no short so no loss of connection. I also used Gummods SOCD cleaner because I can short it and have the up plus down be neutral instead of up always overriding down. I personally use the neutral SOCD for games with diagonal inputs/shotos, and the override SOCD for charge characters and NRS type games that just use the 4 cardinal directions. The neutral SOCD allows some cool tricks for instant DP in SFV due to the shortcuts without risk of accidentally neutral jumping in front of your opponent, and with 3D games I feel having up override down makes sidestepping one way less consistent. A side note, due to the wires involved, I had to use 2 toggle switches, one for left/right, one for up/down. Accidental discovery, I can actually have left/right neutral, with up/down override and vice versa! No idea if there is any actual utility in this but it is a thing.
Awesome looking hitbox.
Question. Do keyboard switches have a dedicated ground peg? Or are the like arcade buttons and it doesnt matter as long as one is signal and one is ground?
I’m also interested in seeing your prototype pcb  If you dont want to share it now I understand though lol.
