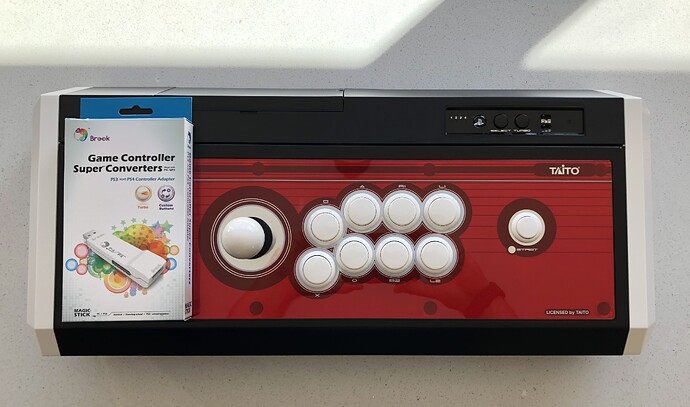
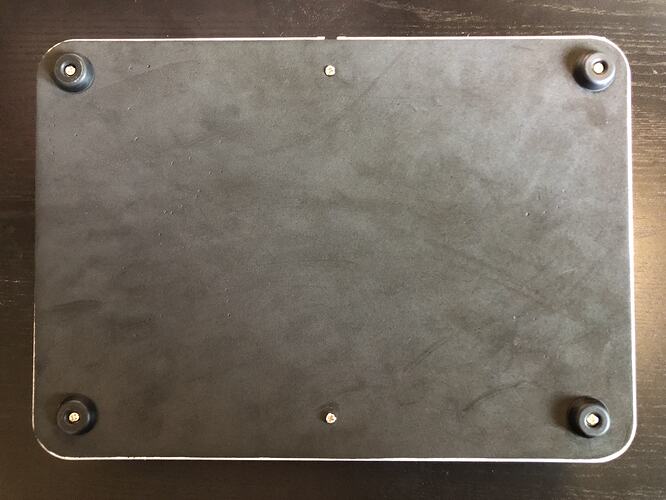
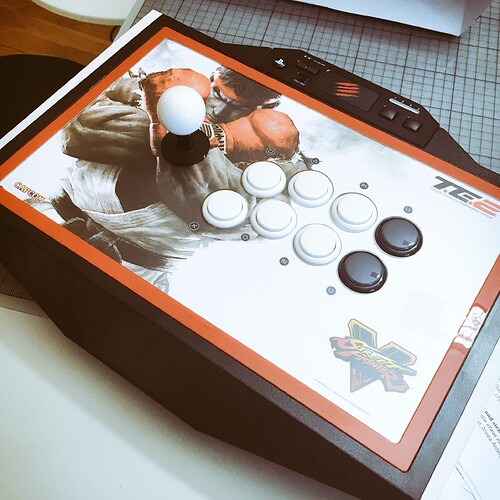
Check Out My New Arcade Stick! (No Image Quoting)

God…I miss that LOL button…

People have:

  1. Varying sizes of hands,
  2. varying preferences on how they physically engage with objects, and
  3. have been using that layout in arcades for DECADES.

People have preferences based on what they consider good and bad. There is no “one true way,” like @Double_Draggin states. …and if there is, it’s highly based (at least in this context) on how well it helps you to win. If that helps @Kmart0141 to wipe the floor with everyone in this thread, it’s ergonomic viability argument is moot.

3 Likes

Og west arcade layout looks weird, but everytime I play on an actual arcade, fingers don’t feel too bad. It’s a pretty comfortable layout tbh.
I loved noir layout, so much that I decided to buy both hori and mc SCV sticks lmao

Honestly that straight american button layout is the only layout I know. Other than the MK 5 button layout.

Then check this out:
http://slagcoin.com/joystick/layout.html

1 Like

I played a little bit of MKX last night with my Razer Atrox. Wasn’t bad at all. Bought the Ps4 edition so I can finally use my MK9 stick again. It was like only $20 for XL, $20 cheaper than the brook converter lol. I’d have to say I could probably do both. The only weird part is the concept of Block. You would probably want to do Top Row: 1 Block 2, Bottom row: 3 Grab 4. Unlike the MK setup with Block being in the middle and grab being on the side. (Oddly enough I just don’t even use the grab button because of the 1 and 3 shortcut)

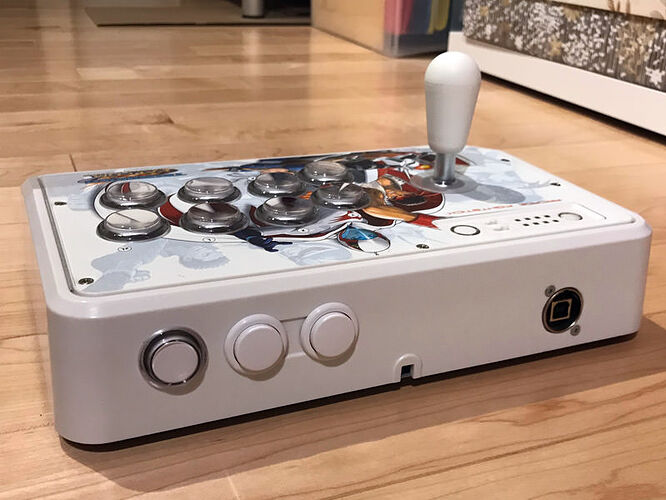
So back in April 2016, I rigged up a Mad Catz TvC stick as my portable stick, as seen in the details here.

Cracked it open this past weekend, and just finished today, to change up a few minor things.

Externally, very little has changed. Still the same TvC artwork with the LS-40-01, white bat-top, and PS-14-KN buttons with recreated TvC art in them.
The only real external update is the addition of one more 24mm hole that houses a PS-14-DNK clear screw-in. The top edge buttons are now (from left to right in the pic): Start (the clear button), Select/Share, and Home. I didn’t have an extra solid white button to fit there (the clear was a spare that I had lying around), but in the end, I kind of like the clear button there to differentiate it from the other two, so I left it.

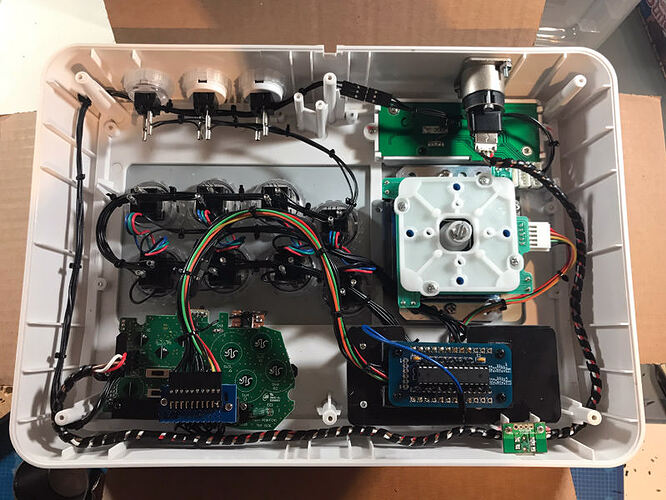
The internals is where I changed things up a bit. Used to look like this. Now it’s like this:

Added in another ABS panel in the lower-right to mount an old GDLK Controls FGW LED controller, and put in all my old ArcEyeII LED units back into the PS-14-KNs. Main 6 buttons glow blue, L1/L2 glow red.

Changed the wiring method: I added in the standard 20-pin header onto my HFC4Pro padhack, and consequently changed the casing’s wiring to terminate into the 20-pin socket. There’s a bit of slack in that cable bunch, just in case I decide to upgrade down the line, say, to a UFB.

One thing that’s not clear in the pic is that, in the bunch of wires into the 20-pin socket, there’s a set of easy-disconnecting pins. That’s because I play with the “outer” 6 on the Vewlix layout (L1 and L2 are all the way on the left for me), but I have a way to easily change it back to the “standard” layout (with L1 and L2 all the way on the right). I don’t really see any purpose of doing this, but meh, it’s there if I ever need it.


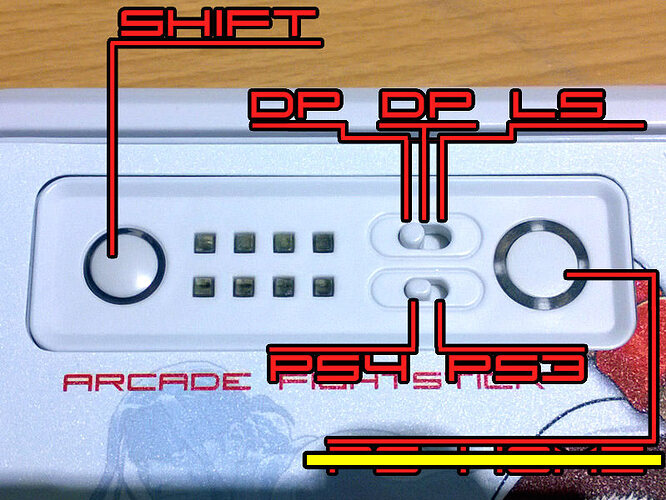
The turbo panel still has the same functionality as before, save for removing the “Home” button (relocated to the top edge); the current home button doesn’t do anything, but that means I have a spare button/switch if I never need it. The sliders still do the same as before (DP/DP/LS, and PS4/PS3), while the left-most “Turbo” button is still the “Shift” button (Shift+L1=L3, Shift+L2=R3).

16 Likes

this is a really clean mod.

I’d really like one of those as a portable stick but I can’t fuck with the layout - I’ve seen one stick that looked like it was modded to Sega, but God knows how. I do not expect my eventual Hori EX2 mods to look this clean, lol.

Most likely a replacement panel.
A few years ago, there were a few modders here who offered replacement SE/TvC/Brawlstick/KE replacement metal panels with whatever layout you wanted, but all of them have since stopped their offerings, unfortunately (“B-Boy Tekken” has stopped offering panels entirely, I believe; while “blklightning21” went MIA and dropped off the forums).

It’s such a shame, cos in a way the SE has a nicer/less needlessly complex shell design than the TE’s creaky and hard to disassemble sandwich of layered plastic.

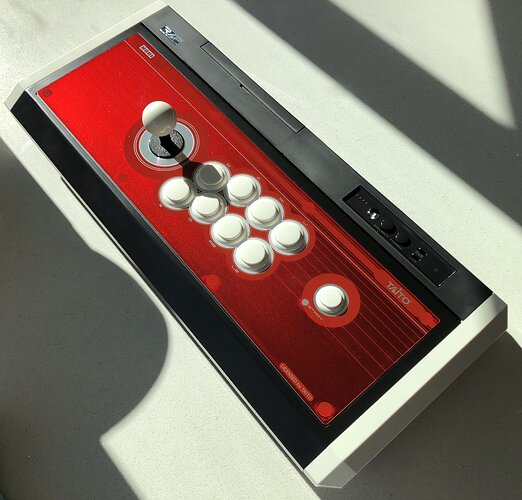
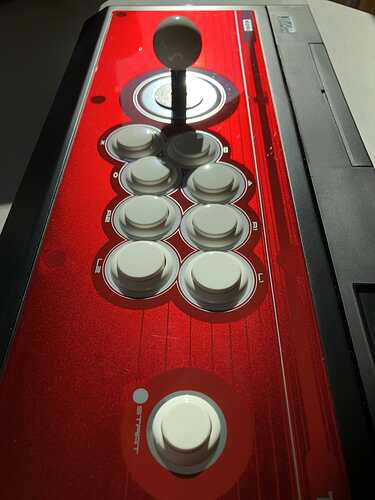
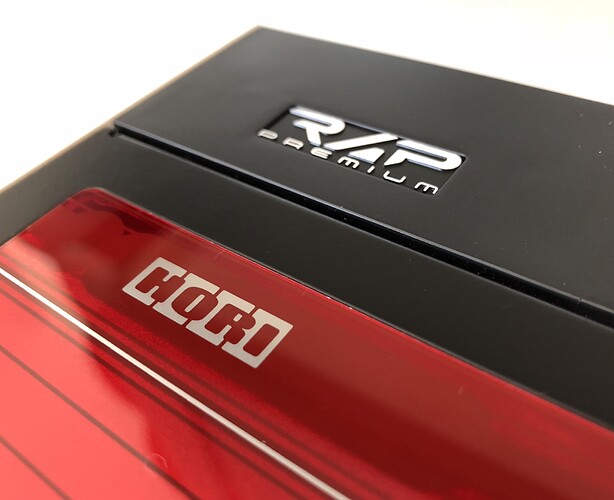
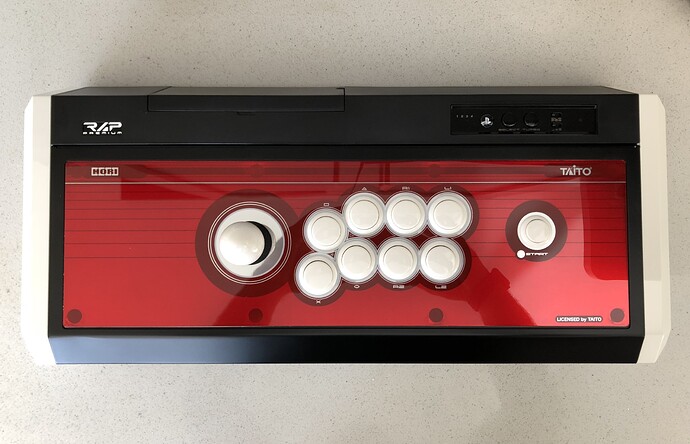
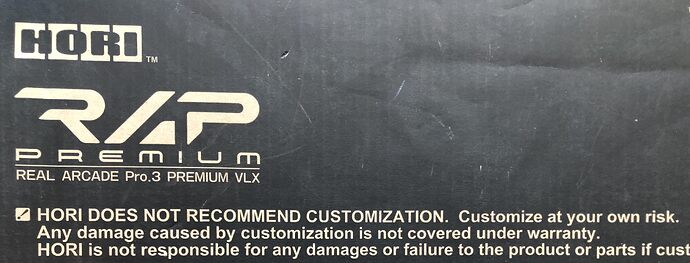
It finally arrived. Pristine condition. 100% stock.

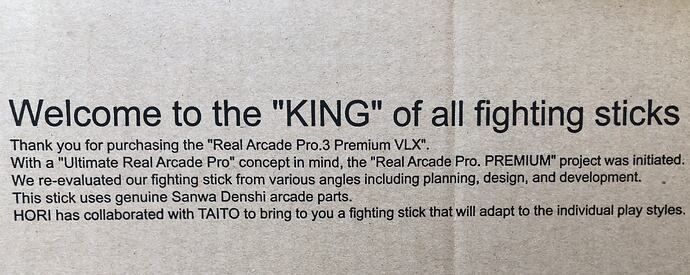
…and for once in my life I’m actually going to heed to warnings on the box:

Thanks for making that easy, Brook! :grin:

9 Likes

have you already tried brook on it?

I agree.
I know the TE and variants are a staple and fan-favorite of the FGC, but I was never a big follower of it (I was given one by my cousin when he stopped using his, but never used it, and eventually modded it and gave it to said cousin’s brother).
The SE/TvC/Brawlstick/KE, though, I loved. Smaller, simpler, and just more portable. And feels super-premium with tact-switches under the turbo panel, 24mm buttons for Start/Select, and a bottom plexi.

@BeWrong Yup. (After a FW update) Brook PS3->PS4 converter works 100%

I was thinking of leaving the Start/Select buttons as is on my son’s SE. however, having now seen your SE, @FreedomGundam, I might give a drill a chance. Did you use a hole saw or Forster bit? What size bit? (As 24mm translates to .94in, and I’d rather not use a full 1” and make the cutout too big)

Still deciding on whether I’m going for another two 24mm holes for a L3/TP/R3 button and 3-way rocker selection switch

1 Like

I actually drew circles with a template, and dremeled it out.
I had tried to use a 24mm hole-saw back in the day on my earlier TvCs, but the positioning is weird (ended up slipping and lightly scratching part of the case when the bit slipped). The dremel ended up being a better choice.
24mm = 15/16" hole saw/forstner. :slight_smile:

1 Like

I seriously wish I could find a replacement top panel for my SE.

I’d also LOVE to replace my bottom panel with clear plexi.

I’ve been meaning to replace my bottom panel with a clear plexi, but I don’t feel comfortable using the 1/16" acrylic or lexan that I have on hand, and I don’t have any stock of 1/8" anything (except for black ABS). I need to stop by my usual plastics supplier for some scraps one of these days.

1 Like

What size thickness is the original top panel for the SE. I was originally going to do a southpaw mod for my friend but found it too bothersome and ended up buying one myself. Now that I’m older and have a way of doing stuff like this it would be an interesting project to make new panels for them. Especially for people who want different layouts. The only thing is I’d have to get a tig welder for the mounting bracket of the stick and those things aren’t cheap or easy to learn. That or rivet the new one in place but it would leave ugly bumps under the artwork.

Bah! Who needs acrylic when you’ve got EVA foam down the street at the local craft shop?

3 Likes

Hello folks. Got the good old TE2+ yesterday. It’s my first stick ever. Pretty cheap here in Germany about 120 €. Want to mod some Brooks/Audio and Led boards in. Maybe I will buy a second one, for my gurl :wink:

2 Likes