Switchcraft does make a patch panel blank. It looks like its a cover place for covering a hole a Switchcraft or Neutrik passthrough device once fitted.
You still have to drill a hole in that blank panel piece. You also have to solder the correct wiring to your audio jack.
Sorry about the pic quality. I used a wireless 360 pad for this, so it’s wireless. The neutrik adapter is for charging the batteries, which I upgraded to higher capacity Duracells. Had to drill a small hole in the front for the connect button(a small button from radio shack). Overall, it came out pretty good, but man is it cramped in there. I used the back half of the controller case to hold the PCB and battery, a play and charge cable, and a terminal block from eBay. No inside shots, but I’m not too happy with my sloppy wiring, so I’m ok with that. It works great though, and the case feels rock solid after over a month of daily use!
If I were to give one criticism, it would be that the vertical supports and bottom/top pieces snapped together too tightly. I had to open it up a few times to fix a few issues, and the bottom ring started to crack where it snaps together. I’m not exaggerating, they were really freaking tight.
Anyway, I’m super happy with it. Having a wireless 360 hitbox clone for home use is exactly what I needed.
i’m not a fan of the hitbox setup (mainly because i’ve never used it) but that peacock stick looks great. the placement of that button on the eightball is perfect.
Oh man the edges on the top layer are sharp. Is there a way I can make them more comfortable? I’m using masking tape right now just so it doesn’t bother me too much. I might resort to wrist bands lol.
@LLeg3nd About the sharp edges, my first though is to rub the edge with something made out of hard plastic or even metal. But I’d do it on the bottom edge first, to make sure it doesn’t look funny.
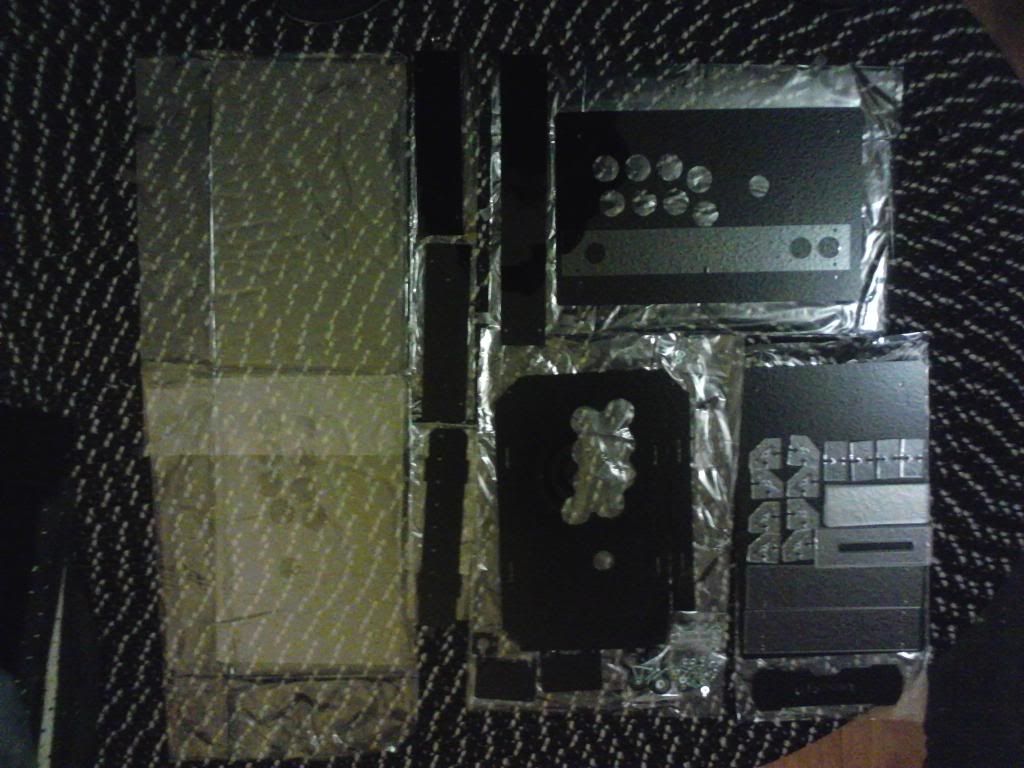
I’ve been wanting one of Art’s TEK cases for over a year have been designing artwork for one since then. I finally bought an all black one (minus the front panel so you can see the name plate) and it arrived earlier this week. After putting it together, it is a high really quality and solid product. Nicely done Art.
All pieces I ordered.
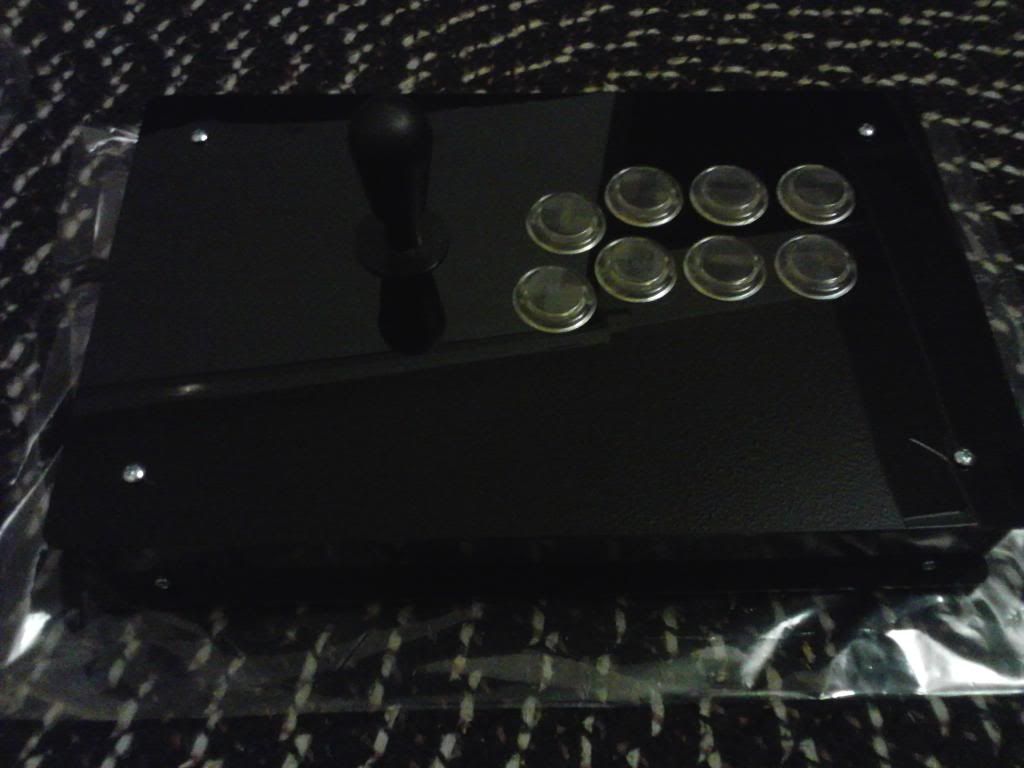
Completed TEK case without any artwork applied and the clear Seimitsu buttons and bat top that I had on my old TE stick.
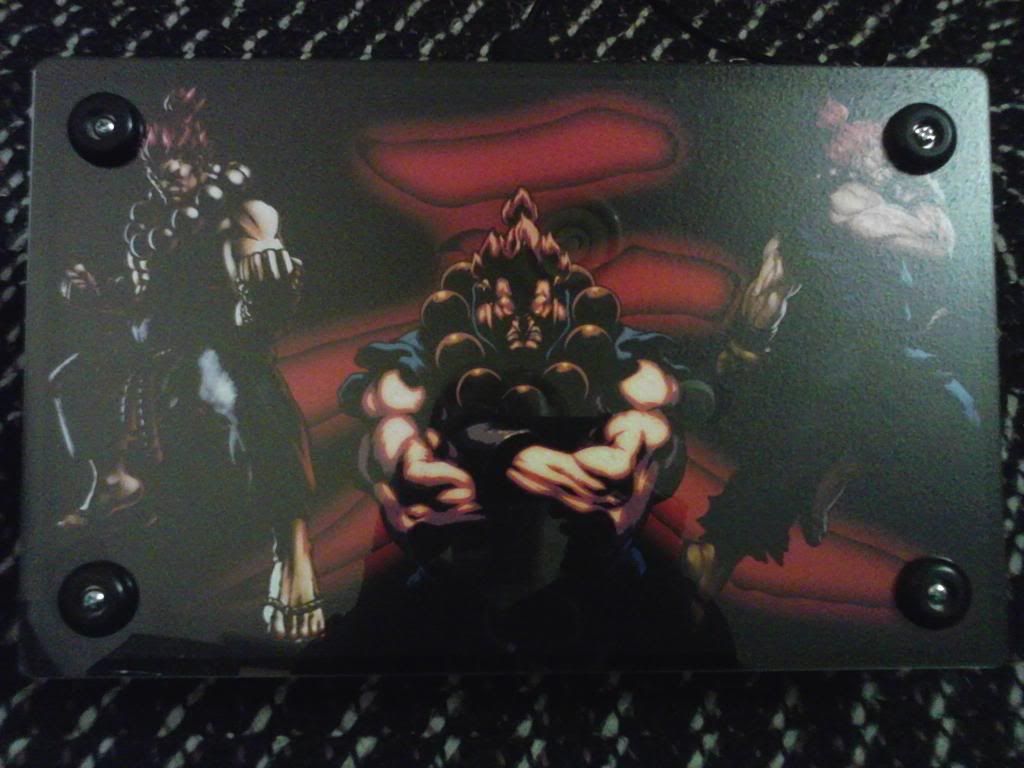
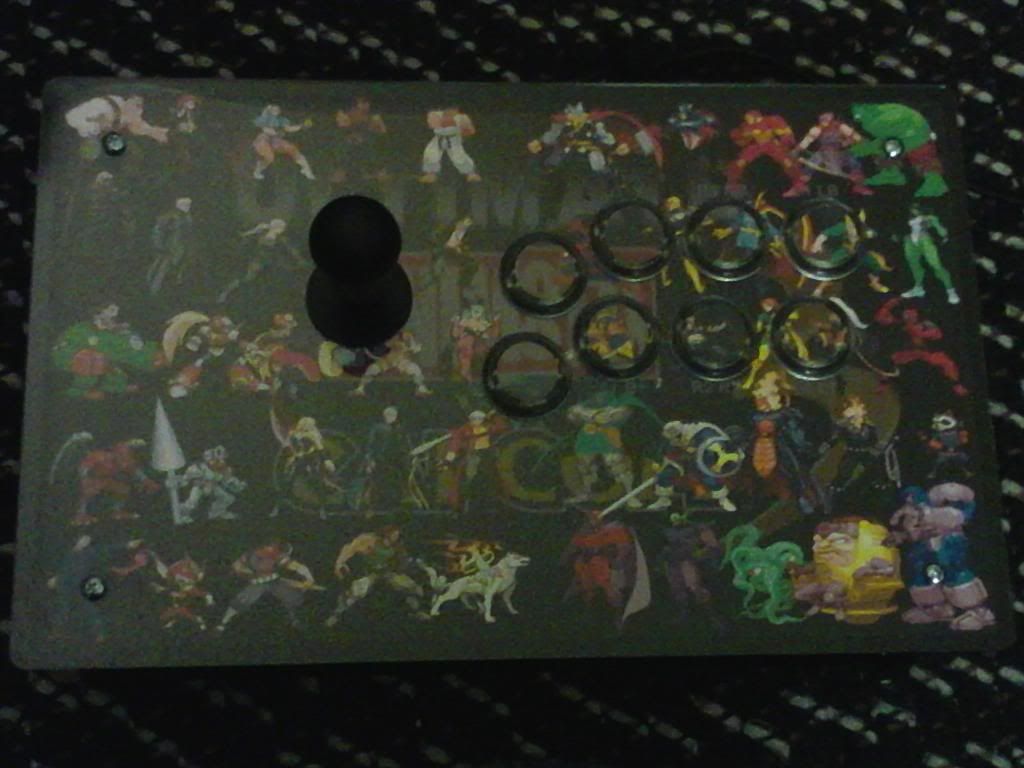
Bottom Panel w/ artwork.
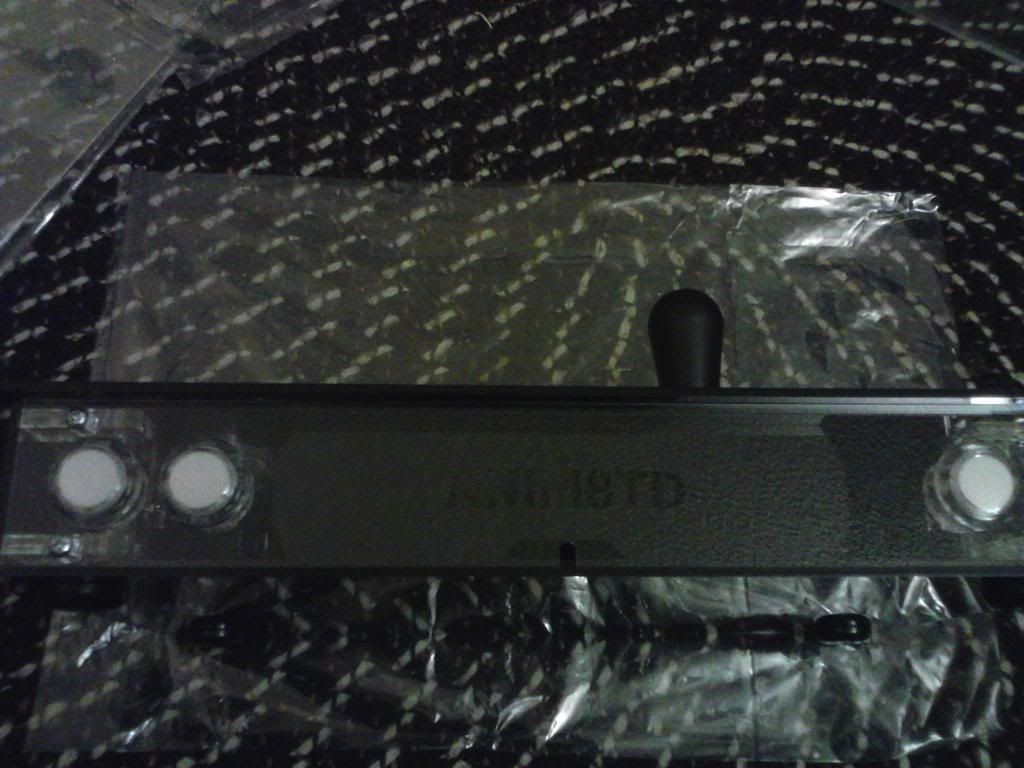
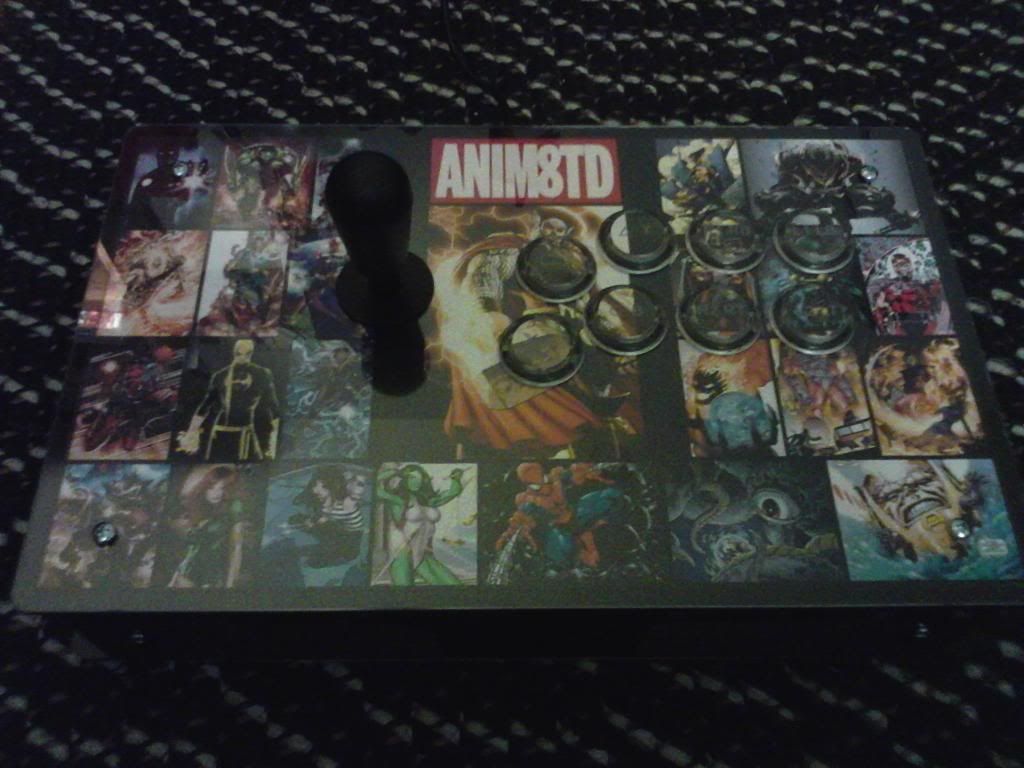
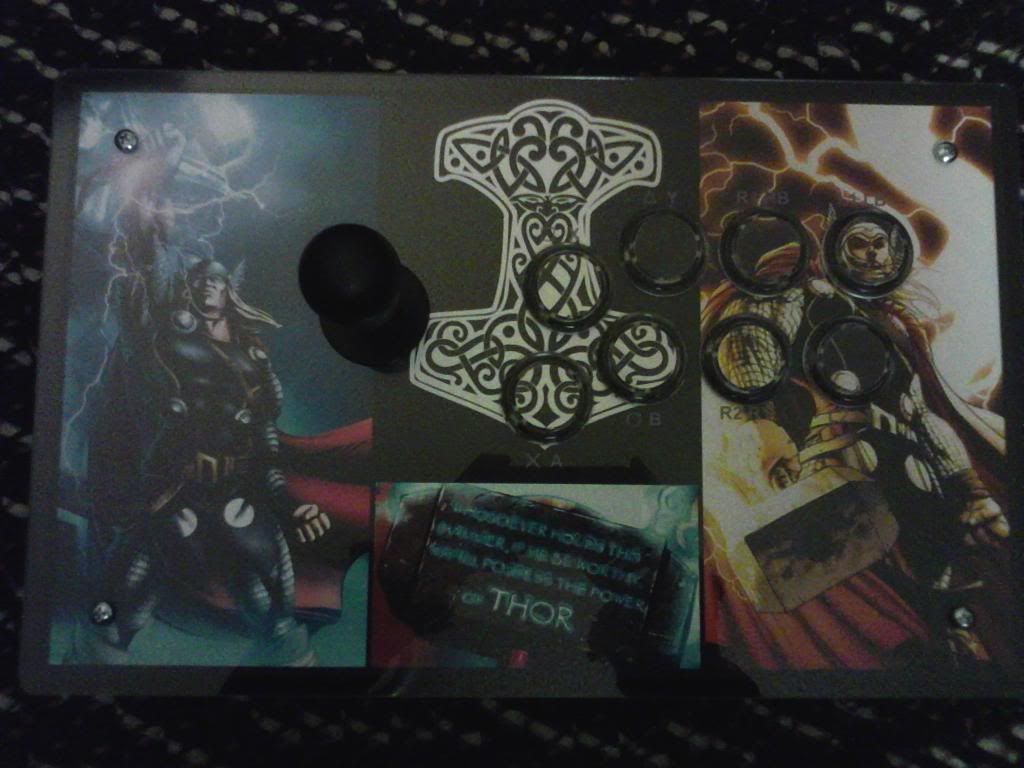
I ordered 3 different pieces of art for the top panel.
Been about 10 months since I built mine, and I’m noticing lots of dust has become trapped between top and bottom pieces. I’m guessing this is because I have pictures in both of them.
I’m probably going to be taking this apart at some point to redo the wiring. Anyone have any tips on how to keep the dust out? I’m thinking I could rub a clear silicone into the crack, but I wanna know if someone else has tried this first. I could use tape too, but I think tape might look pretty trashy unless I’m able to hide it very well.
I like the idea of clear silicon to seal that seam. If I was going to try something like you are talking about, this is what I would do. Should be easy to remove if you ever want to swap art out too. I say go for it. I would be very careful not to push it too far into the seam though. Try to keep it all on the outside. Post up and show us how it looks when you’re done.