wow very clean artwork. where did you get the template/artwork for the second one?
that carbon fiber one looks cools. i’m going to carbon fiber wrap my te case.
wow, that ended up coming out really nice man. red/black color scheme is sick. I got a couple red meshballs w/ no plans in sight, so PM me if you have any trouble finding one and wanna work something out.
Custom art for my SE. I was looking for something simple, like the Viewlix templates I’ve seen, but with my own spin. Came out clean and concise, just like I intended. You can see that with much use and no plexi, the art is starting to wear on the bottom right. Time for some new art then!
And the much more epic Laughing Man art mod for my HRAP 2. I posted this stick before when I had just modded the buttons and balltop. Now it’s a nod to Ghost in the Shell: SAC in case you’re not quite sure of the source material. I also learned that the Laughing Man quote is actually the beginning of a quote from the novel Catcher in the Rye. So the text running along the bottom of the stick finishes the quote. I’ll have to read the book now too 
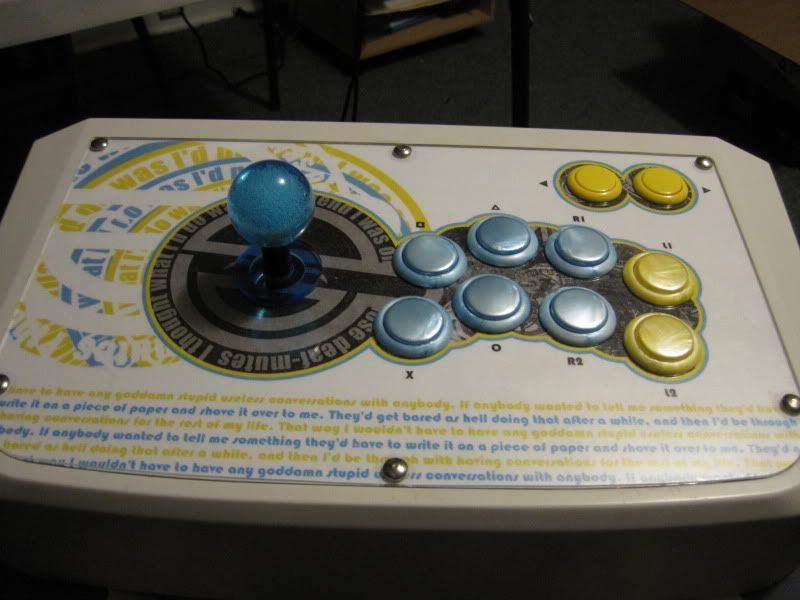
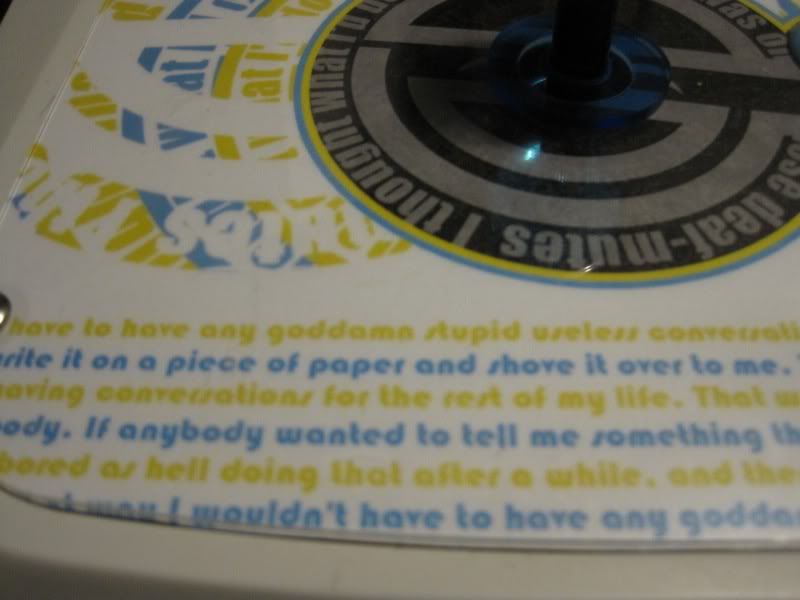


The Laughing Man relief in the above detail shot isn’t perfect, but it came out pretty nice overall. Both sticks’ art attached with FedEx/Kinkos lami-label.Thanks to driph for his excellent SE art mod tutorial for eliminating any small questions I had, and to Jon Van Dalen’s blog for providing an HRAP template and nice walkthrough.

Recent one…
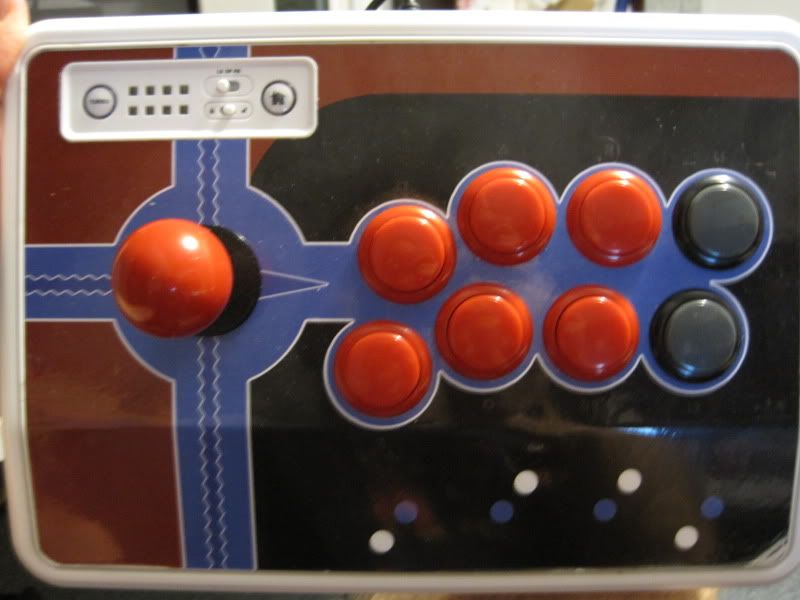
Low Profile BABY.
Woooooooooooow that Megamn stick is stoopid nice! Super clean!
Is that a meshball on the Megaman stick? Very nice
I only wish his elbow didn’t get lost behind the top right button, but that’s a tiny gripe. I :lovin: clean designs.
Here’s mine…
Here’s the beginning… plain with Sanwa
New layout with battop and new buttons
NEW LAYOUT!.. oooweee!
Yes, that is a meshball. 
and the elecom stick mod is pretty nice.
That stick along with some of your other ones would look sweet hanging on the wall like art. Definitely dig your style! :clapdos:
First CL stick of sure to be many!
Sick clean wiring is always in style. Nice!
 I swear to Jebus, this megaman was in my dream last night. It wasn’t lanky like this one, more stumpy like those Mighty Muggs. Not to mention he was the character I was using in whatever game I was playing. And this is my first time seeing that pic Cruh-eepy
Great stick, tho!
Also, props to Osirin for the Gits Laughing Man, and rtdzign for the wood grain. Remids me of the old table top games. Good times good times.
Spent this weeked building my second stick, wasn’t overly happy with the first so wanted to start from scratch using the existing components.
http://i166.photobucket.com/albums/u91/speedsix80/stick/stickv2b.png
http://i166.photobucket.com/albums/u91/speedsix80/stick/stickv2c.png
http://i166.photobucket.com/albums/u91/speedsix80/stick/stickv2base.png
http://i166.photobucket.com/albums/u91/speedsix80/stick/stickv2int.png
Stick is made from a light oak with a light matte varnish, Sanwa JLF and OBSF buttons and a headphone jack extender cable. Base is covered with felt, art is Udon.
To say I’m pleased is an understatement, I’m a computer geek and woodworking isn’t exactly part of my skillset! I re-used most of the control panel from my previous stick with a new piece of Acrylic (cut inc holes by the company who supplied it, I recommend this!)
New stick was about 7mm shallower than the previous, 55mm deep which is about as shallow as you can go with an unmodded JLF. The place that supplied the oak cut it to size for me as I don’t have the tools to give a nice edge (previous stick I cut myself and had gaps)
Issues I had, Acrylic was a mm or so too big which was a pain in the ass to trim down with sandpaper. Control panel needed filing down, FP button fouled on the corner block, guide button fouled on the control panel so lots of trimming with a scalpel. Ditched individual ground wires in place of a daisy-chain one, much neater. Still need to find something to cover the exposed screw heads on the base (hence the tape!)
Everything is pretty damn snug inside, I was so shocked when I plugged it all back in and everything worked, I was sure I’d damage the pcb somehow. I’ve gained much respect for anyone who builds their own custom stick, my blood, sweat and tears went into this build and I’m painfully aware how difficult building a stick from scratch is.
This is the tightest stick, so clean!!!
Nice stick, Yuppy. The cut on the acrylic looks very clean, is it polished?
just finished this thing up today, again nowhere near the level of a lot of you guys here, but hey it does the job and it plays well. thanks lizard licks for the parts and support, as well as every one here in thisthread props to “Tuna Fish Riot” for the link, and big ups to Toodles for the AXIS adapter and the help.
Scraped it with a blade, Sanded it down with 800 grits, Buffed it with Rubbing Compound and now I could see my hands on the controller.
Man those Finlke sticks look amazing…
Oh crap! you stole my idea 
Very nice stick man